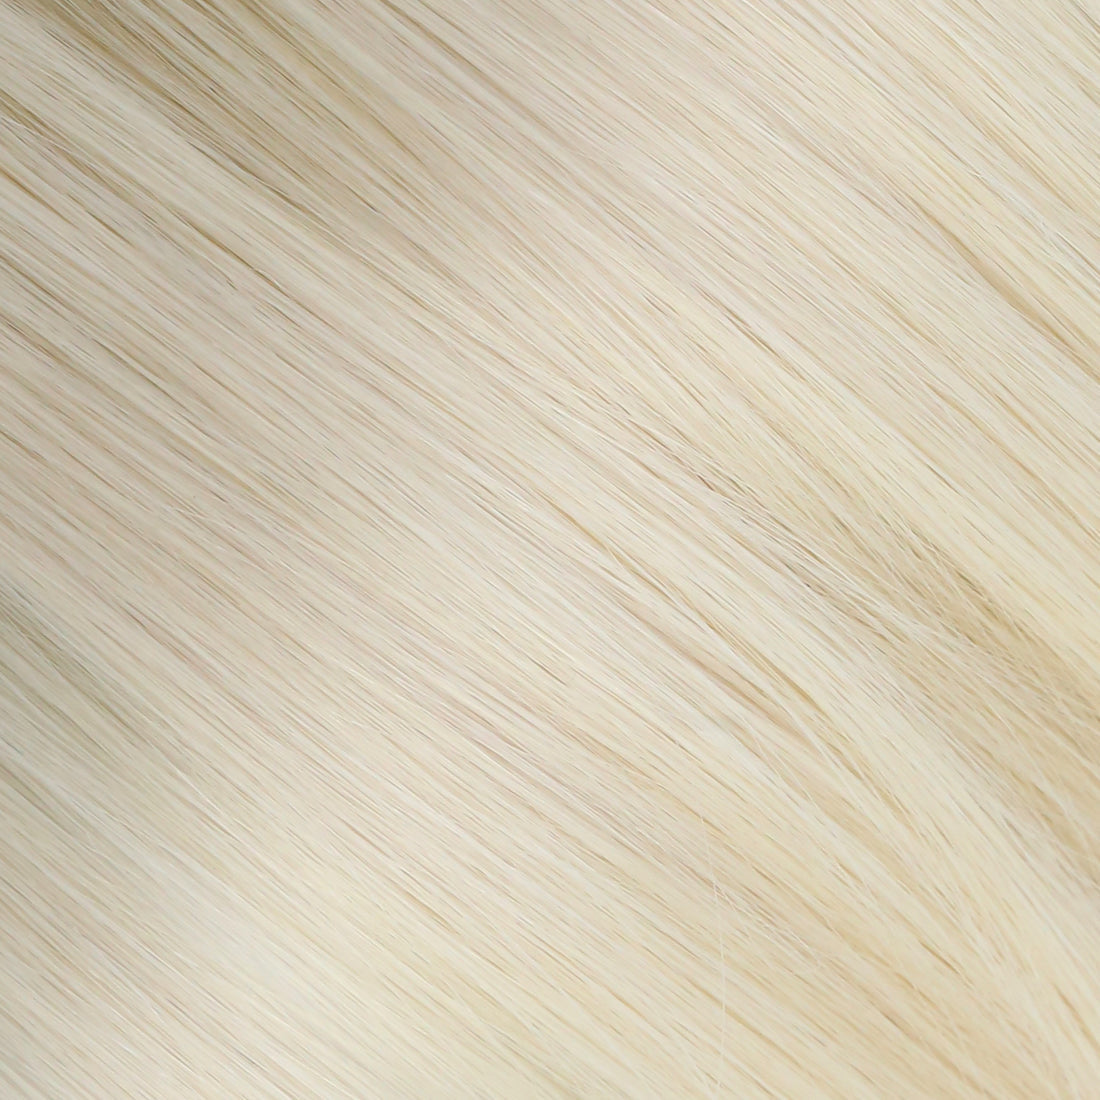
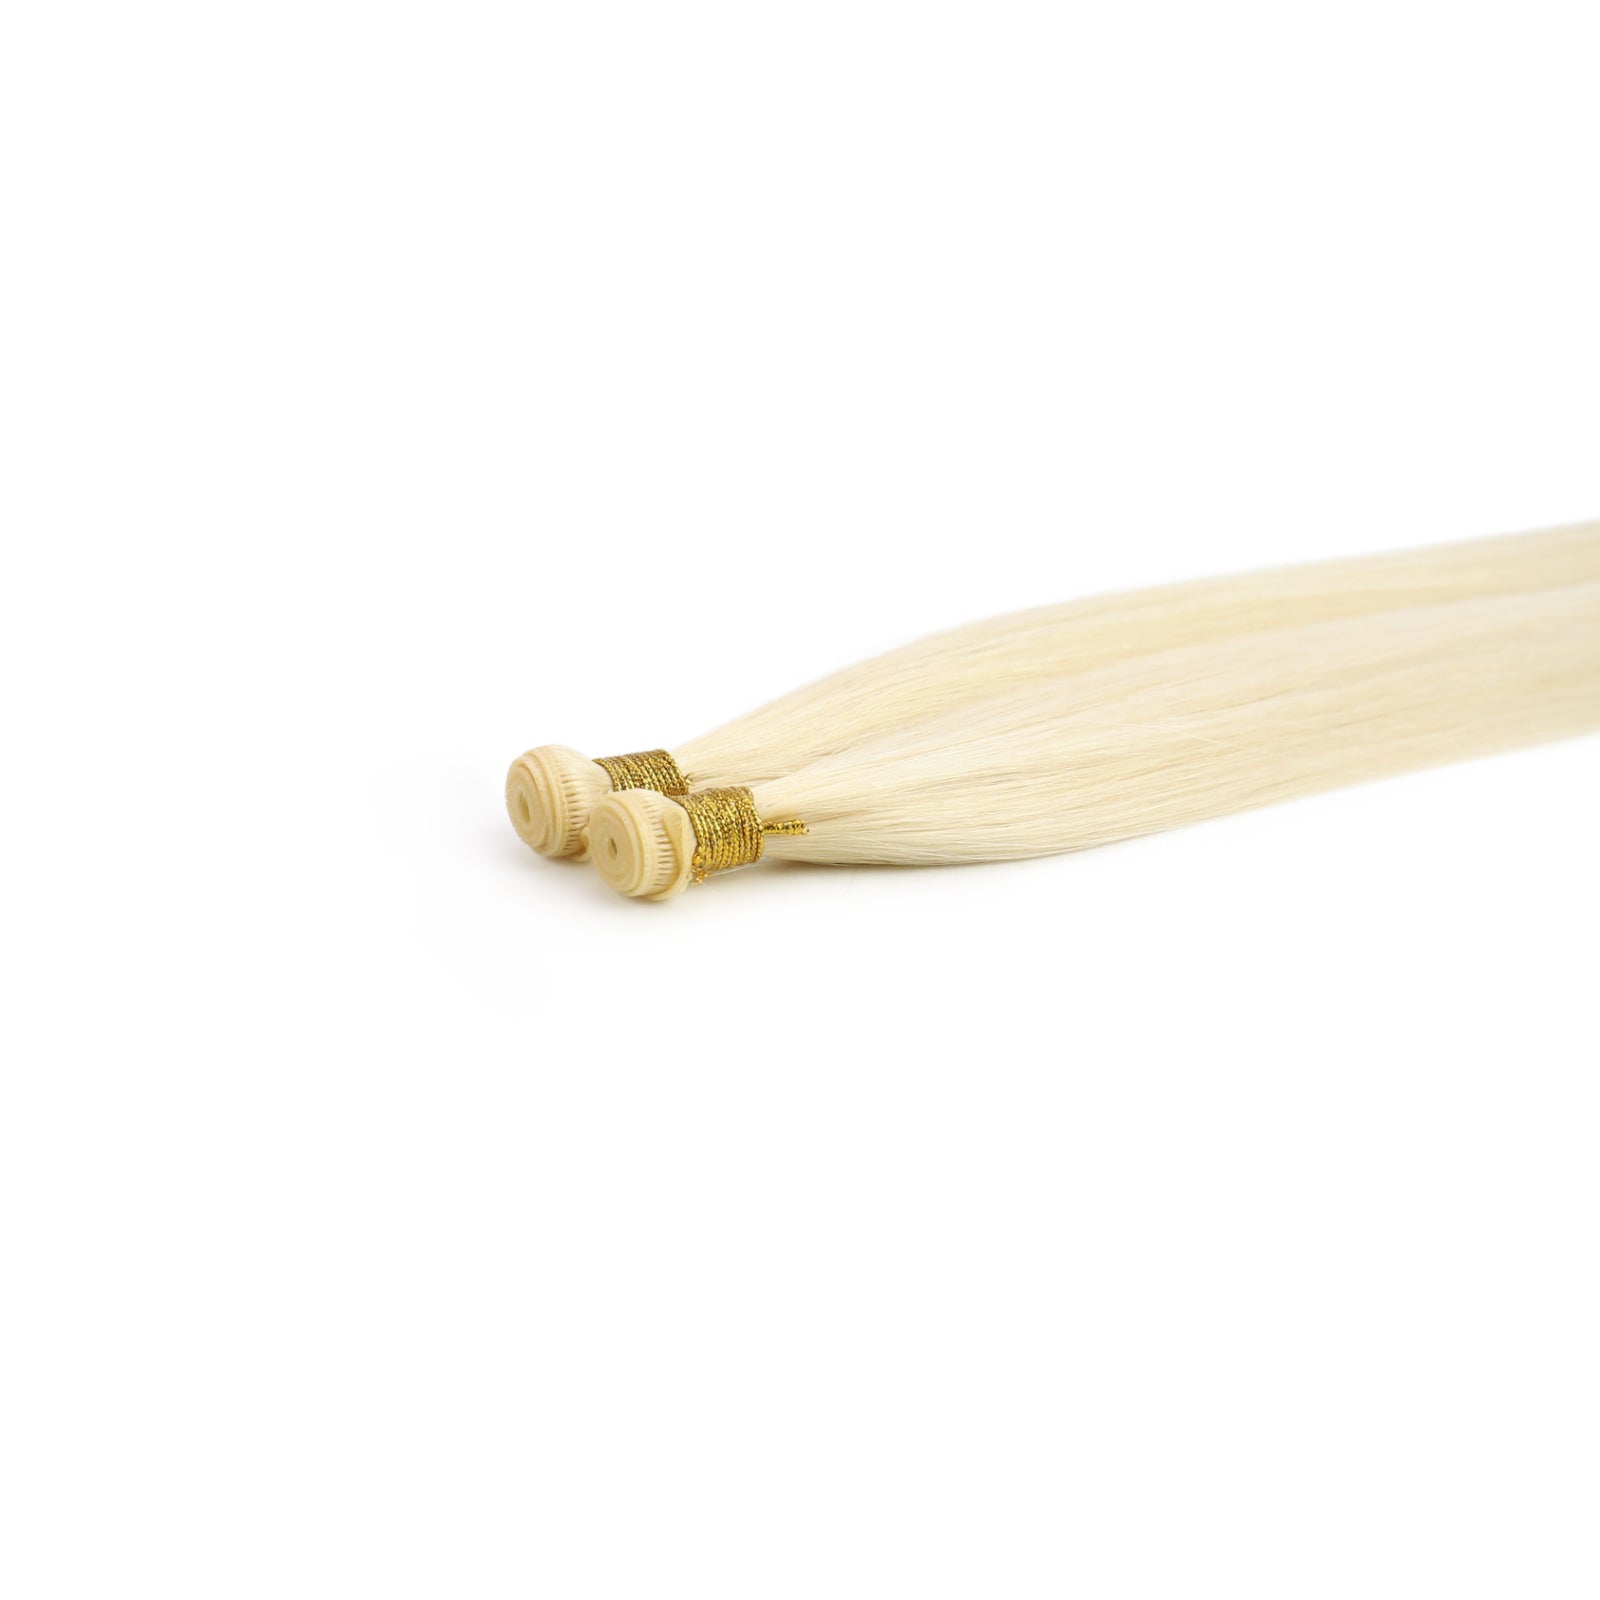
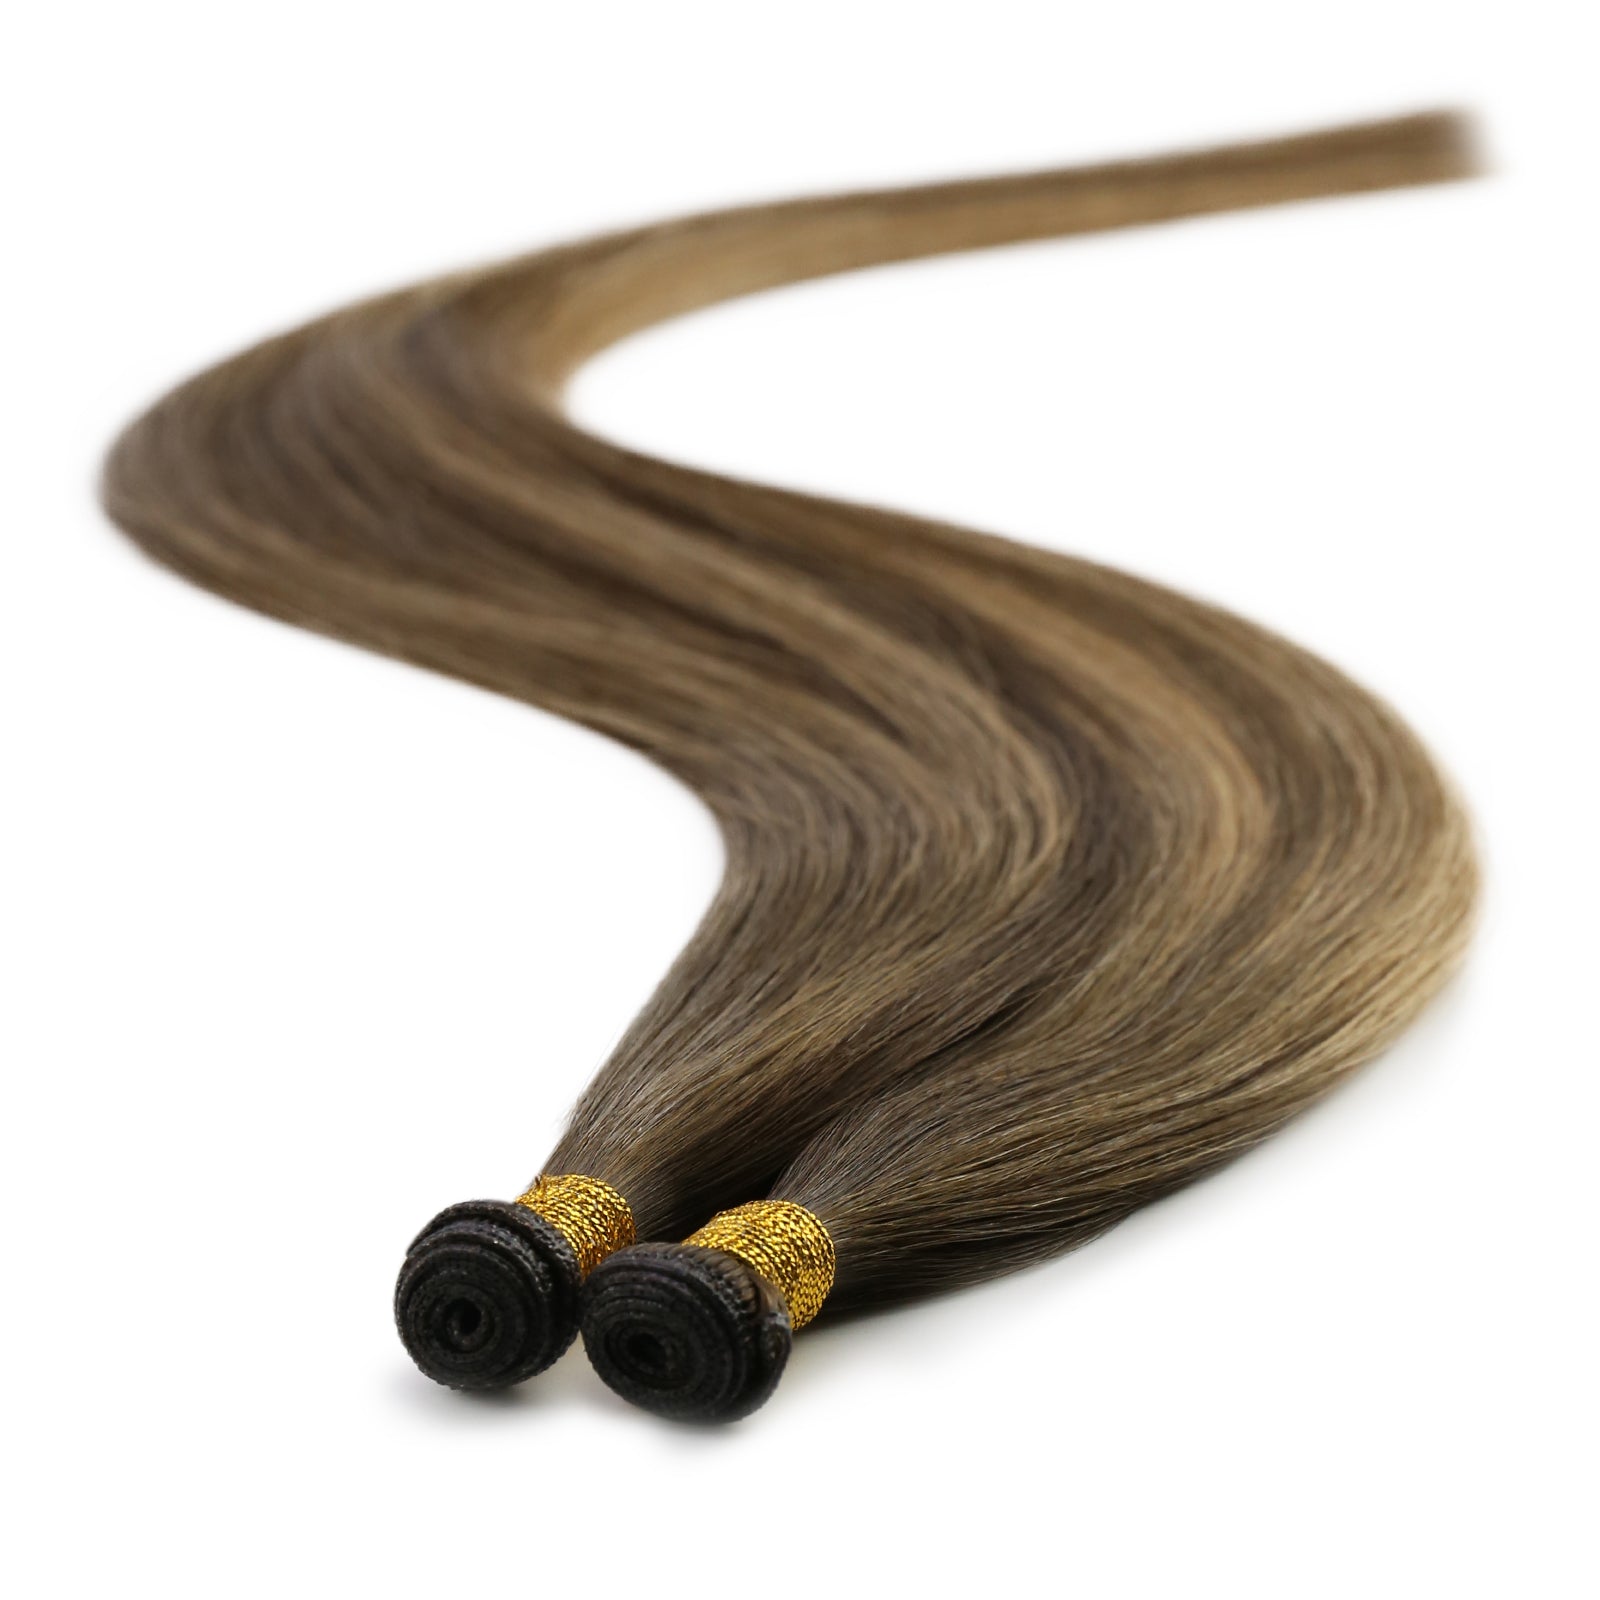
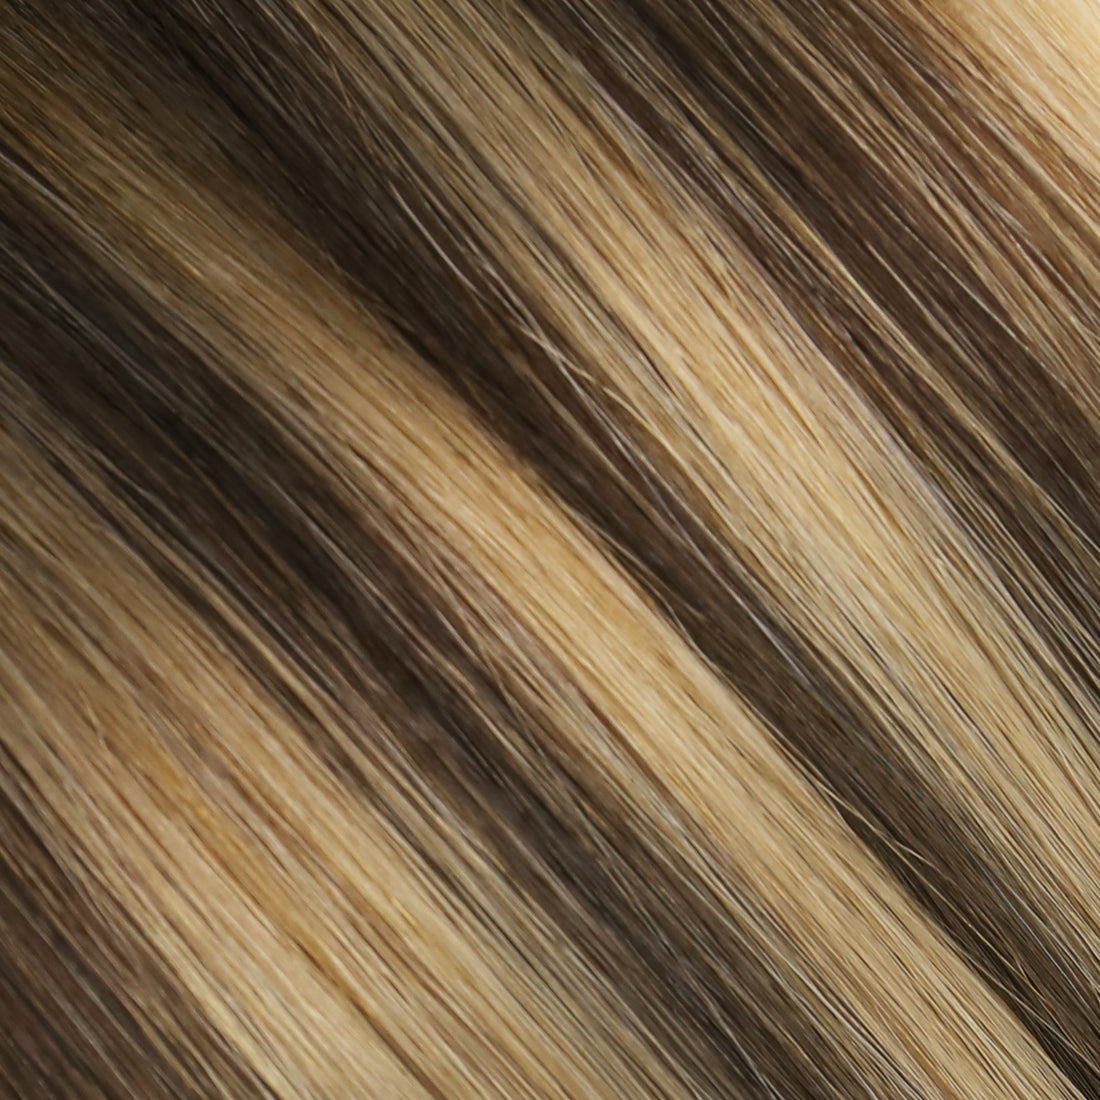
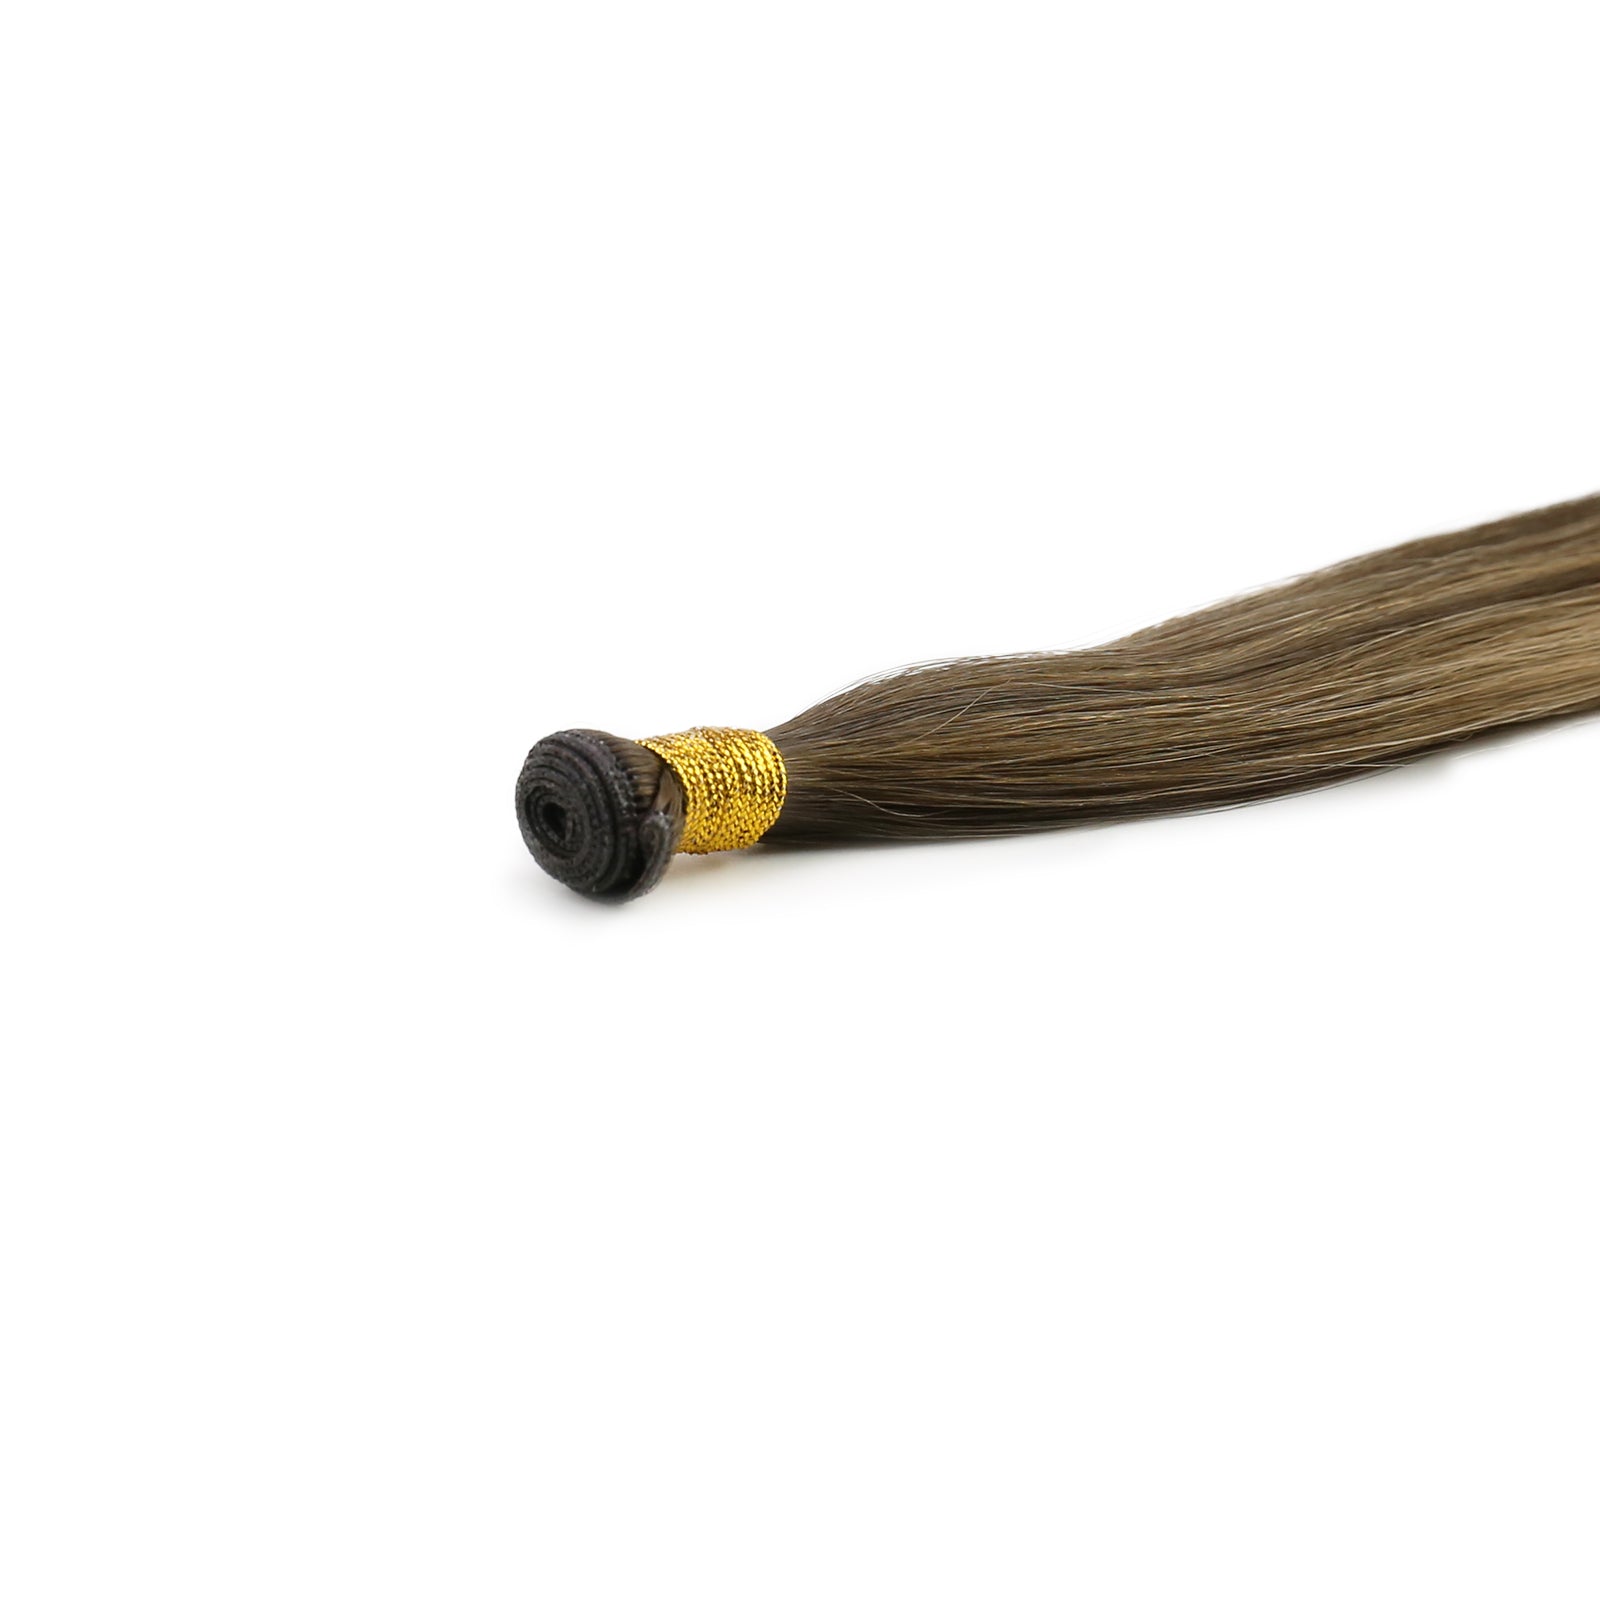
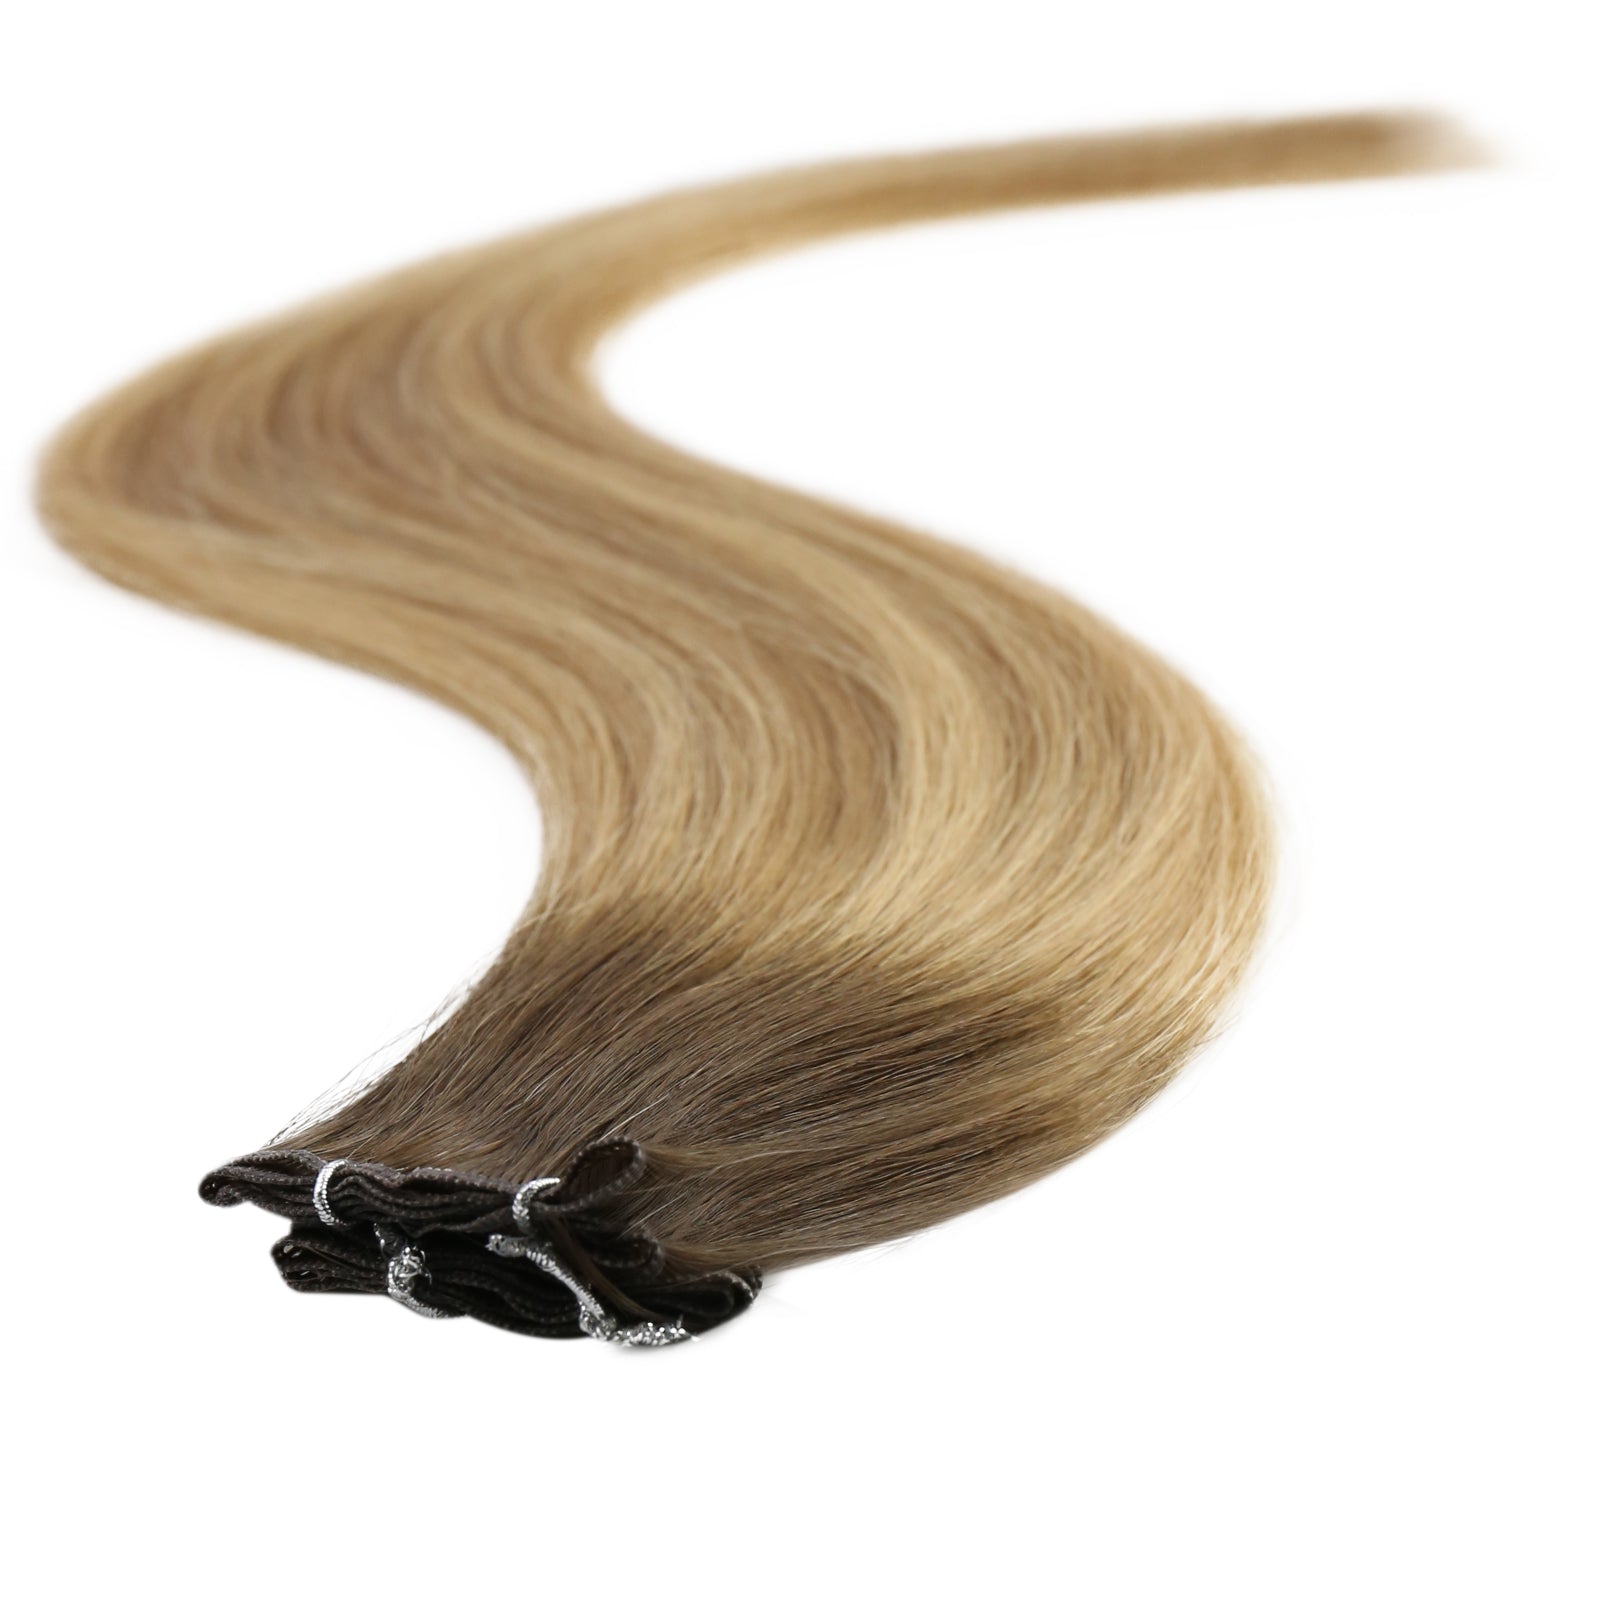
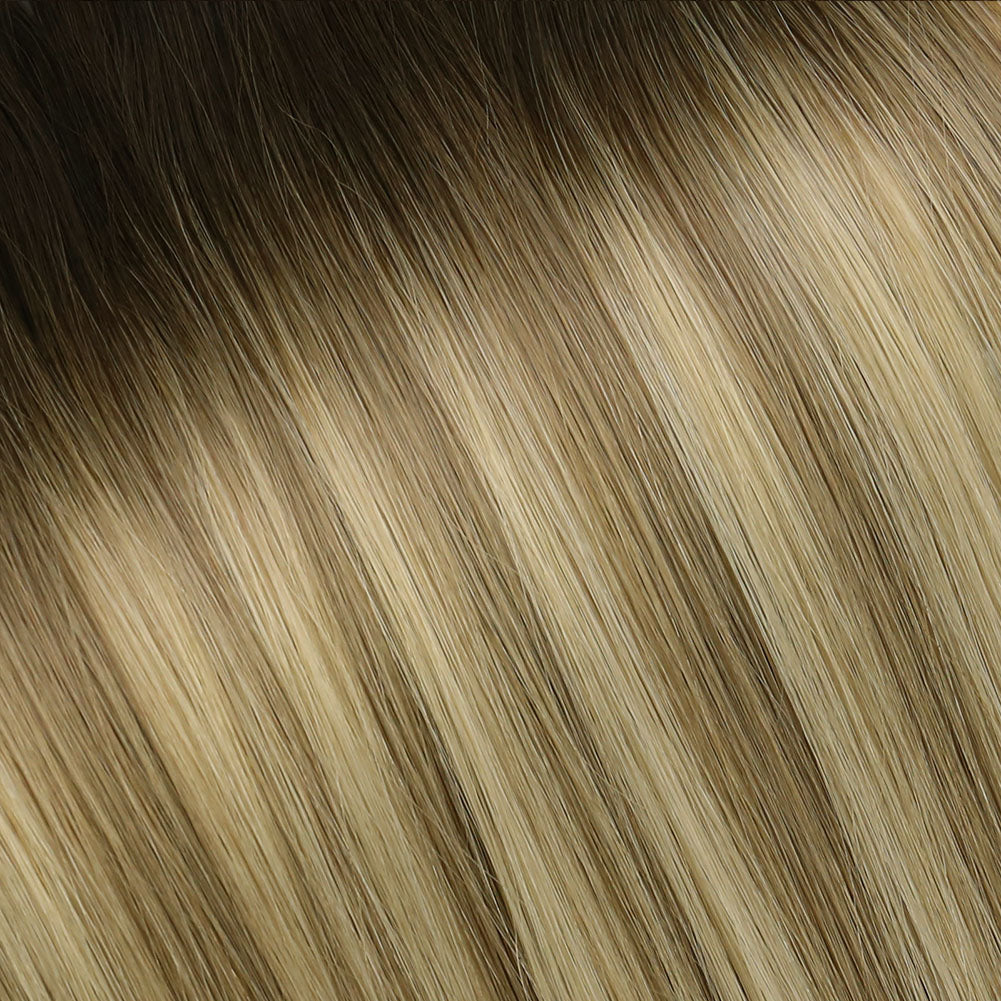
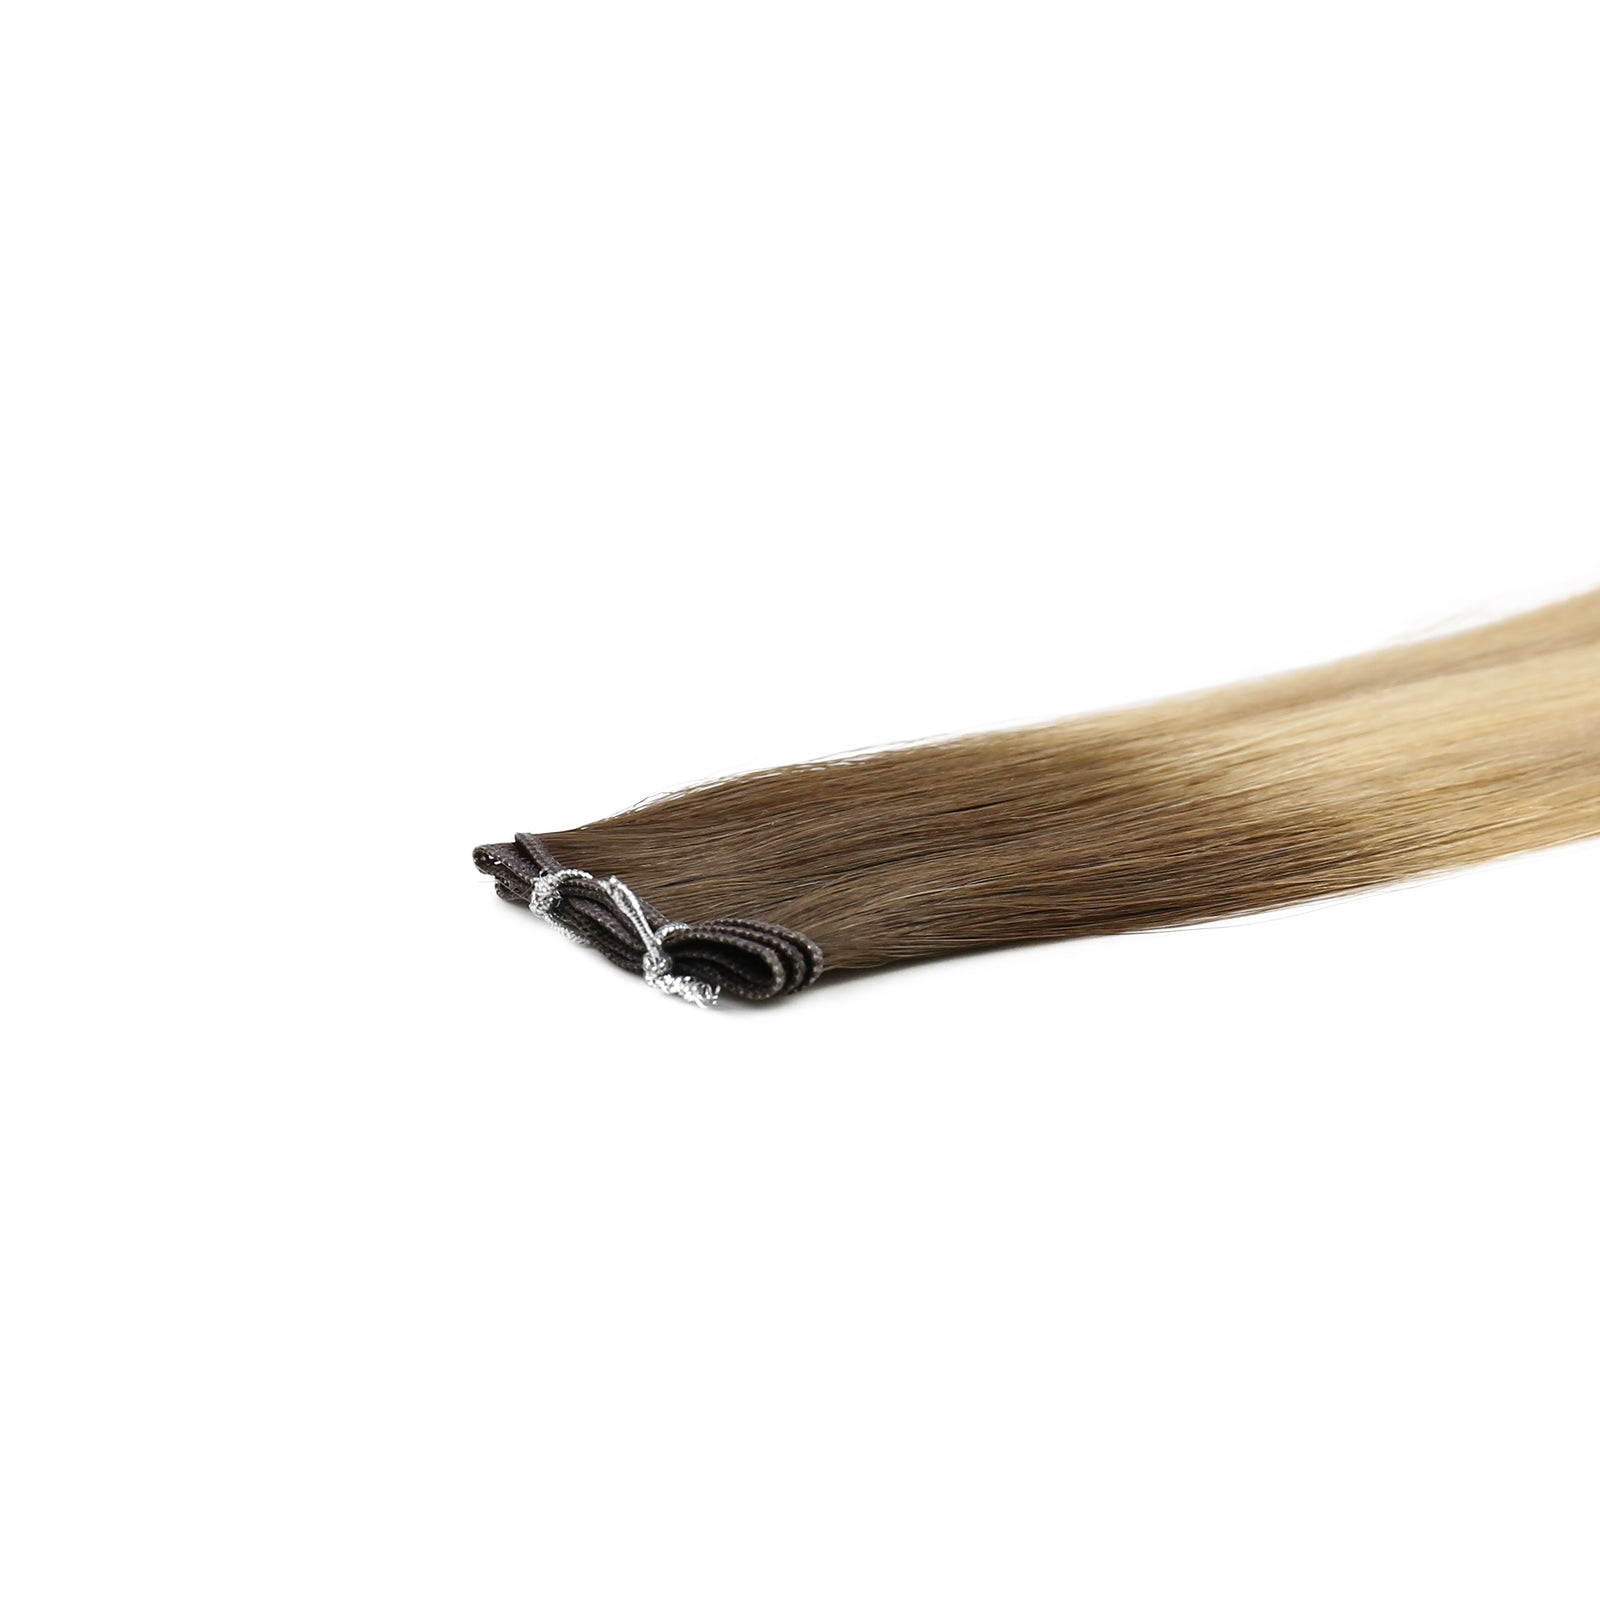
Hair has long been a symbol of beauty and identity, and for centuries, individuals have sought ways to enhance and transform their hair to reflect personal style and confidence. In the realm of modern hair care and fashion, tape-in hair extensions have emerged as a popular and versatile method for achieving fuller, longer, and more voluminous hair. This post explores the world of tape-in hair extensions.
What are tape in extensions
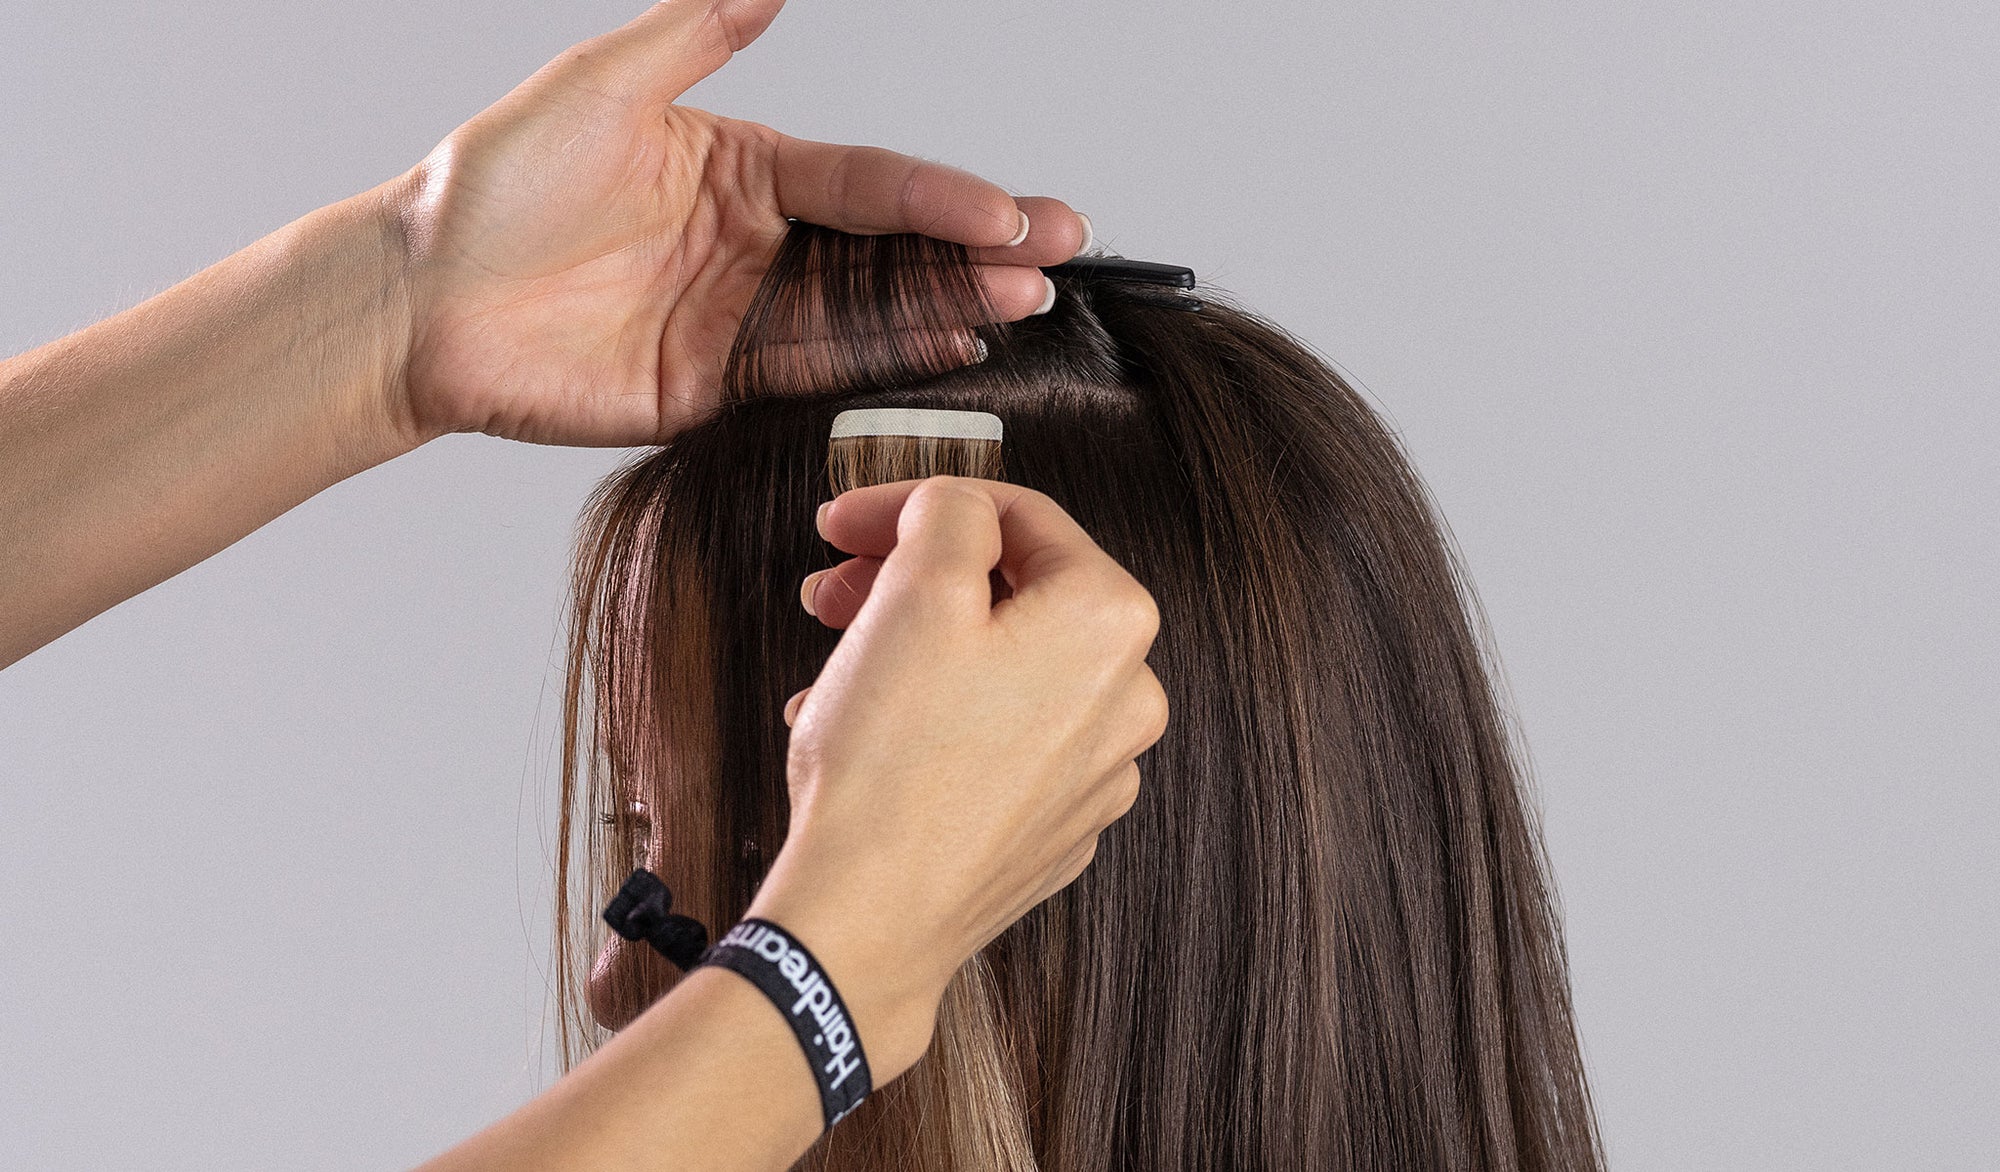
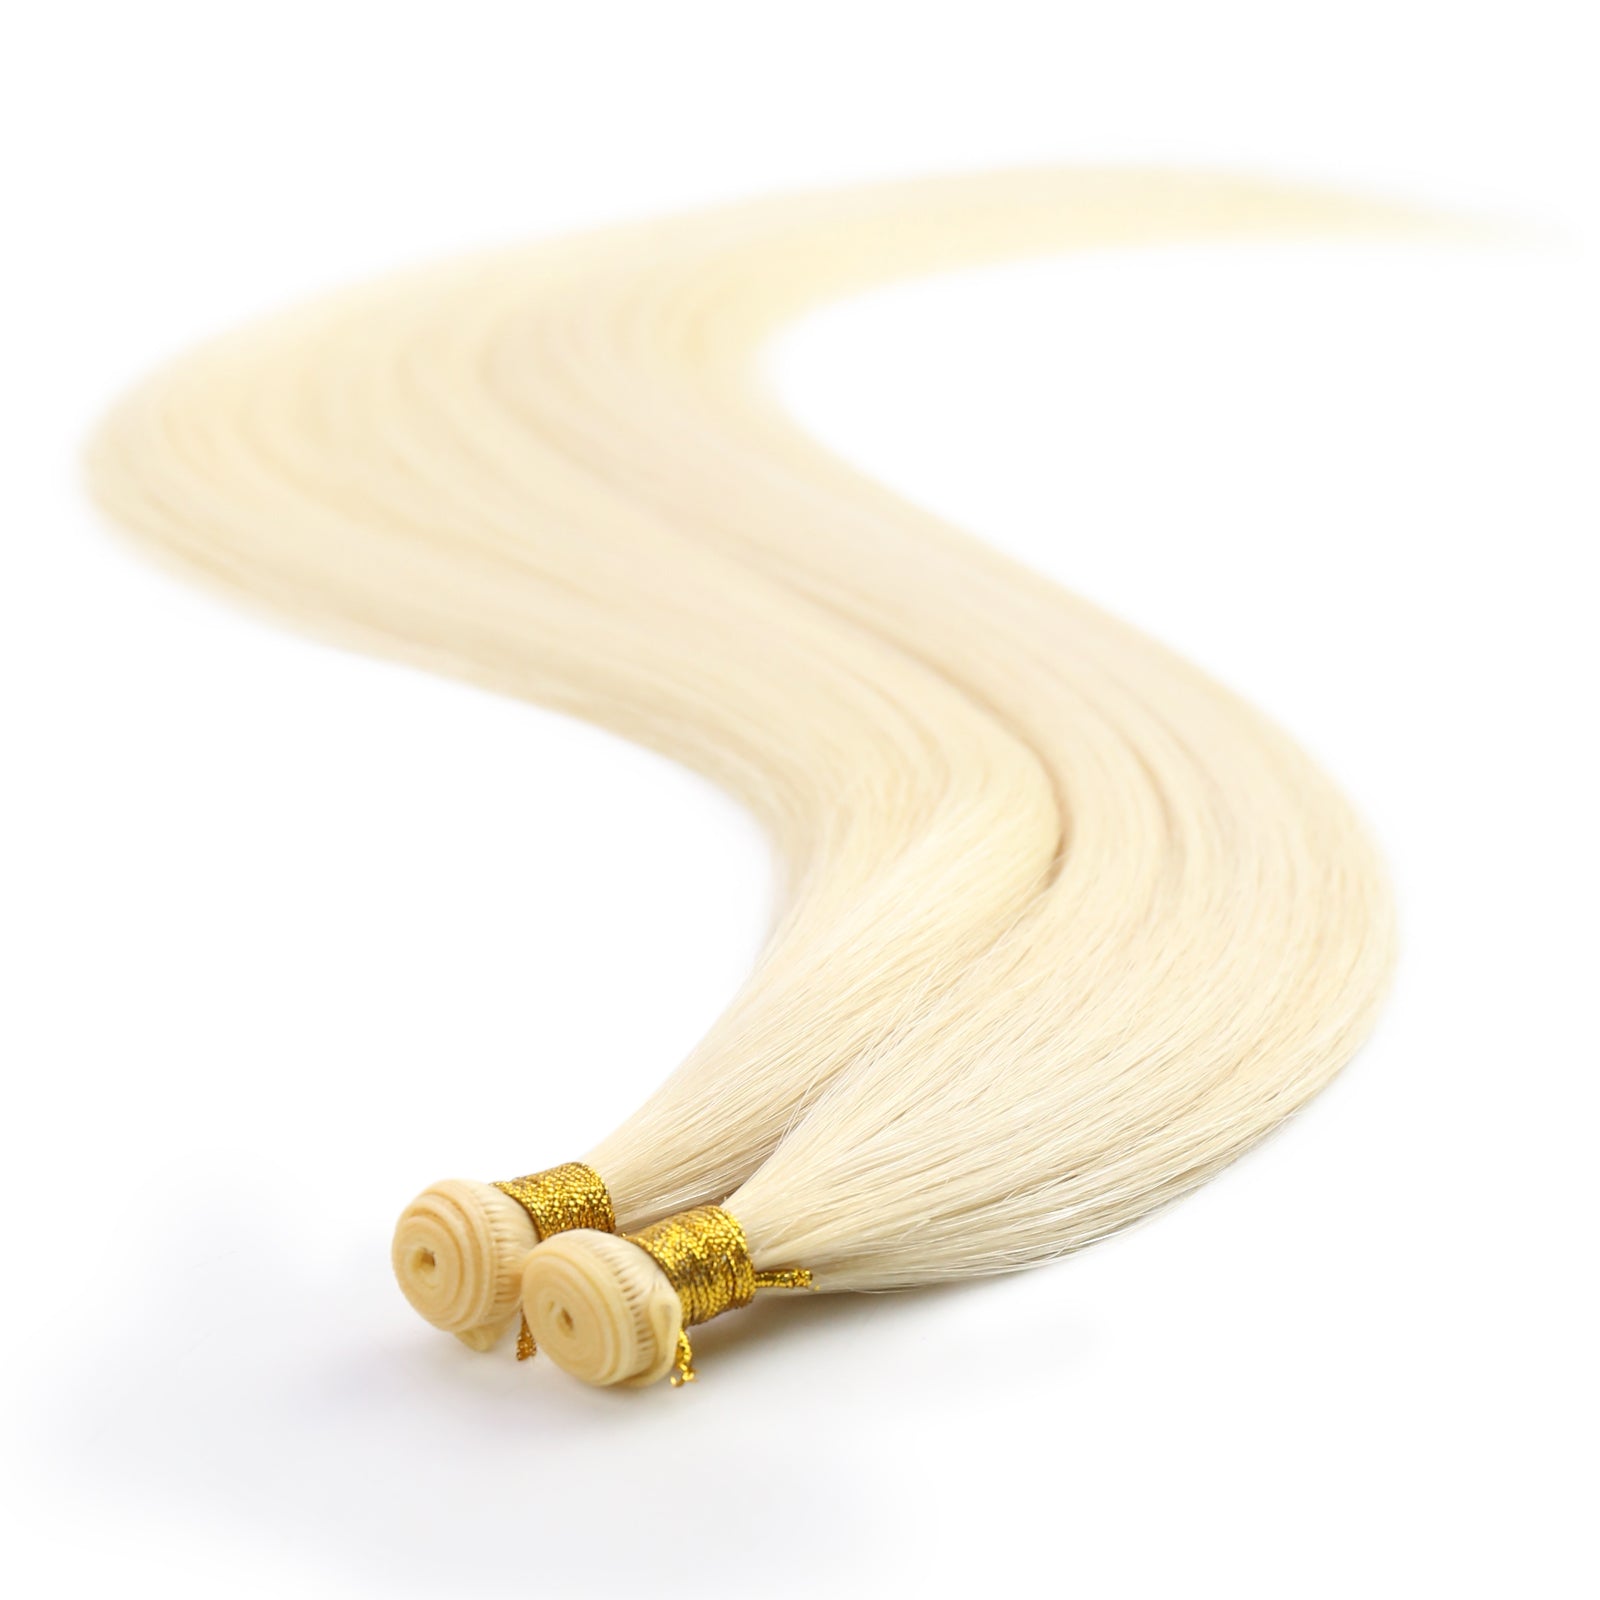
Tape-in hair extensions are a contemporary hair enhancement technique that involves attaching wefts of hair to natural hair using a special adhesive tape. These extensions typically come in small, thin sections that are carefully placed near the scalp, blending seamlessly with the individual’s own hair. Unlike traditional methods that involve clips or bonds, tape-ins offer a lightweight and discreet solution that allows for natural movement and styling flexibility.
The pros and cons of tape-in hair extensions
Tape-in hair extensions have gained popularity for their ability to enhance hair length, volume, and style flexibility. Like any beauty enhancement method, they come with both advantages and considerations. Here’s a breakdown of the pros and cons of tape-in hair extensions:
Pros
-
Natural look: When properly applied, tape-in extensions blend seamlessly with natural hair, providing a natural appearance. The extensions lie flat against the scalp, making them less visible compared to other methods like clip-ins.
-
Versatility: Tape-in extensions allow versatile styling options. They can be curled, straightened, and styled with heat tools just like natural hair, offering flexibility in achieving different looks.
-
Comfortable: The lightweight nature of tape-in extensions makes them comfortable to wear. They do not put excessive strain on the scalp and allow natural movement of the hair.
-
Longevity: With proper care, tape-in extensions can last for several weeks to months before needing to be reinstalled. This makes them a semi-permanent option that requires less frequent maintenance compared to other temporary methods.
-
Quick application: The application process of tape-in extensions is relatively quick (usually about 1-2 hours), especially when compared to methods like sew-in weaves or bonded extensions.
-
Minimal damage: Tape-in extensions are considered to be gentler on natural hair compared to some other extension methods. They do not involve heat or chemicals during the application process, reducing the risk of damage if installed and maintained correctly.
Cons
-
Professional installation required: Proper application of tape-in extensions requires skill and experience. It’s essential to have them installed by a certified stylist to ensure they are applied correctly and securely.
-
Regular maintenance: Although they are semi-permanent, tape-in extensions do require some maintenance. Regular adjustments may be necessary to keep them looking and feeling their best, and they need to be removed and reapplied every 6-8 weeks.
-
Initial discomfort: Some individuals may experience mild discomfort or tension on the scalp immediately after application, especially if the extensions are applied too tightly or near sensitive areas.
-
Limited durability: Tape-in extensions may not be as durable as other methods, particularly in humid or wet conditions. Excessive moisture can weaken the adhesive tape, potentially causing the extensions to slip or become damaged.
-
Potential damage: Improper removal or neglecting proper care instructions can lead to damage to natural hair. Adhesive residue left behind during removal can cause tangling and breakage if not handled carefully.
How to apply tape in extensions
The application of tape-in hair extensions involves several steps that are crucial to ensure a seamless and long-lasting result. Here’s a detailed overview of how tape-in extensions are typically applied:
-
Hair preparation: On the day of application, your natural hair will be washed and dried thoroughly. It’s important that your hair is completely clean and free of any products that could interfere with the adhesive.
-
Sectioning: The stylist will section your hair horizontally, starting from the nape of the neck. Small sections of natural hair are separated and clipped out of the way using hair clips or hair ties.
-
Prepping the extensions: Each tape-in extension consists of a small weft of hair with adhesive tape attached to the base. The stylist will remove the protective backing from the tape to expose the adhesive.
-
Placement: The stylist will carefully place the extension underneath a section of natural hair, near the roots. They will press the extension firmly onto the natural hair, ensuring it is secure but without causing discomfort.
-
Sandwiching: Once the extension is in place, another section of natural hair is released and laid over the top of the extension, creating a sandwich effect with the adhesive tape in between.
-
Bonding: The adhesive on the tape creates a secure bond between the extension and the natural hair. The stylist will repeat this process, working upwards in sections until all desired extensions are applied.
-
Blending: After all extensions are applied, the stylist will blend your natural hair with the extensions by gently combing through and ensuring there are no visible gaps or unevenness.
-
Styling: Once the extensions are securely applied and blended, you can style your hair as desired. Tape-in extensions can be curled, straightened, and styled with heat tools just like natural hair.
Can I wash, dye or treat my hair after the tape in extensions are put in?
Of course the answer is Yes, you can wash, dye, and treat your hair after tape-in extensions are installed, but there are important considerations and precautions to keep in mind to ensure the longevity and integrity of both your natural hair and the extensions:
Washing
-
Frequency: Wash your hair 2-3 times a week to avoid over-washing, which can weaken the adhesive. Use a gentle, sulfate-free shampoo to avoid stripping natural oils or affecting the adhesive.
-
Technique: Apply shampoo and conditioner to the mid-lengths and ends of your hair, avoiding the roots where the extensions are attached. Rinse thoroughly and avoid scrubbing the scalp or pulling on the extensions.
Dyeing
-
Consultation: Always consult with your stylist before dyeing your hair. They can provide advice on whether your specific extensions can be safely dyed and recommend the best approach.
-
Coloring Process: Some tape-in extensions are pre-colored, and dyeing them might not be advisable. If your extensions are made from synthetic hair, they might not hold dye well or could be damaged by the process. For human hair extensions, semi-permanent or demi-permanent dyes are usually safer than permanent dyes.
-
Avoid Roots: If you’re coloring your natural hair, avoid applying dye near the roots where the extensions are attached. This prevents the adhesive from being affected and ensures that the extensions remain secure.
Treating
-
Heat Styling: You can use heat tools like flat irons and curling wands on tape-in extensions, but be sure to use a heat protectant spray and keep the heat setting moderate. Excessive heat can damage both your natural hair and the extensions.
-
Conditioning Treatments: Use leave-in conditioners or masks sparingly, and apply them only to the mid-lengths and ends of your hair, avoiding the roots and the tape area. Heavy conditioners or treatments applied near the adhesive can weaken the bond.
-
Oil Treatments: Avoid applying oil treatments directly to the roots or near the tape area. Oils can break down the adhesive over time, causing the extensions to loosen.
How to sleep with tape in extensions
After applying the tape in extension, many of us may face a problem: Can I sleep with tape in extensions? Well, actually the answer is yes. But sleeping with tape-in extensions requires a bit of care to ensure they remain comfortable and undamaged throughout the night. Here are some tips for sleeping with tape-in extensions:
-
Brush Before Bed: Before going to sleep, gently brush your hair with a soft-bristle brush or a loop brush designed for extensions. This helps to detangle the hair and prevent any knots or matting overnight.
-
Secure Hair: It’s helpful to loosely braid your hair or gather it into a loose ponytail before bedtime. This prevents tangling and reduces friction between the extensions and the pillowcase.
-
Use Silk or Satin Pillowcases: Silk or satin pillowcases create less friction compared to cotton, which can help prevent tangling and reduce stress on the extensions. This also helps to maintain the smoothness and shine of both your natural hair and the extensions.
-
Avoid Sleeping with Wet Hair: Ensure your hair, including the extensions, is completely dry before going to bed. Sleeping with damp or wet hair can weaken the adhesive on tape-in extensions and potentially cause them to slip or become loose.
-
Choose a Comfortable Sleeping Position: If possible, try to avoid sleeping directly on the extensions to prevent them from getting tangled or flattened. Sleeping on your back or side can be more gentle on the extensions compared to sleeping face-down.
Conclusion
Technically, tape-in hair extensions represent a modern approach to achieving desired hair transformations with ease and elegance. From enhancing natural volume to experimenting with new styles, tape-ins offer a versatile and customizable solution that resonates with individuals seeking to express themselves through their hair. Additionally, they can still be washed under any circumstance, no matter in shower or sleeping, as long as you follow the instructions.
