Curious about the hype around I-Tip extensions and their potential to revolutionize your appearance without harming your natural locks? Pondering whether they align with your lifestyle and hair aspirations? Join us as we delve into the realm of I-Tip hair extensions, shedding light on their increasing popularity and revealing all there is to know about this cutting-edge approach. We're here to clarify the mysteries of I-Tips, encouraging you to continue reading to find out if they're the hair transformation you've been anticipating.
What Are I-Tip Hair Extensions?
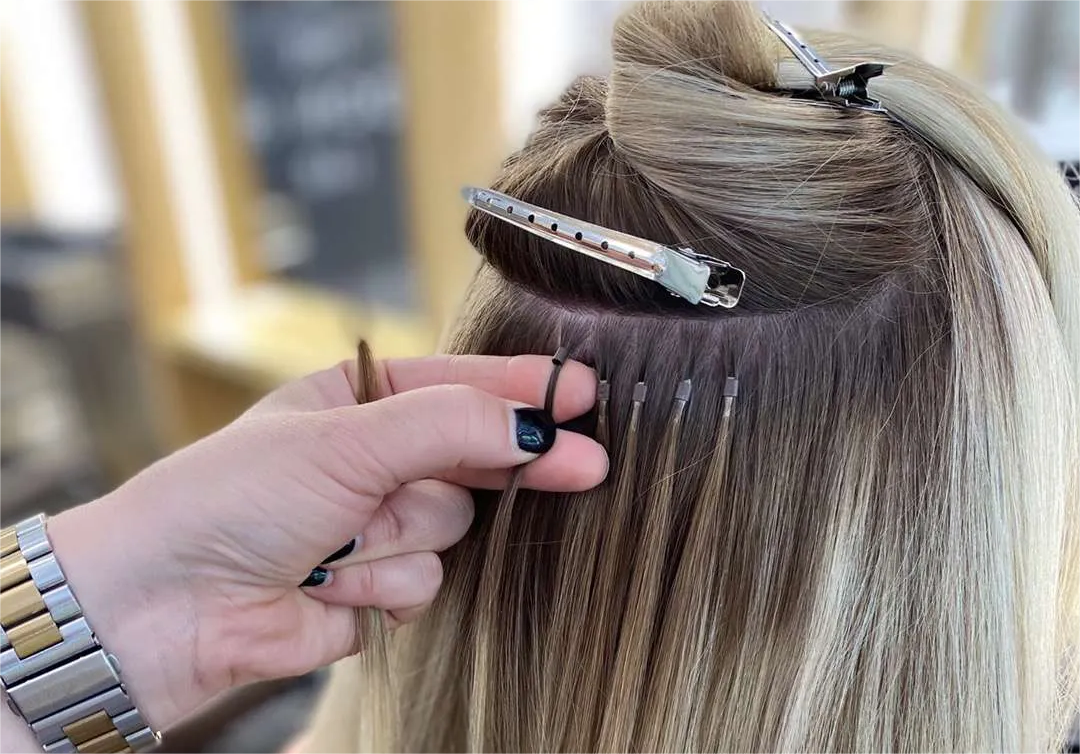
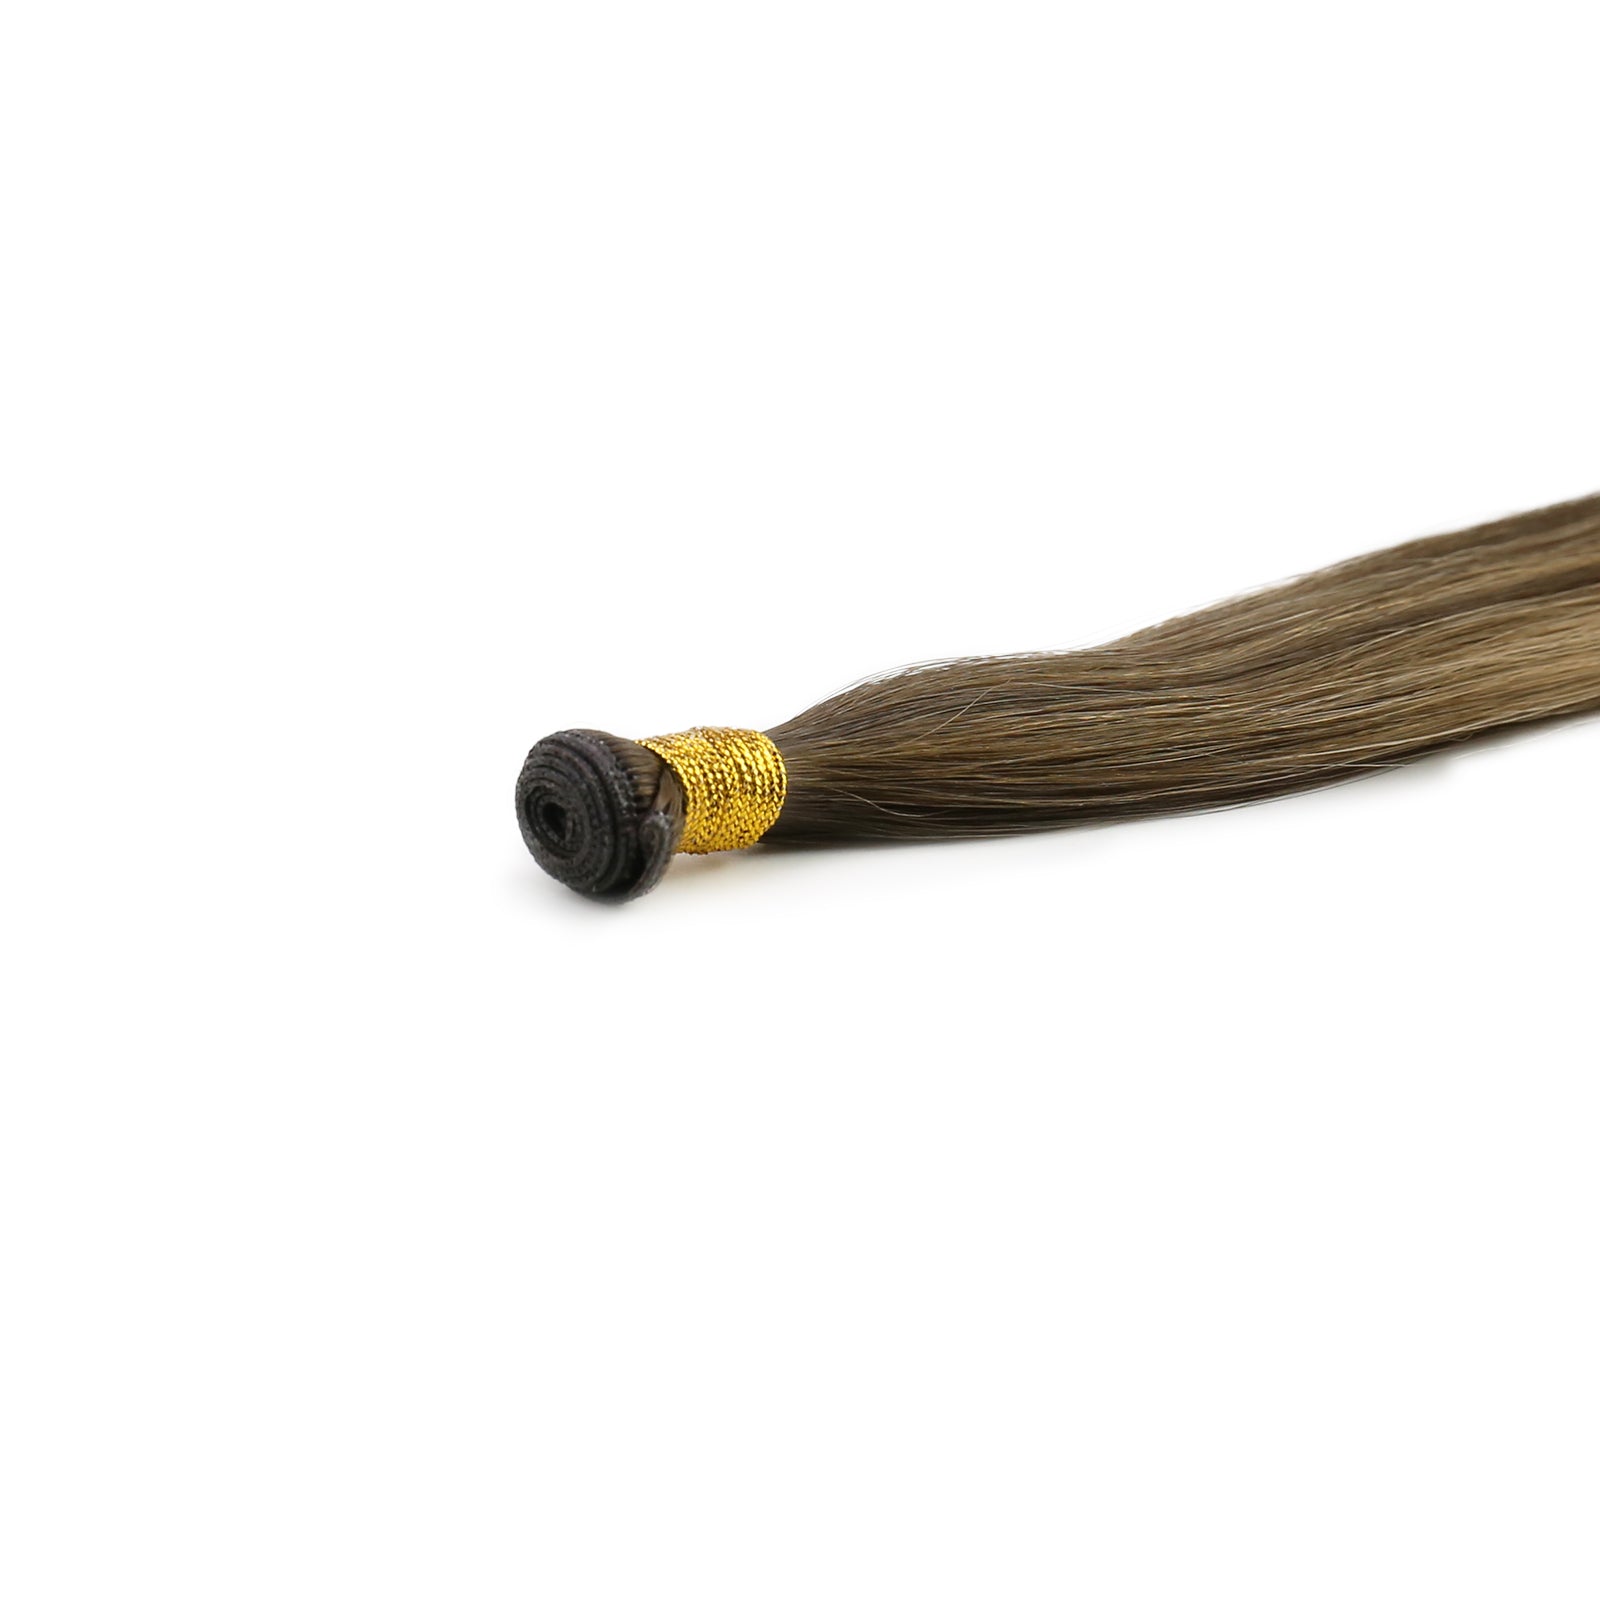
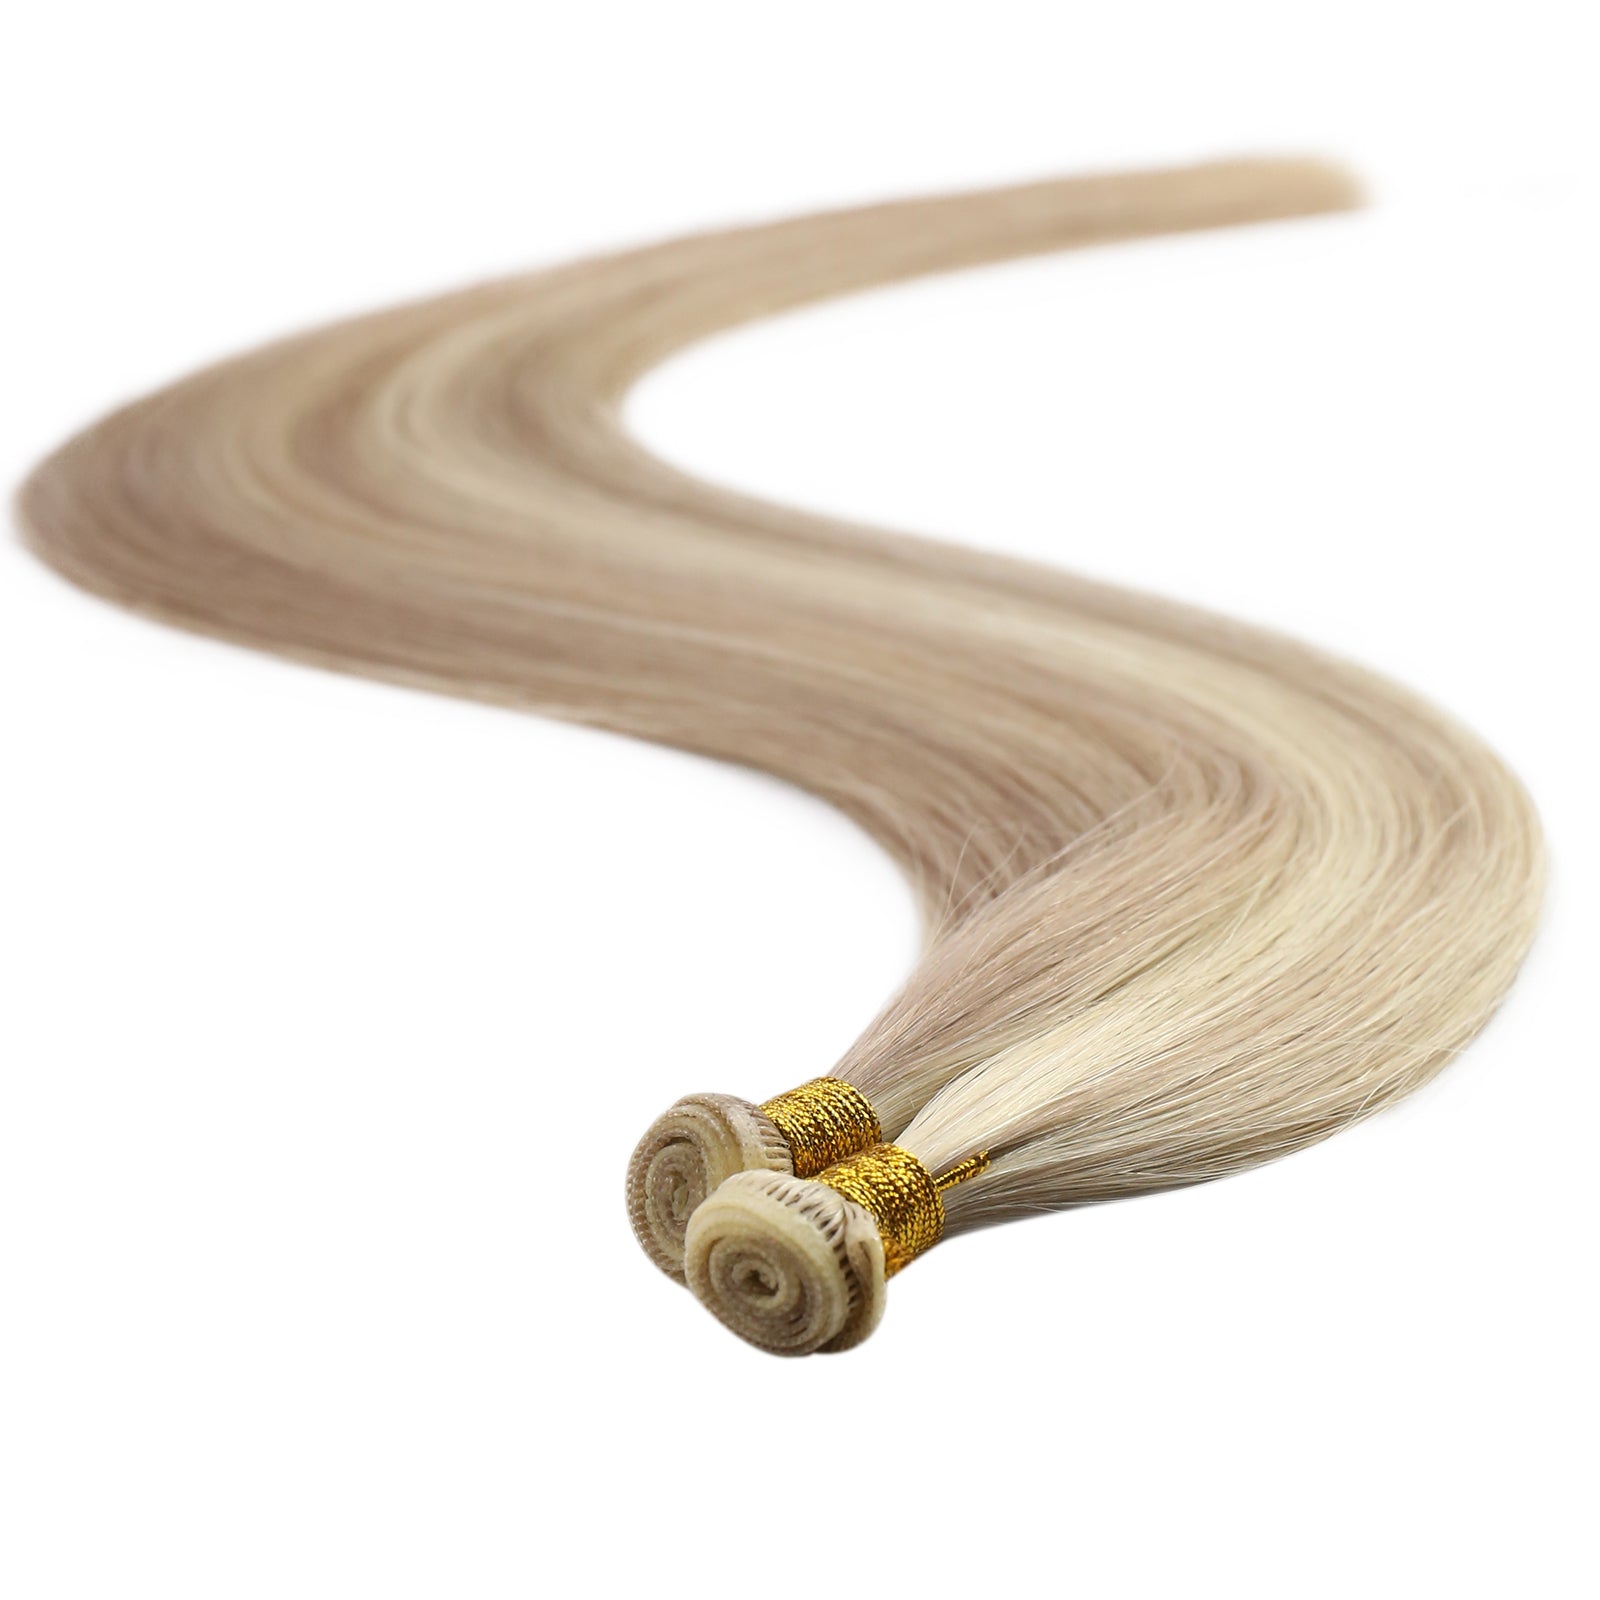
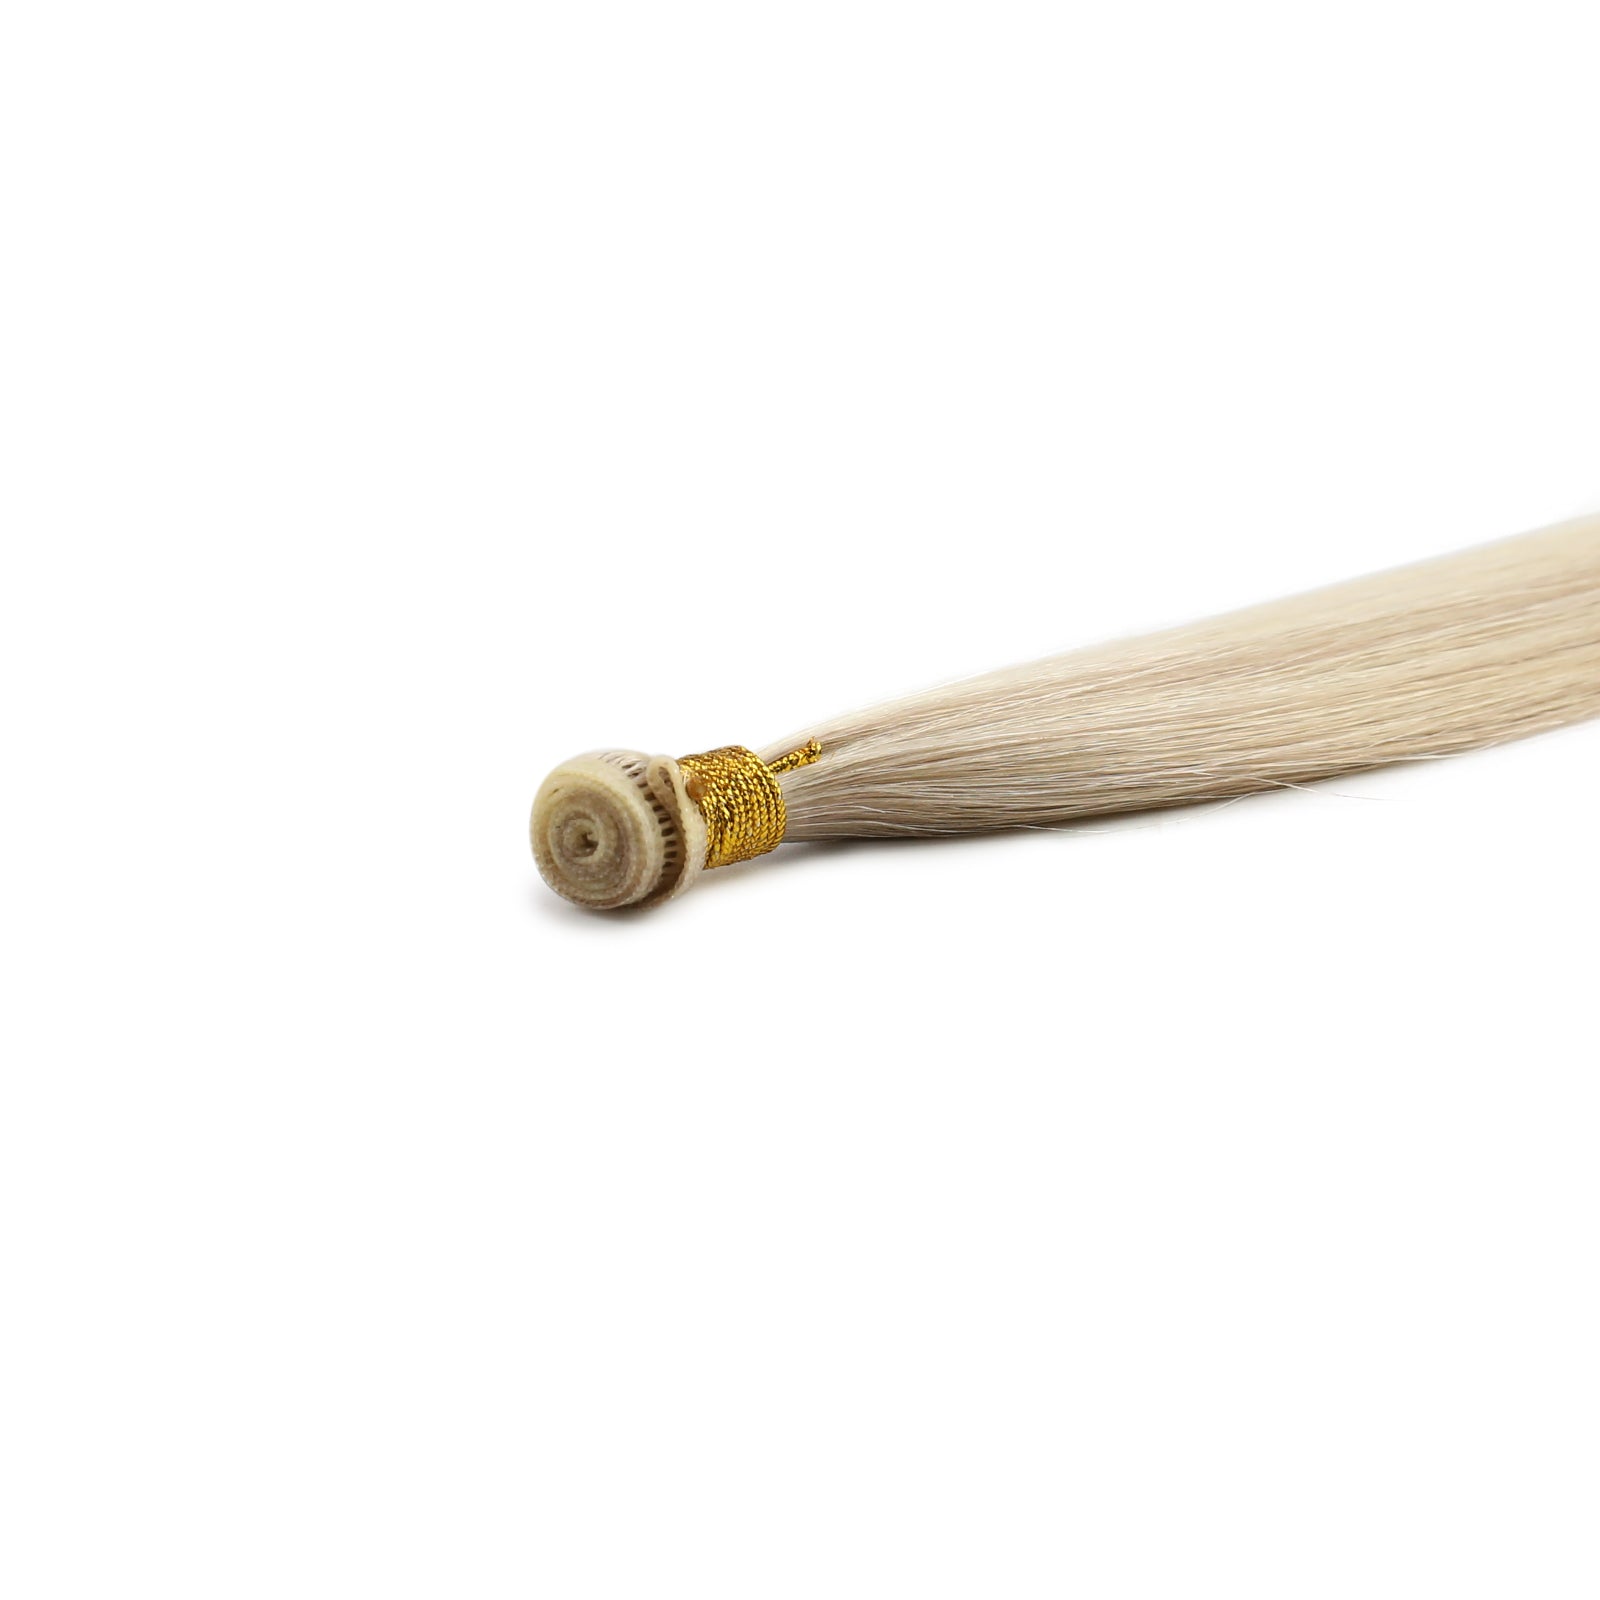
I-Tip hair extensions, also known as stick tip hair extensions or cold fusion extensions, are a method of adding length, volume, and even color to your natural hair without the need for heat or glue. This type of extension gets its name from the "I"-shaped tip at the top of each strand, which is made of keratin (the same protein that your natural hair is made from). I-Tips are attached to the hair near the roots using a micro ring or bead and then clamped down to secure the extension in place, unlike K-Tip hair extensions, which require heat for application. (If you're intrigued, here are six crucial details about K-Tip hair extensions and a comparative analysis of K-Tip vs I-Tip extensions.)

How to Install I-Tip Hair Extensions
The installation of I-Tip hair extensions is a detailed process that, if executed properly, can effortlessly augment the volume and length of your hair. Below you'll find an in-depth, step-by-step guide on the installation process for I-Tip hair extensions.
Step-by-Step Guide on I-Tips Installation
- Sectioning the Hair: Begin by sectioning off your hair. Typically, you start from the bottom and work your way up, leaving a thin section at the lower part of your hairline to hide the extensions.
- Preparing the Micro Rings: Thread the micro ring onto the application tool, which is usually a loop or hook designed to pull your natural hair through the ring.
- Placing Your Hair: Choose a small segment of your own hair using the application tool, then thread it through the micro ring. Ensure this segment matches the thickness of the I-Tip extension.
- Securing the I-Tip Extension: Slide the I-Tip extension into the micro ring next to your natural hair strand. Make sure it fits tightly inside the ring.
- Securing the Extension: Using pliers, clamp down on the micro ring to flatten it, securing both the natural hair and the extension in place.
- Repeating the Process: Continue this process, working in rows, until you've achieved the desired volume and length.
Properly installed I-Tip hair extensions can transform your hair's appearance while maintaining its health, provided you choose the right method for your skill level and hair type. Whether opting for a professional application or taking the DIY route, understanding the process and what to expect can help ensure a successful and satisfying extension experience.

I-Tip Hair Extensions Pros and Cons
When considering I-Tip hair extensions, understanding the balance of benefits and potential downsides is crucial. This section delves into the pros and cons of I-Tip extensions, offering a nuanced view for those contemplating this hair extension method.
Pros
- Styling Versatility: I-Tip extensions offer remarkable flexibility in styling. Wearers can curl, straighten, and even color them to match or enhance their natural hair, making it easy to switch up looks without restrictions.
- No Heat or Glue Required: The cold fusion method used to apply I-Tip extensions avoids the need for heat or adhesive, presenting a less damaging option for the hair. This method reduces the risk of breakage and degradation of hair health over time, a significant advantage for those concerned about preserving their natural locks.
- Natural Appearance: The discrete application of I-Tip extensions offers a seamless blend with natural hair, providing a look and feel that is remarkably close to real hair. This natural integration makes extensions virtually undetectable.
Cons
- Maintenance Requirements: To keep I-Tip extensions looking their best, a commitment to regular maintenance is necessary. This includes gentle washing, conditioning, and frequent detangling to prevent mats and tangles, which can be more time-consuming compared to care routines for natural hair.
- Upfront Costs: Investing in top-tier I-Tip extensions and their professional installation carries a notable price. Although these extensions offer greater durability and can be reused, the initial expense and the need for regular upkeep can accumulate over time.
- Installation time: Applying these extensions can be a time-consuming process, typically necessitating extended salon visits. This could pose a significant inconvenience for individuals with hectic schedules.
In summary, I-Tip hair extensions offer an appealing solution for those seeking versatility and a natural look without compromising hair health. However, the required maintenance and initial costs are important factors to consider before proceeding.
Do I-Tip Extensions Damage Hair?
The question of whether I-Tip extensions damage hair is a common concern for many considering this hair enhancement method. While any hair extension can pose a risk to hair health if not applied or maintained properly, I-Tip extensions offer a method that minimizes potential damage when correctly managed.
Understanding the Risks
- Tension and Stress: The primary risk associated with I-Tip extensions—and indeed most types of hair extensions—is tension on the natural hair. This tension can lead to stress on the hair follicles, potentially causing weakening or hair loss, particularly if the extensions are too heavy, applied incorrectly, or worn for an extended period without proper adjustment.
- Maintenance Neglect: Improper or infrequent maintenance can lead to matting and tangling, which can stress the hair and scalp during detangling and styling, leading to breakage.
How to Minimize Potential Damage
- Professional Application and Removal: Opting for a certified professional to apply and remove your I-Tip extensions is crucial. A professional will ensure that the extensions are applied correctly, without undue tension on the natural hair, and can adjust the placement as your hair grows.
- Regular Maintenance Appointments: Regular check-ins with your stylist can prevent many issues before they start. These appointments allow for the adjustment of the extensions as needed, ensuring that they continue to be worn without causing damage.
- Proper Home Care: Follow a dedicated care routine for your extensions, including gentle washing, conditioning, and detangling with suitable products. Avoiding tight hairstyles that pull on the extensions can also mitigate stress on the hair.
- Limiting Wear Time: Giving your hair regular breaks from extensions can help maintain its health. Professionals often recommend a resting period between applications to allow your natural hair to recover.
In conclusion, while I-Tip extensions can be worn with minimal risk to hair health, the key lies in proper application, regular maintenance, and informed care practices. With these measures in place, wearers can enjoy the benefits of extended hair without undue damage.

How Long Do I-Tip Extensions Last?
The durability of I-Tip hair extensions is a key factor for individuals contemplating this hair enhancement option. Typically, when handled with care and given proper maintenance, I-Tip extensions can maintain their quality for a duration of 3 to 6 months before necessitating repositioning or renewal. Various elements contribute to their lifespan, such as the grade of the extensions, the method of application, and the wearer's hair care regimen.
Factors Affecting Longevity
- Quality of Extensions: High-quality, human hair extensions tend to last longer than synthetic alternatives because they can withstand washing, heat styling, and daily wear better.Click here for more details about synthetic hair vs human hair.
- Application Technique: Properly applied extensions by a professional will not only look more natural but also last longer. Incorrectly applied extensions can slip or cause damage to your natural hair, reducing their lifespan.
- Maintenance and Care: The way you treat your extensions on a daily basis plays a crucial role in how long they last. Regular brushing, gentle washing, and using suitable hair care products can significantly extend their life.
Maintenance Tips to Prolong the Life of I-Tip Hair Extensions
- Gentle Brushing: Use a soft bristle brush or a special extension brush to gently detangle your extensions, starting from the ends and working your way up to reduce stress on the hair.
- Washing and Conditioning: Wash your extensions with a sulfate-free shampoo and hydrate them with conditioner, but avoid applying conditioner to the bonds to prevent slipping.
- Avoiding Heat Damage: When using heat styling tools, apply a heat protectant and try to keep the temperature moderate to prevent damaging the extensions.
- Sleeping Care: Tie your hair in a loose braid or ponytail to prevent tangling while sleeping, and consider using a silk pillowcase to minimize friction.
- Professional Check-ups: Regular appointments with your stylist for maintenance checks can address any issues with the extensions before they cause damage or reduce the lifespan of your extensions.
Summing Up
In conclusion, I-Tip extensions offer transformative potential for those seeking volume, length, or a change in style, without the extensive use of heat or chemicals. While they present a range of benefits, including versatility and durability, it's important to consider the maintenance requirements and initial investment. We encourage readers to carefully weigh these pros and cons, consider the health of their natural hair, and consult with a professional stylist to ensure the best possible outcome for their hair extension journey.
