- What Are Tape-in Extensions?
- How to Apply Tape-in Extensions
- Do Tape-in Extensions Damage Hair?
- Can You Reuse Tape-in Extensions?
- How to Remove Tape-in Extensions at Home
- How Long Do Tape-in Extensions Last?
- How to Wash Tape-in Hair Extensions
- How to Sleep with Tape-In Extensions
- Are Tape-in Extensions Visible in Thin Hair?
- Wrapping up
Hair extensions have become a staple for anyone looking to switch up their style without the long-term commitment of growing out their locks. Among the various types of extensions available, tape-in hair extensions stand out for their ease of use, natural appearance, and durability. But with all the options and methods out there, why choose tape-ins?
Whether you're a first-time user or a seasoned pro, understanding the nuances of tape-in extensions can make a significant difference in your overall experience. From their seamless blend to their reusability, these extensions offer a versatile solution for anyone looking to add volume and length. Let's dive into the 9 crucial things you need to know about tape-in hair extensions to ensure you get the most out of this popular hair accessory.
What Are Tape-in Extensions?
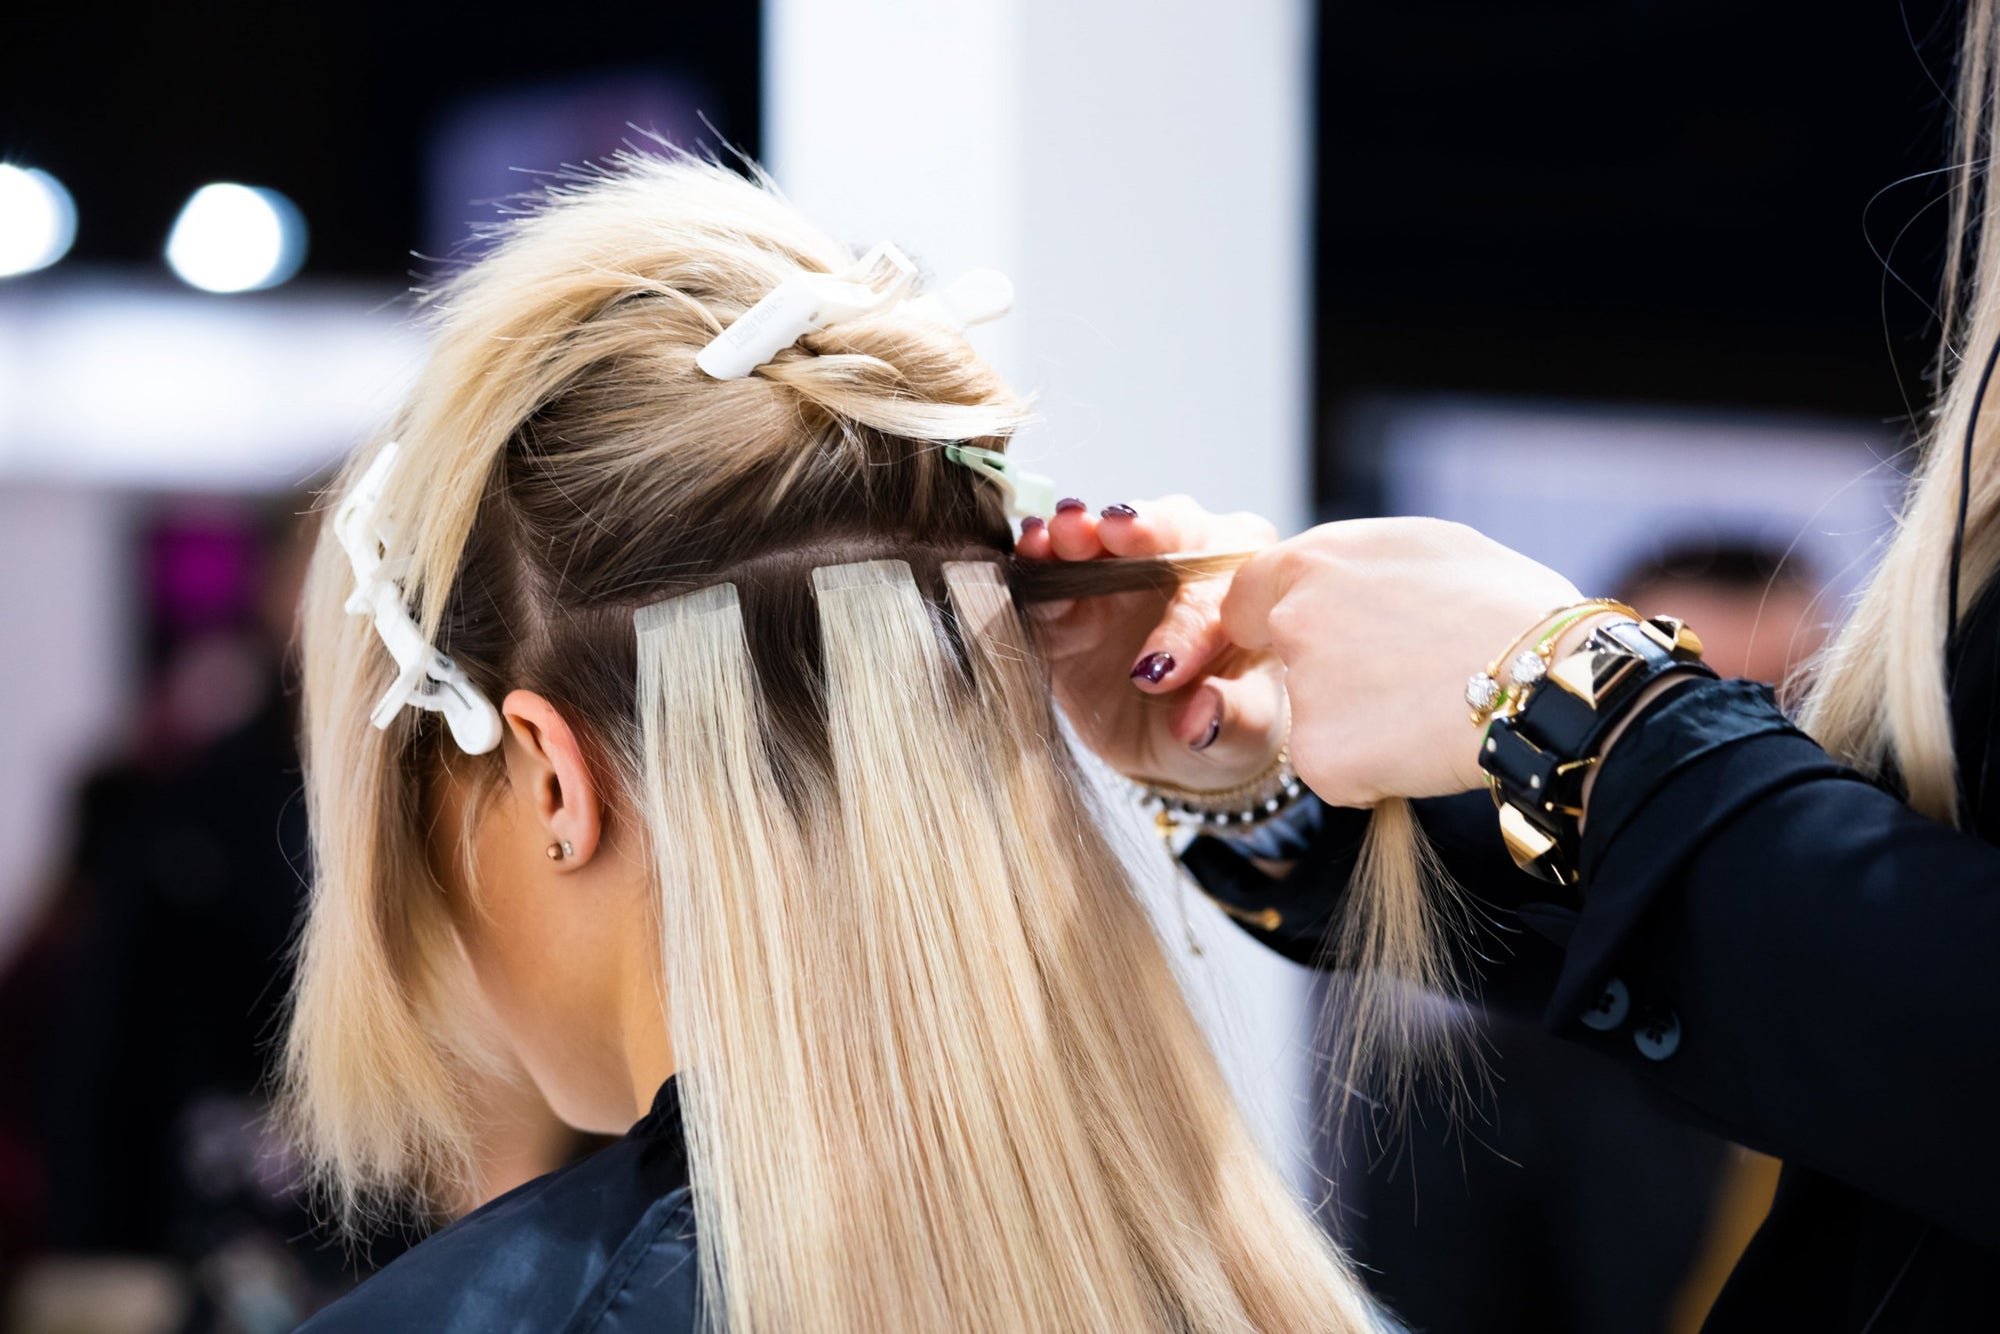
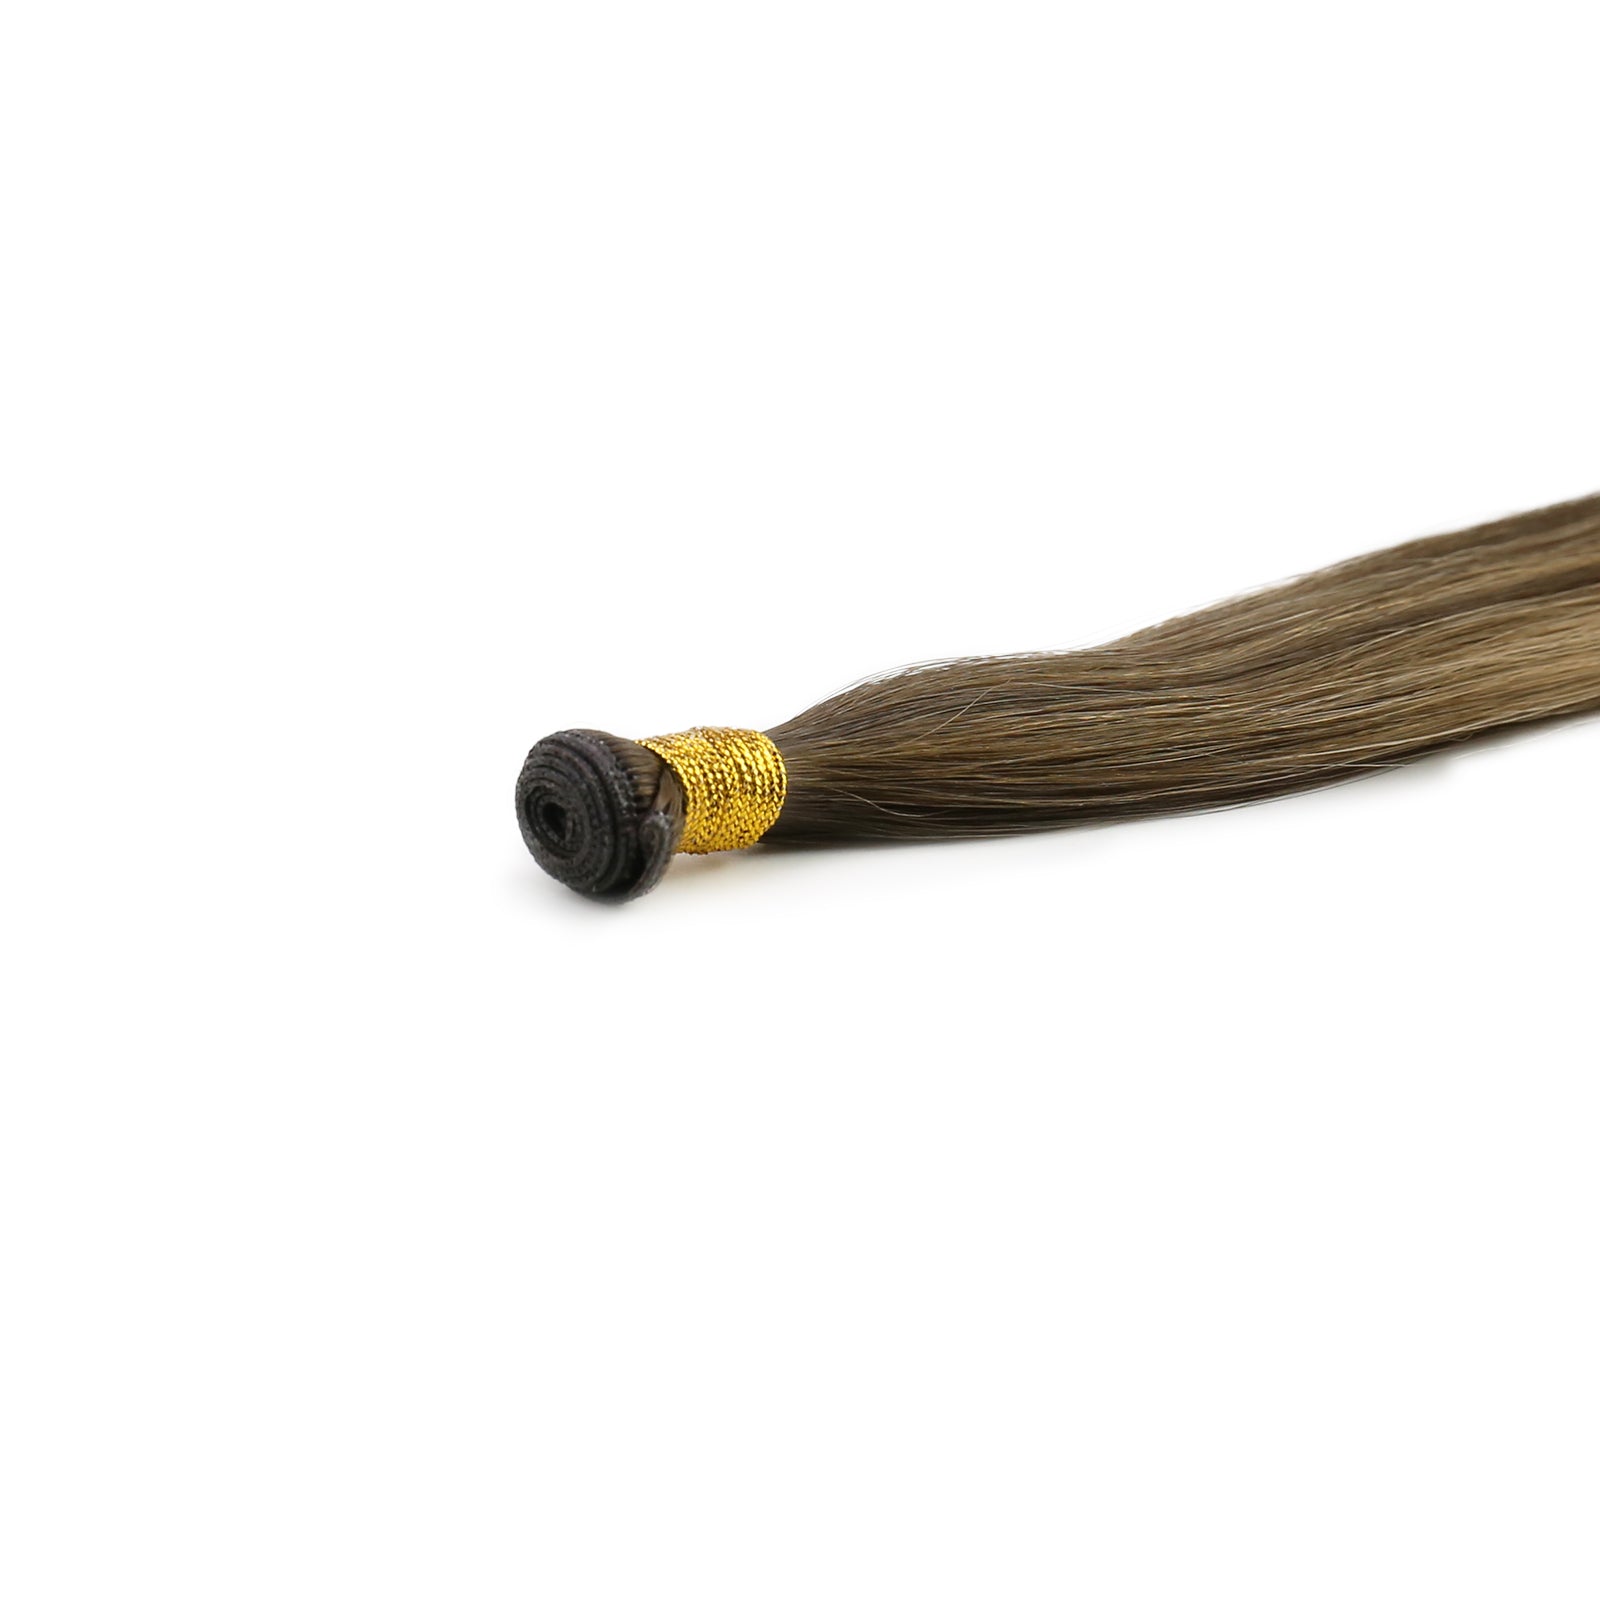
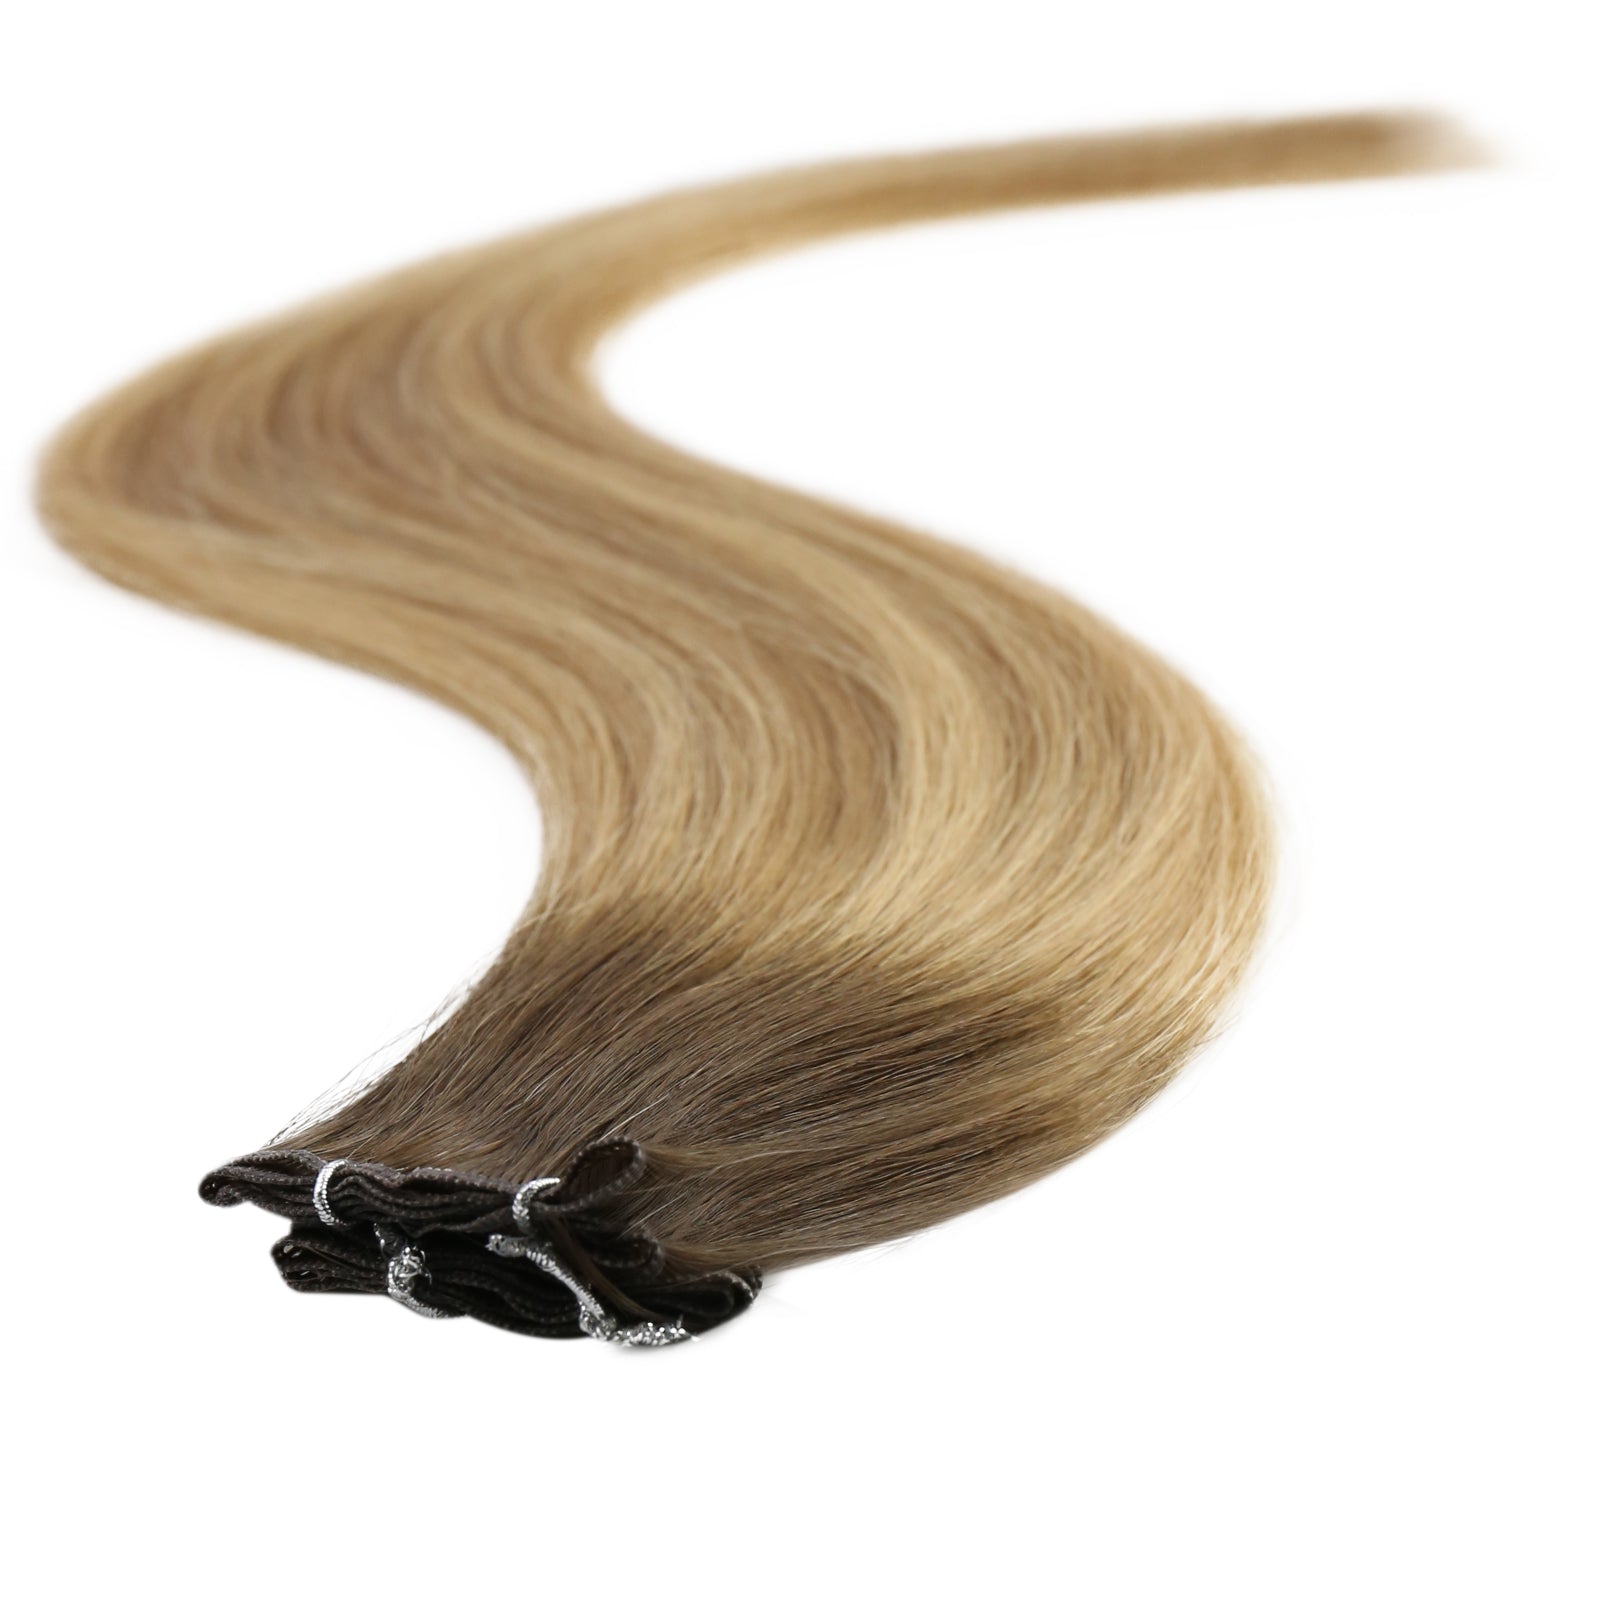
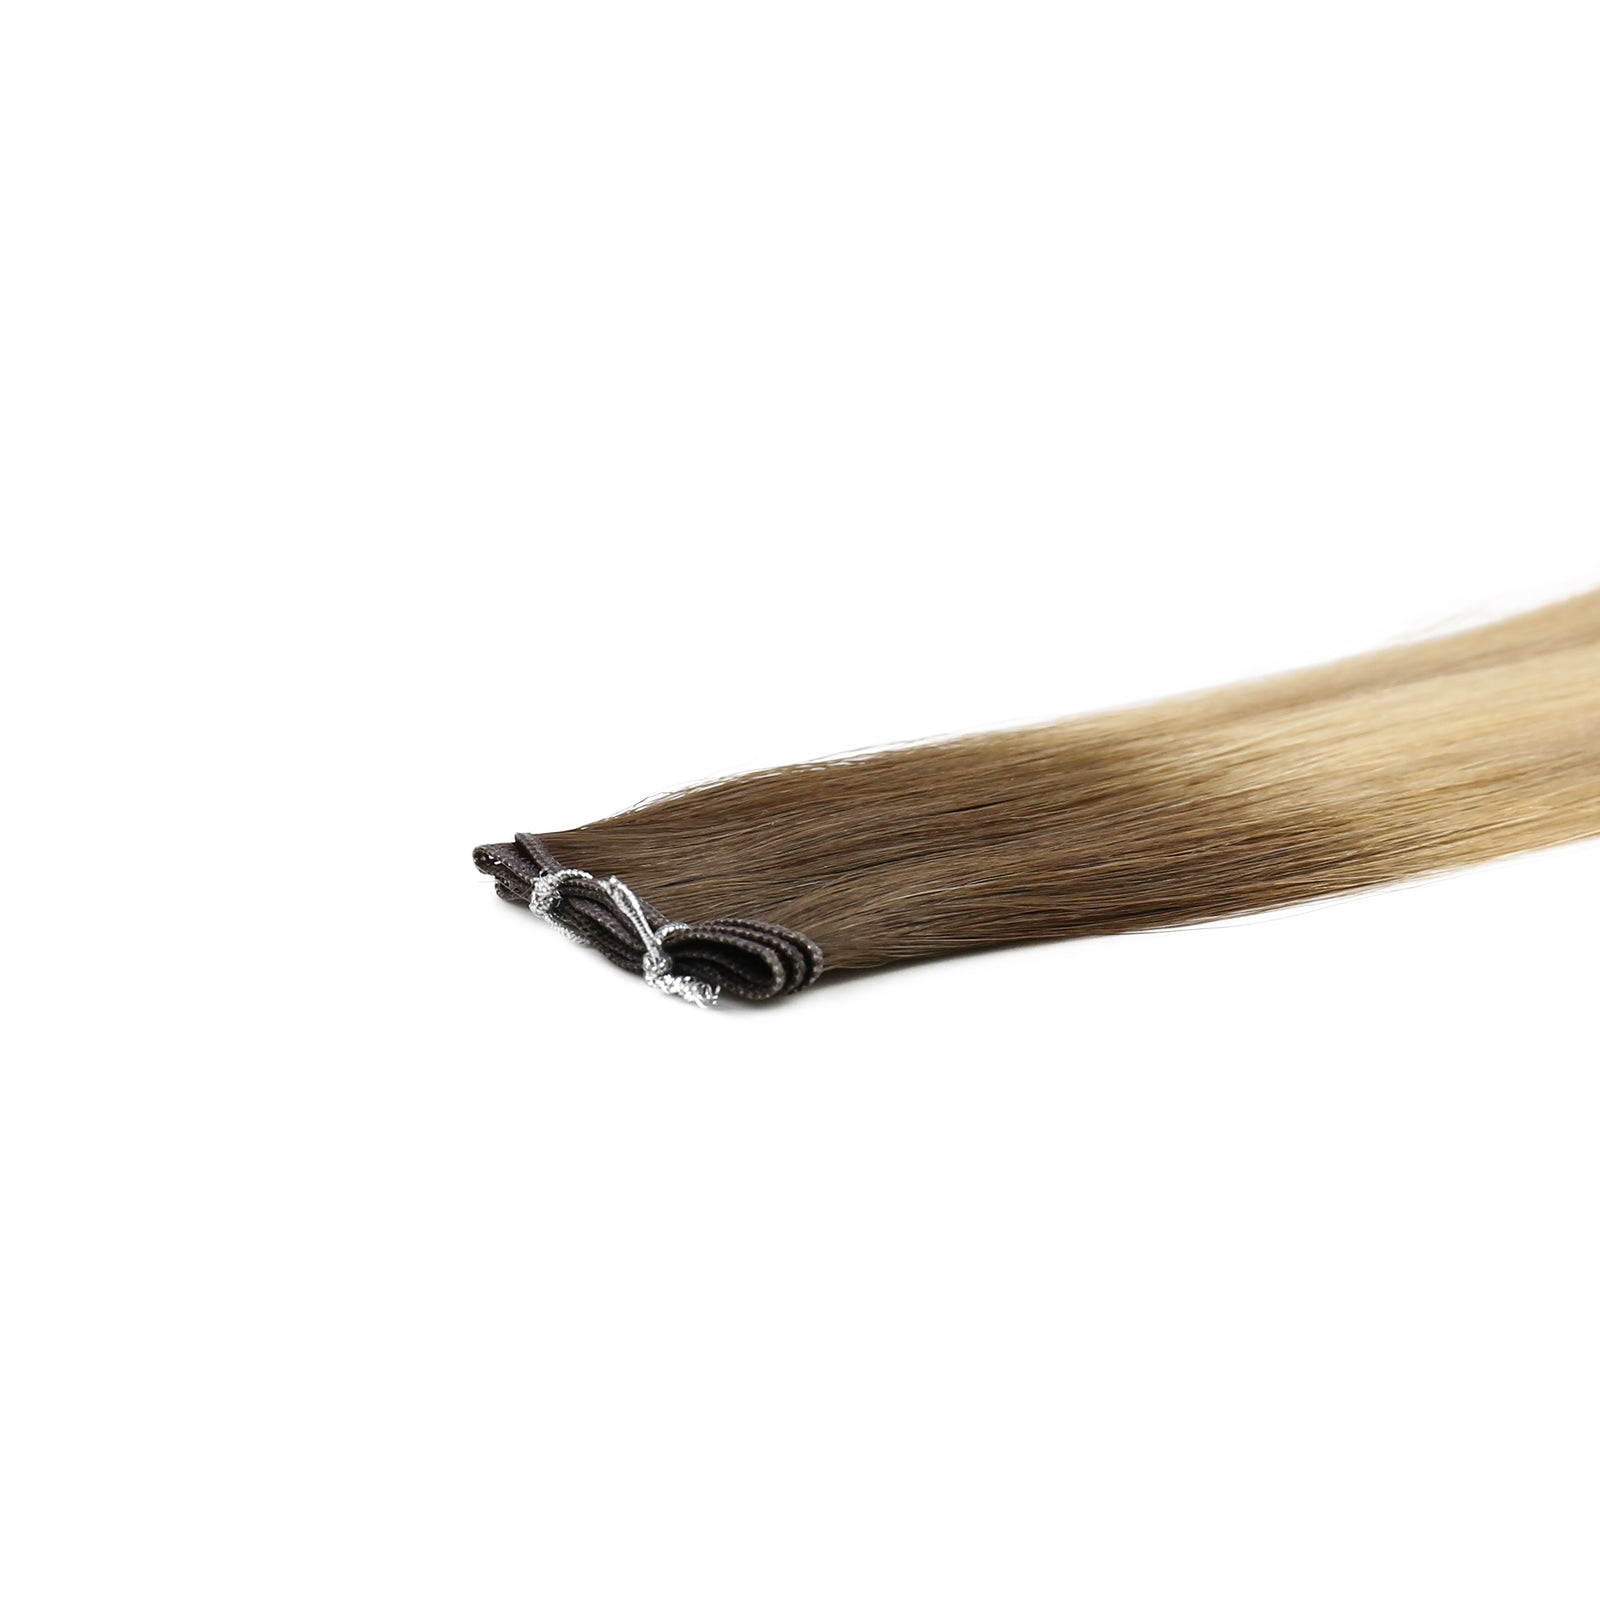
Tape-in hair extensions are a popular method of adding length and volume to your natural hair. They consist of small sections of hair attached to double-sided keratin tape. The extensions are applied by sandwiching a thin slice of your natural hair between two tapes, creating a seamless and natural look. Unlike clip-ins, tape-ins are semi-permanent, making them a favored choice for those seeking a longer-term solution.
How to Apply Tape-in Extensions
As mentioned above, tape-in extensions are applied by sandwiching a thin slice of your natural hair between two adhesive strips. This methods ensures a secure hold and a natural look. Now, I know what you might be thinking: “How exactly do I go about this without messing it up?” Don’t worry; I’ve got your back. Applying tape-in extensions may seem daunting to some beginners, but in fact it is more straightforward than you might think. With a bit of patience and the right steps, you’ll be rocking a fuller mane in no time.
-
Prepare Your Hair: Wash your hair with a clarifying shampoo to remove any oils or residue. This helps the tape adhere better.
-
Section Your Hair: Divide your hair into sections, starting from the nape of your neck.
-
Attach the Extensions: Take a small section of your natural hair and sandwich it between two tape-in extensions, pressing firmly to secure.
-
Repeat the Process: Continue moving up your head, section by section, until the desired fullness is achieved.
-
Style as Desired: Once all extensions are applied, style your hair as usual.
Do Tape-in Extensions Damage Hair?
One of the biggest concerns with tape-in extensions is whether they damage your natural hair. Because tape-ins are adhered directly onto your hair, there is potential for damage if not applied or removed correctly. However, when installed and maintained properly, tape-in extensions are relatively safe. Always have them applied by a professional and follow recommended care instructions to minimize any risk of damage.
Can You Reuse Tape-in Extensions?
Absolutely! One of the great benefits of tape-in extensions is their reusability. With proper care, you can reuse them multiple times. Typically, the tape will need to be replaced every 4-8 weeks, depending on your hair growth and how well you maintain them. When removing and reapplying, it's crucial to use high-quality replacement tape to ensure a secure hold. Here is a more detailed guide on reusing tape-ins for you.
How to Remove Tape-in Extensions at Home
Removing tape-in extensions at home might seem daunting, but with the right steps, you can do it safely and efficiently. Whether you're looking to give your hair a break or switch up your style, following these simple steps will help you remove your extensions without a trip to the salon. Here's how to do it like a pro:
Step 1: Apply the Remover
Start by spraying or applying a hair extension remover solution directly onto the tape bonds. Make sure to saturate the area well so that the adhesive can dissolve properly. Allow the remover to sit on the tape for a few minutes to loosen the adhesive. Be patient during this step, as rushing it can make the removal process harder.
Step 2: Separate the Extensions
Once the remover has had time to work, gently peel apart the tape bonds using your fingers. Start at one corner and slowly work your way across the tape. If the bonds don't separate easily, apply a bit more remover and wait another minute or two. Avoid pulling or yanking the extensions to prevent damage to your natural hair.
Step 3: Comb Out Residue
After you have removed the tape-in extensions, there might be some adhesive residue left in your hair. Use a wide-tooth comb to gently comb through your hair and remove any remaining adhesive. Work slowly and carefully to ensure you don't damage your natural hair.
Step 4: Wash Your Hair
The final step is to wash your hair thoroughly. Use a gentle shampoo to cleanse your hair and scalp, removing any leftover remover solution and adhesive residue. Follow up with a conditioner to keep your hair hydrated and smooth. After washing, let your hair air dry or use a blow dryer on a low heat setting.
How Long Do Tape-in Extensions Last?
Tape-in extensions typically last between 6 to 8 weeks before they need to be retaped or moved up. The overall lifespan of the hair itself can range from 6 months to a year, depending on the quality of the extensions and how well they are maintained. Regular salon visits for repositioning and proper care at home can help extend their lifespan.
How to Wash Tape-in Hair Extensions
Some may wonder if tape-ins can be washed since they come with adhesive tapes that could become less sticky when wet. The short answer is yes, they can be washed. However, it's essential to do it correctly to maintain their longevity and the adhesive's strength. Here’s a step-by-step guide and some tips to ensure your tape-in extensions stay in good condition:
1. Brush Before Washing
Gently brush your hair and extensions to remove any tangles using a soft-bristle brush or a special hair extension brush. Start from the tips and work your way up to avoid pulling on the extensions.
2. Use Sulfate-Free Shampoo
Use a sulfate-free shampoo to avoid weakening the adhesive bond. Sulfates can strip the hair of its natural oils and degrade the adhesive.
3. Wash in a Downward Motion
Wet your hair with lukewarm water and apply shampoo. Wash your hair in a downward motion, avoiding scrubbing or massaging the tape area vigorously.
4. Condition the Lengths, Not the Roots
Apply conditioner from mid-length to the ends of your hair. Avoid applying conditioner directly to the tapes as it can weaken the adhesive bond.
5. Rinse Thoroughly
Rinse your hair thoroughly to ensure no shampoo or conditioner residue remains, which can affect the adhesive.
6. Dry Gently
Pat your hair gently with a towel to remove excess water. Avoid rubbing your hair with the towel.
7. Avoid Heat on the Tapes
When blow-drying, use a low heat setting and avoid directing the heat directly on the tape tabs. Let your hair air dry as much as possible to preserve the adhesive's integrity.
Tips to Maintain Tape-In Hair Extensions
-
Avoid Oils Near the Tapes: Oils can break down the adhesive. Keep oil-based products away from the tape area.
-
Brush Regularly: Brush your hair at least twice a day to prevent tangling and matting.
-
Tie Your Hair Up When Sleeping: Secure your hair in a loose braid or ponytail before bed to prevent tangling.
-
Avoid Chlorine and Saltwater: If you swim, wear a swim cap or avoid getting your hair wet, as chlorine and saltwater can affect the adhesive.
How to Sleep with Tape-In Extensions
Unlike clip-ins that should be taken off before sleeping, tape-ins are designed to be worn continuously, including during sleep. However, proper care is essential to maintain the integrity of the adhesive and the condition of your extensions. Here’s how to sleep with tape-in extensions:
1. Brush Your Hair Before Bed
Gently brush your hair to remove any tangles and knots using a soft-bristle brush or a special hair extension brush. This will help prevent matting and tangling overnight.
2. Secure Your Hair
Tie your hair in a loose braid, ponytail, or bun to minimize movement and friction while you sleep. This helps reduce the risk of tangling and matting, which can be damaging to both your natural hair and extensions.
3. Use a Silk or Satin Pillowcase
Switch to a silk or satin pillowcase. These materials create less friction compared to cotton pillowcases, helping to prevent tangling and frizz while you sleep. Silk and satin are gentler on your hair, reducing the risk of breakage and maintaining the smoothness of your extensions.
4. Consider a Sleep Cap
Wearing a silk or satin sleep cap can provide an extra layer of protection by keeping your hair contained and reducing friction even further. This can be particularly useful if you move around a lot in your sleep.
5. Avoid Sleeping with Wet Hair
Always ensure your hair is completely dry before going to bed. Sleeping with wet hair can cause tangling and weaken the adhesive bonds of the tape-ins. If you wash your hair in the evening, allow sufficient time for it to air dry or use a blow dryer on a low heat setting to ensure it’s thoroughly dry before sleeping.
6. Maintain a Regular Nighttime Routine
Incorporate these steps into your regular nighttime routine to consistently protect your tape-in extensions. Consistency is key to maintaining the longevity and appearance of your extensions.
Are Tape-in Extensions Visible in Thin Hair?
If you have thin hair, you might worry that tape-in extensions will be visible. However, when applied correctly, tape-in extensions can blend seamlessly with even the thinnest hair. The key is to use smaller sections and place the tapes strategically to avoid detection. Consulting with a professional stylist can ensure a natural look that enhances your hair's volume without revealing the tapes. But remember, not all hair extensions are suitable for thin hair. Here is a breakdown of what works well for thin hair and what doesn’t.
Wrapping up
Tape-in hair extensions offer a fantastic way to achieve the hair of your dreams with added length and volume. Understanding these 9 things about tape-ins, you can enjoy beautiful, natural-looking hair extensions. Whether you're a first-timer or a seasoned user, these facts provide all the essential knowledge to keep your tape-ins looking fabulous. So, get to transform your hair game with tape-in extensions!
