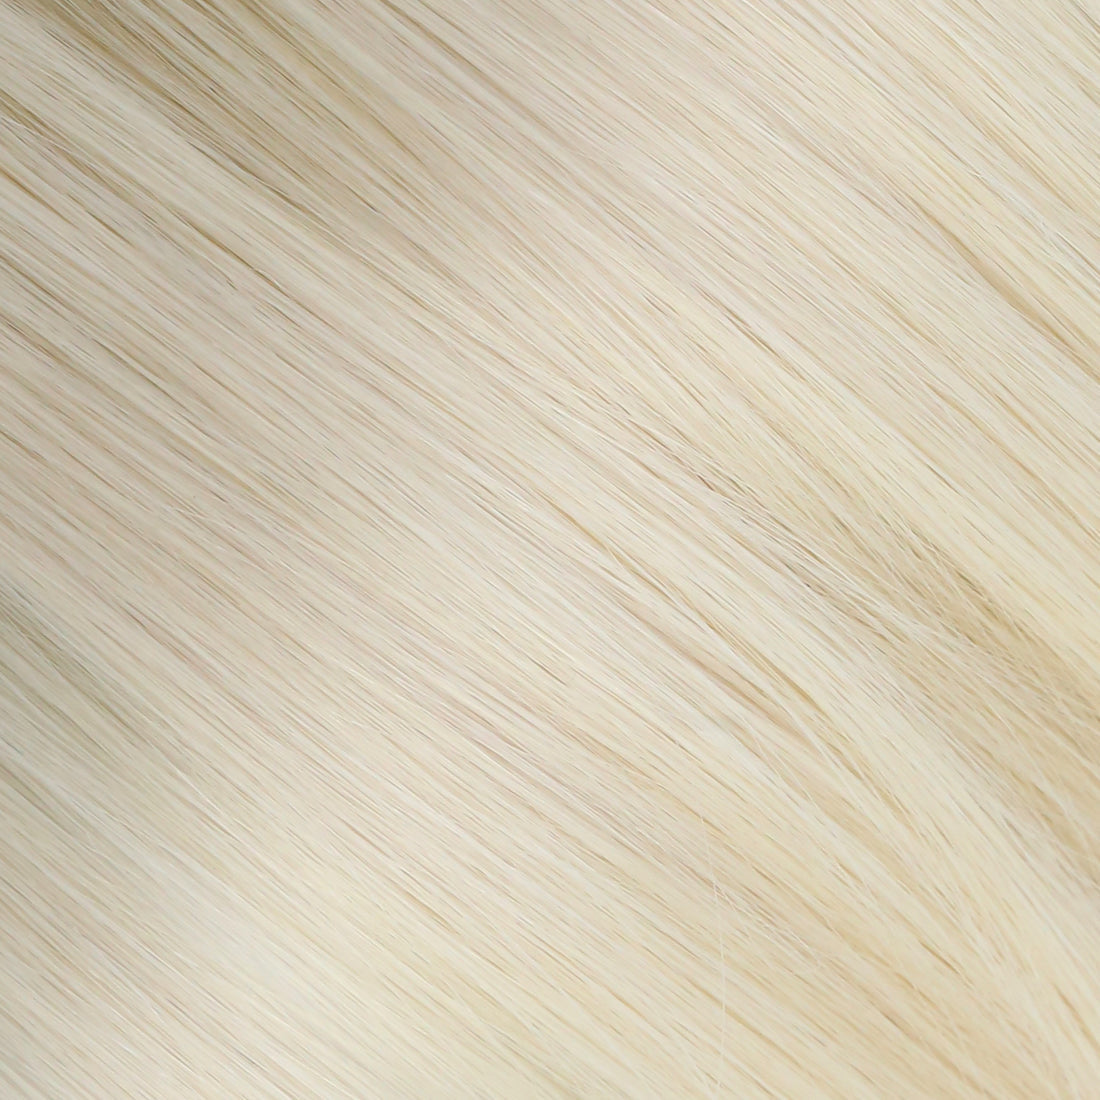
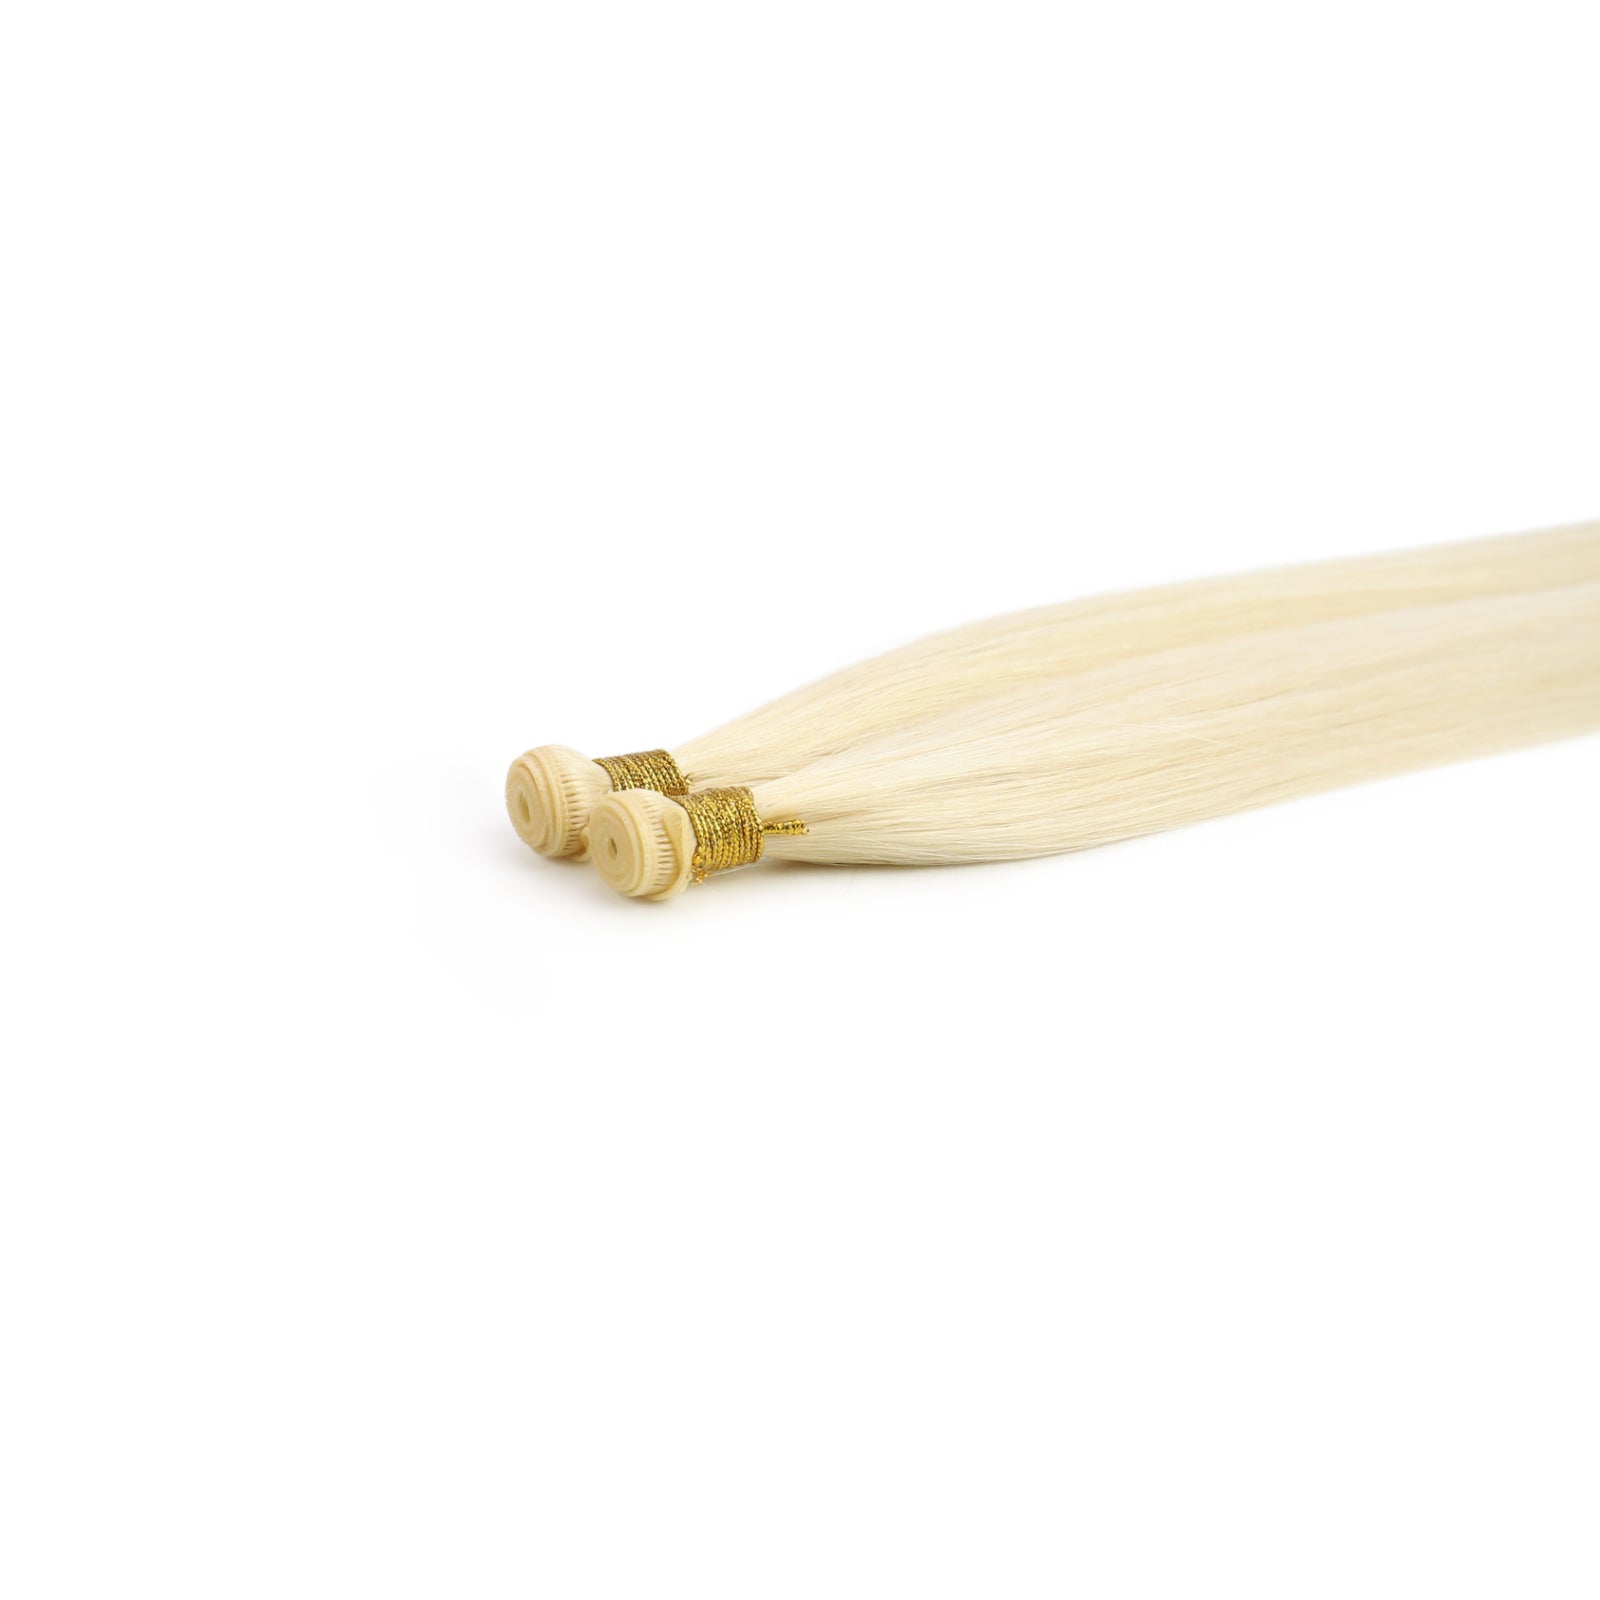
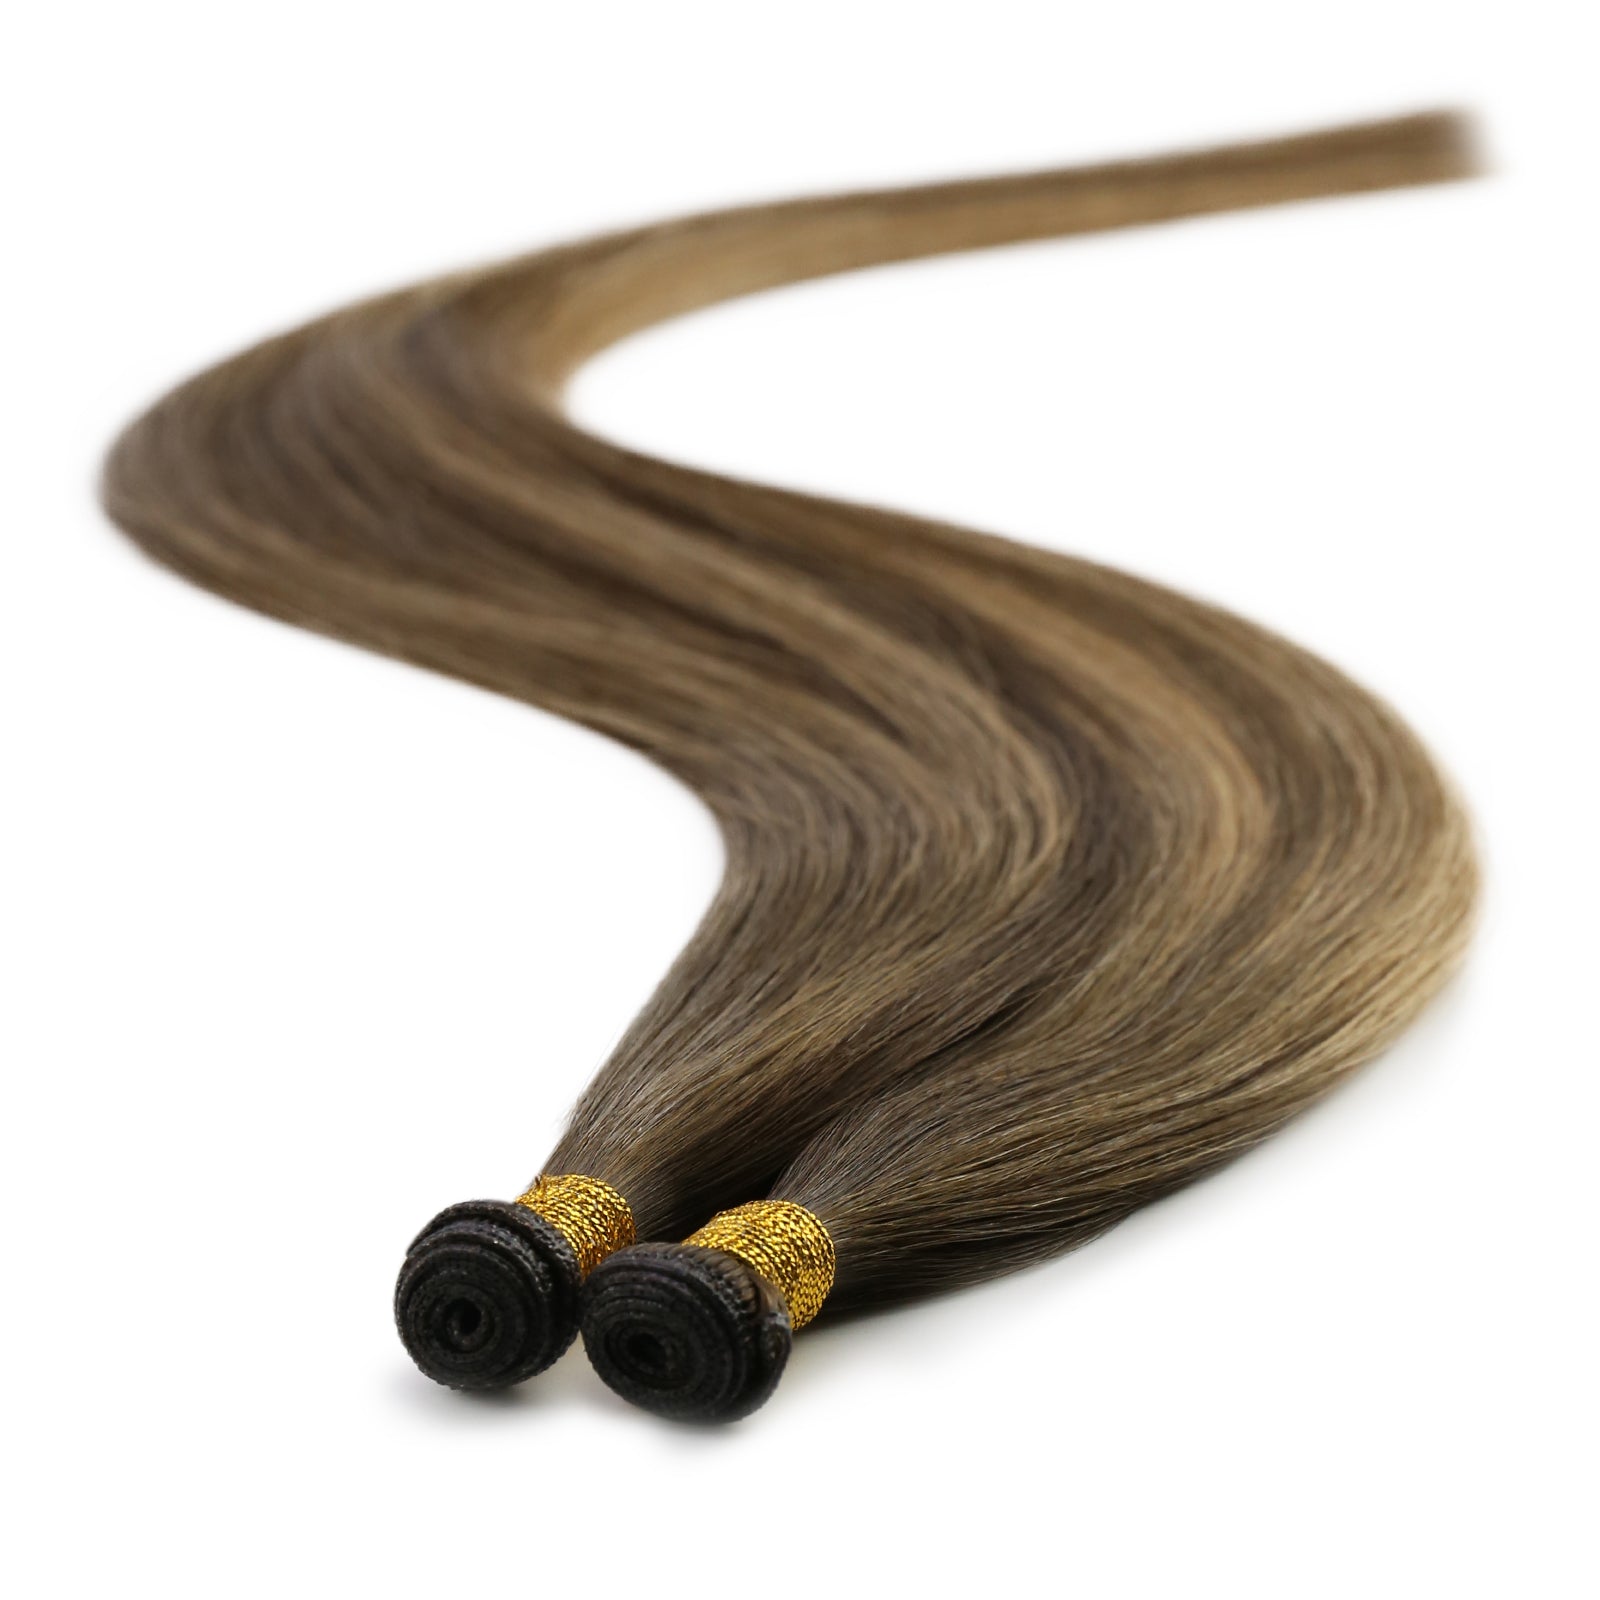
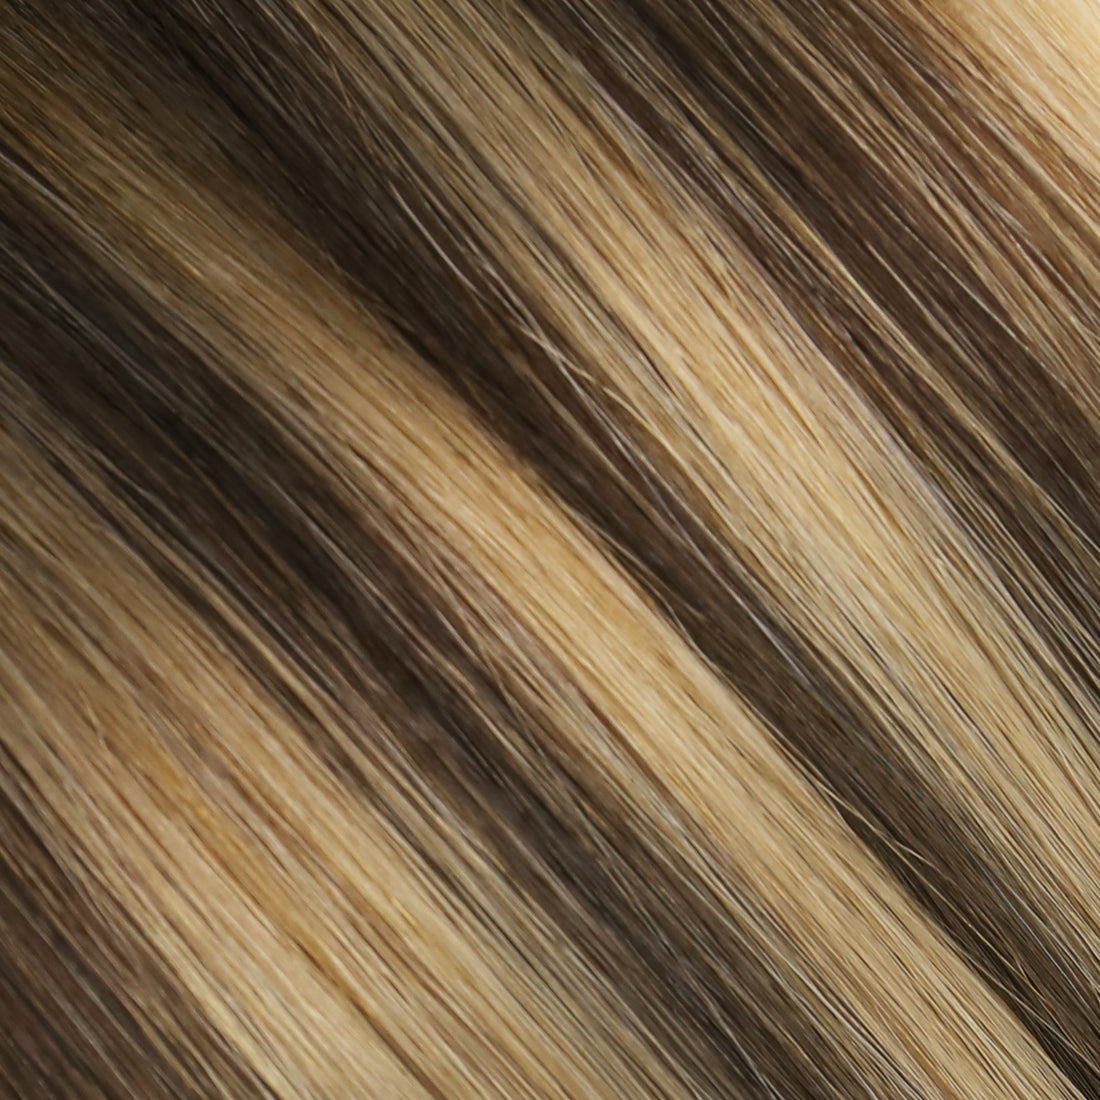
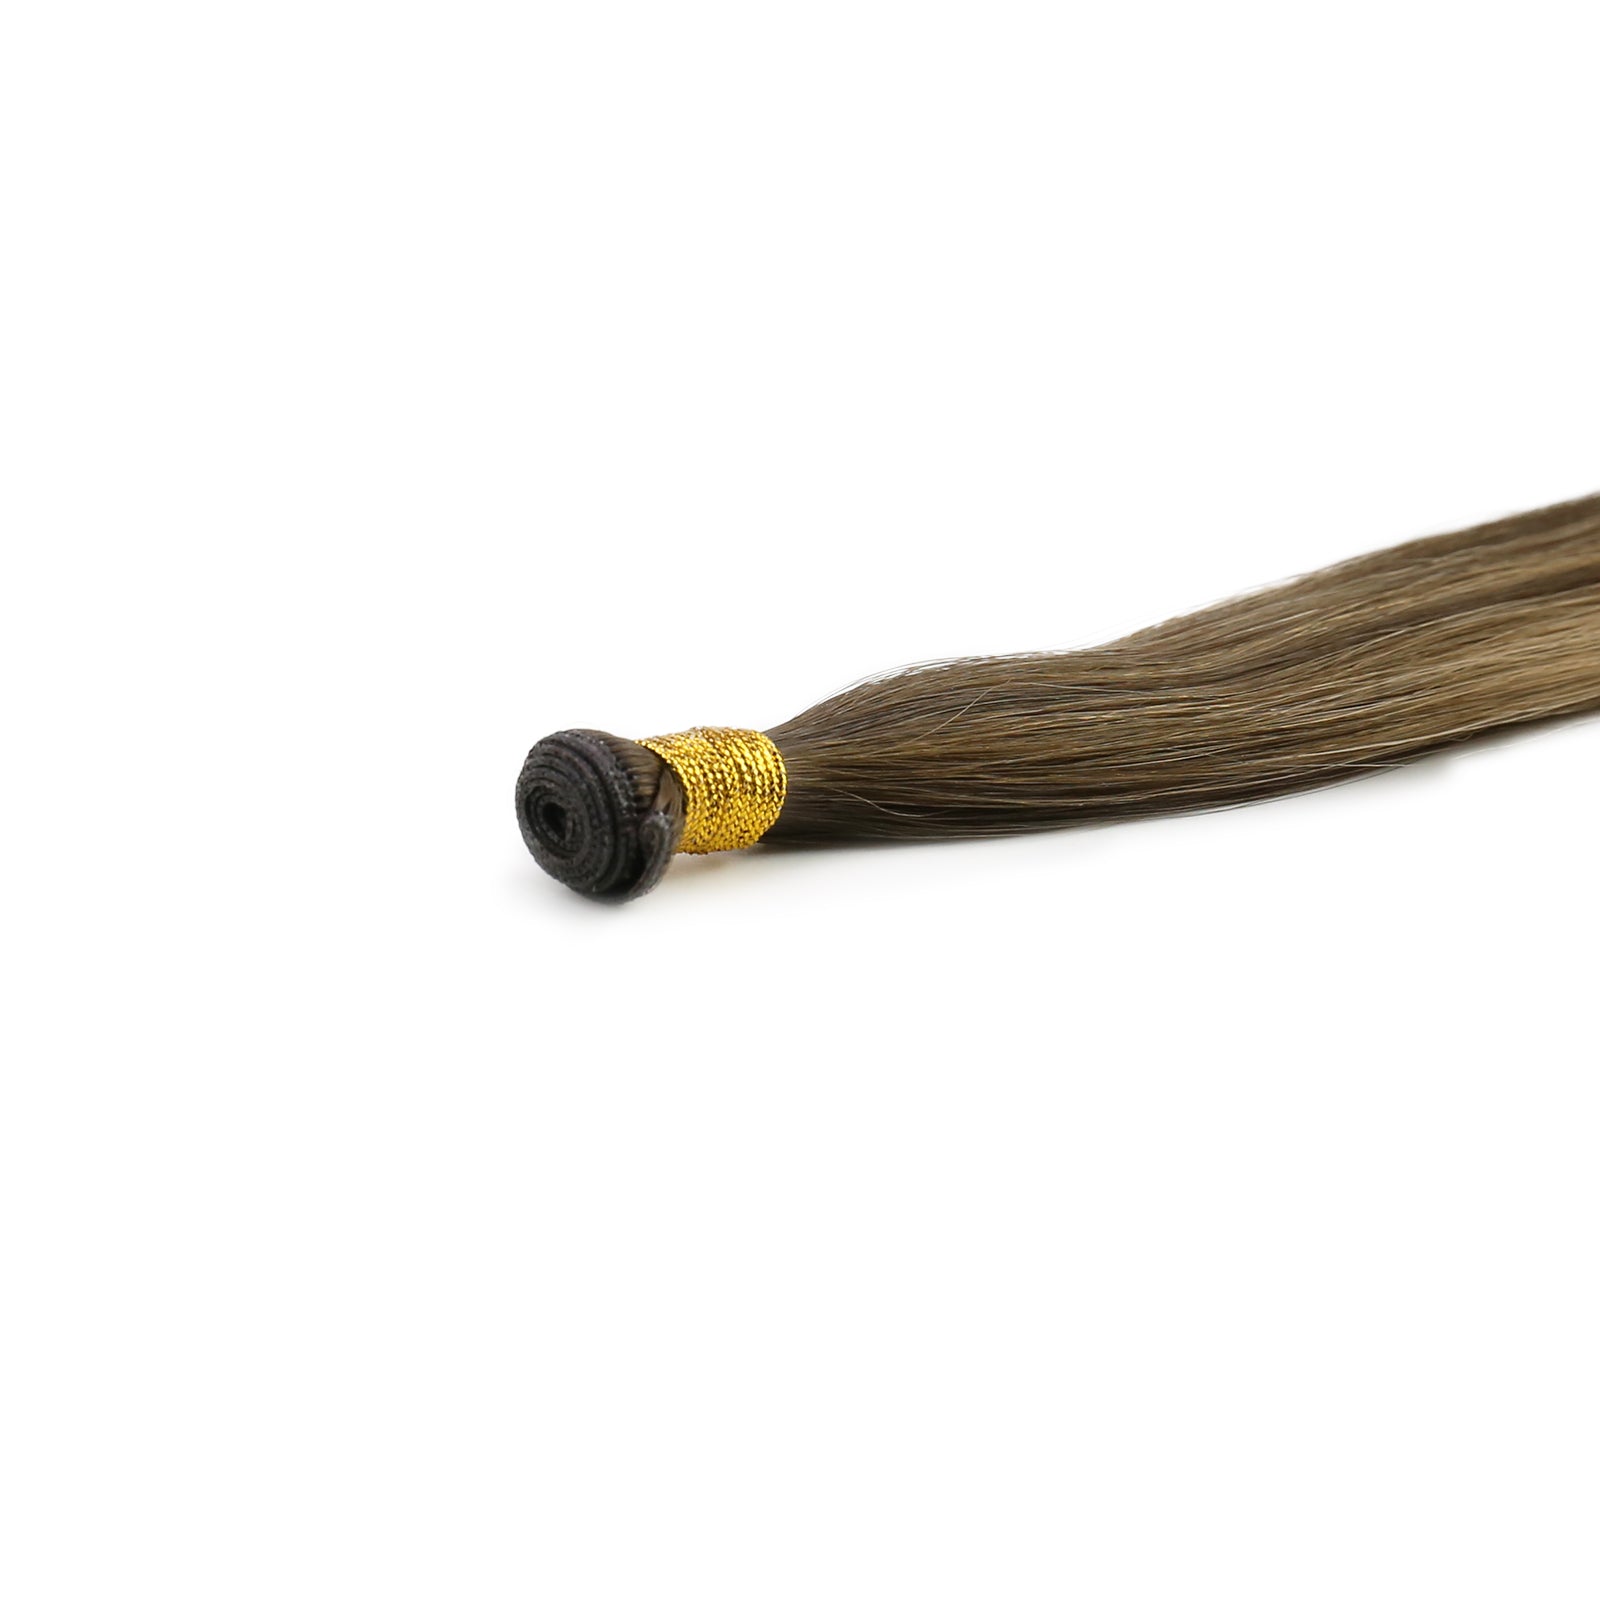
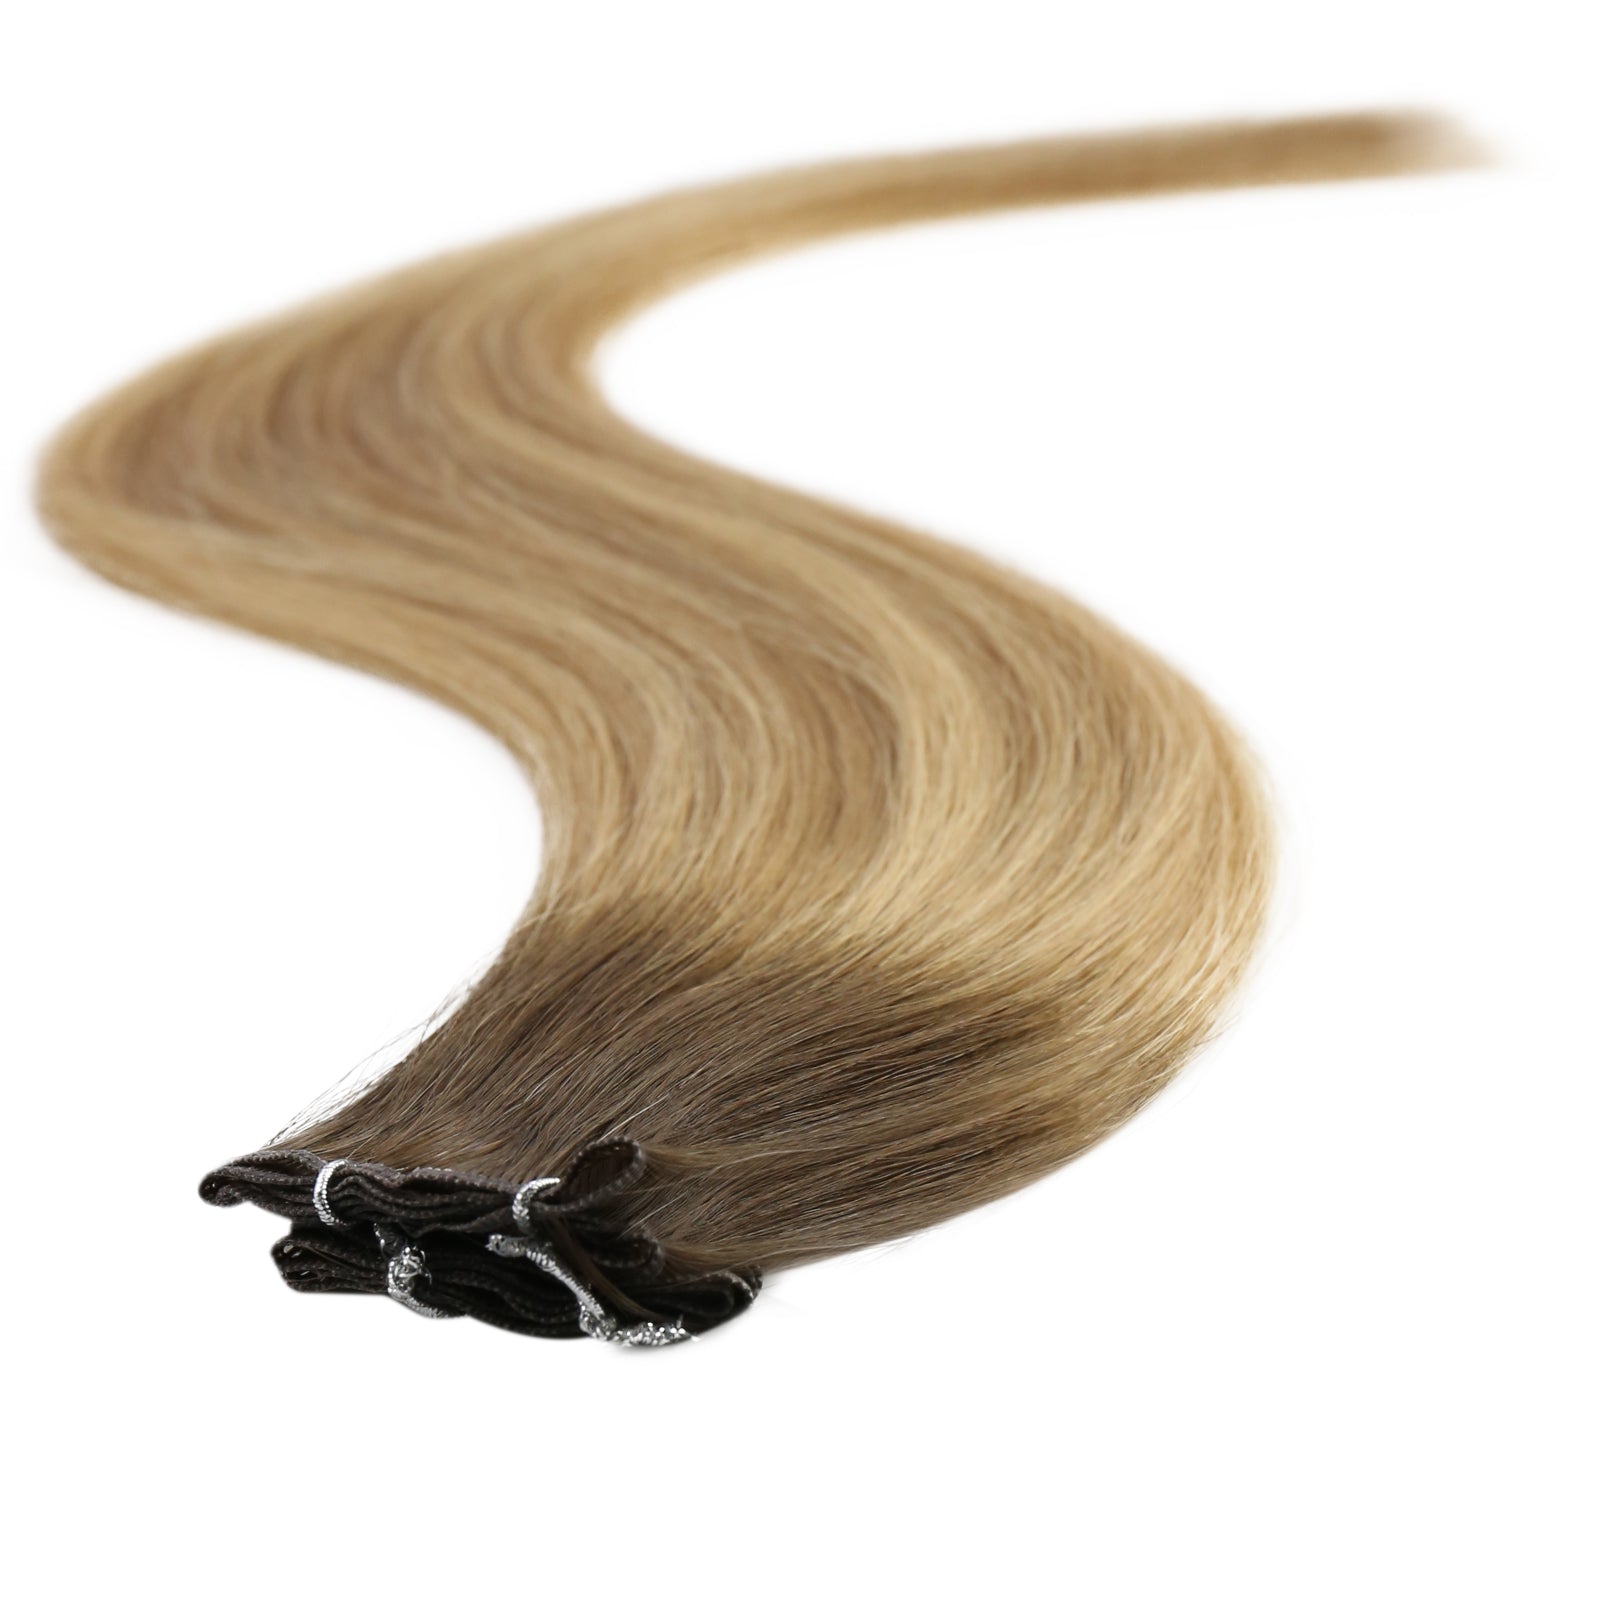
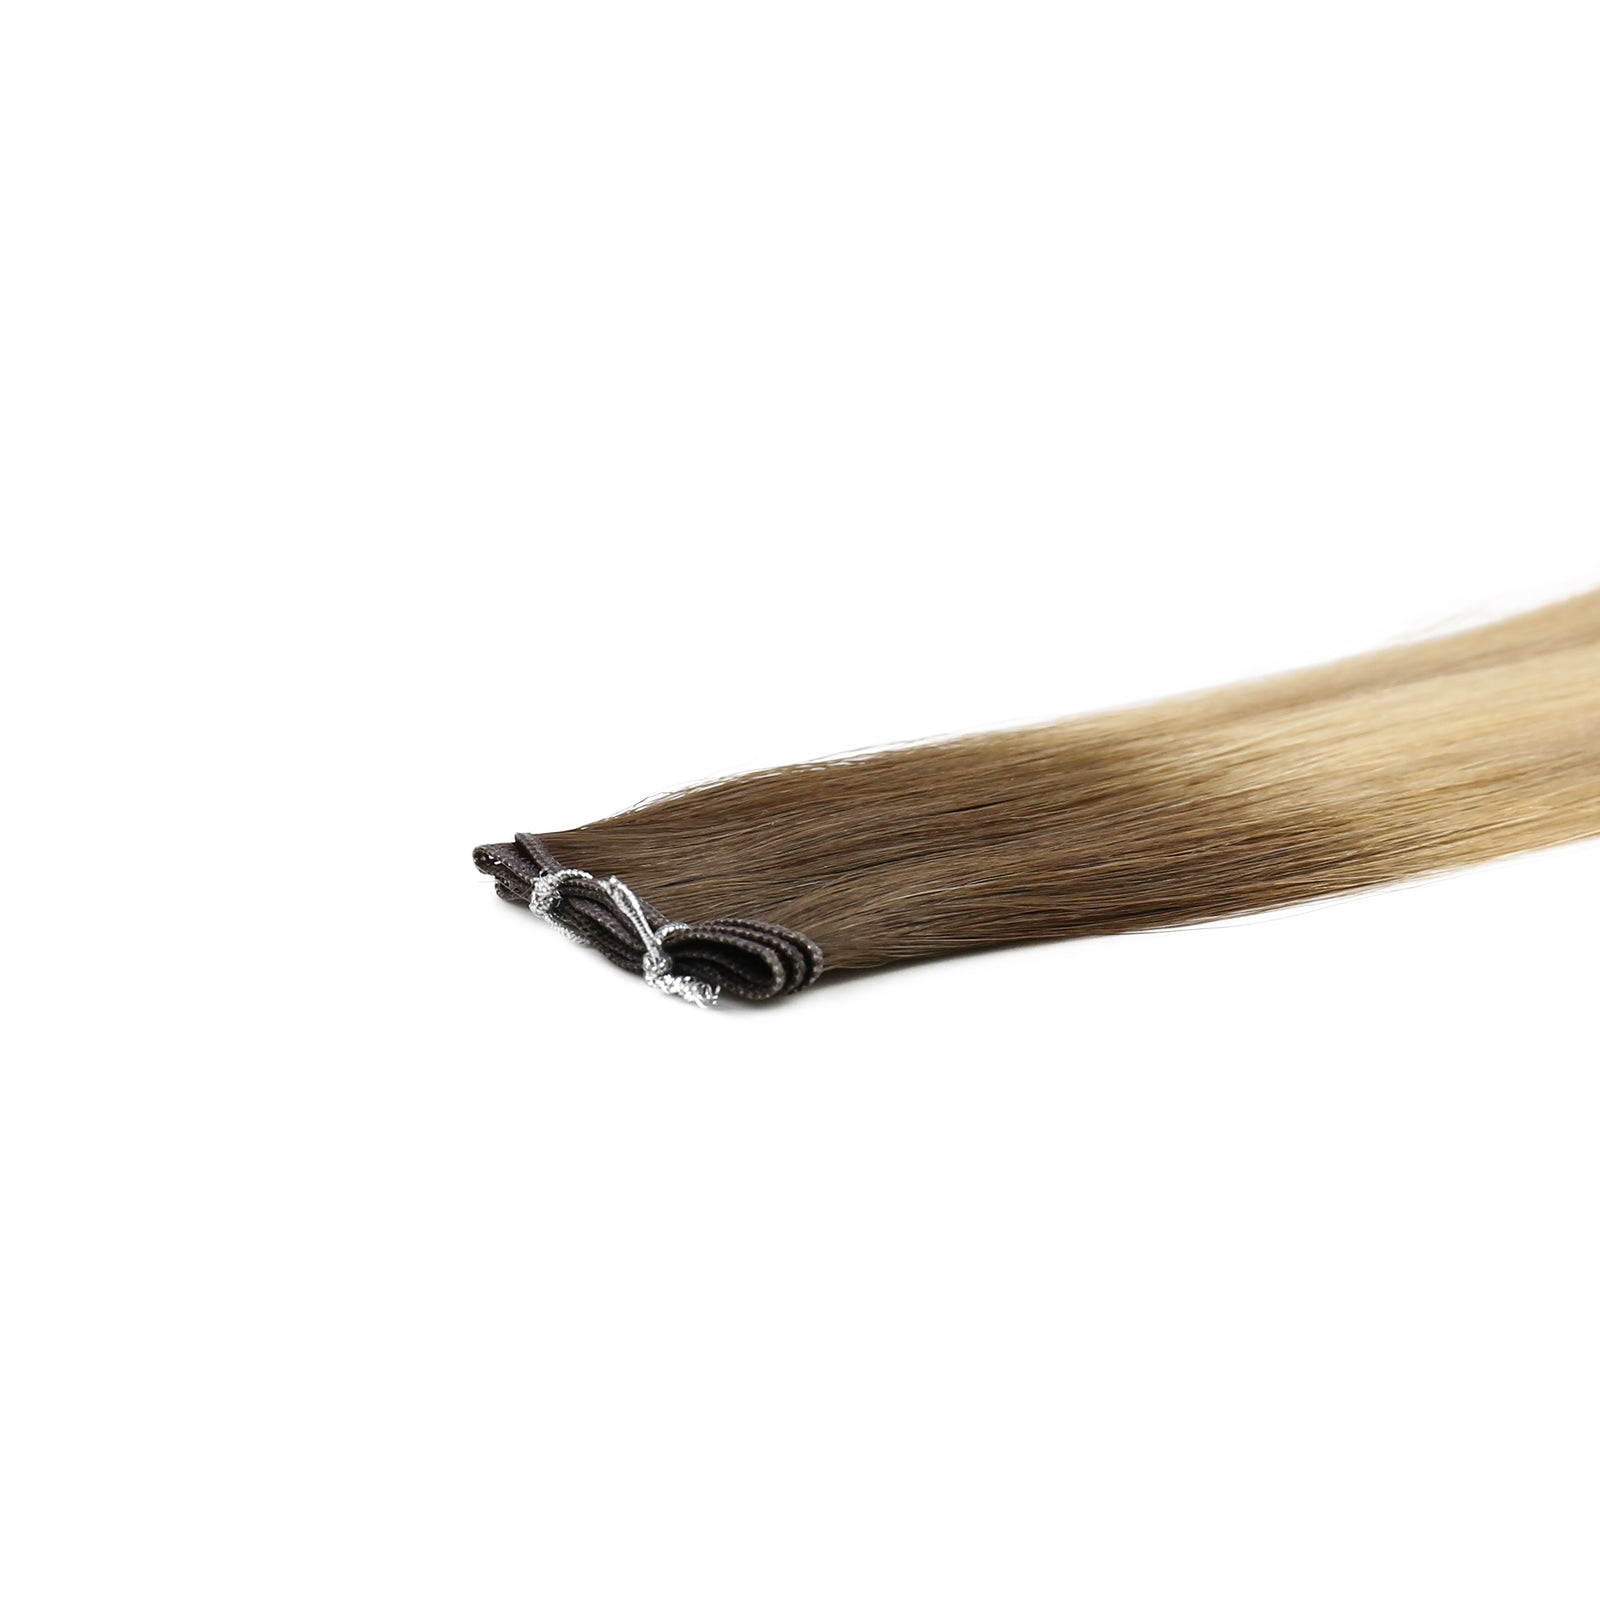
Clip in hair extensions are a popular and versatile method for adding length, volume, or color to your natural hair without the need for permanent application. Additionally, clip-in hair extensions are so easy to install that one can done at home without any professional skills. Here, the post will show you how to install clip in hair extensions on your own.
What are Clip in Hair Extensions
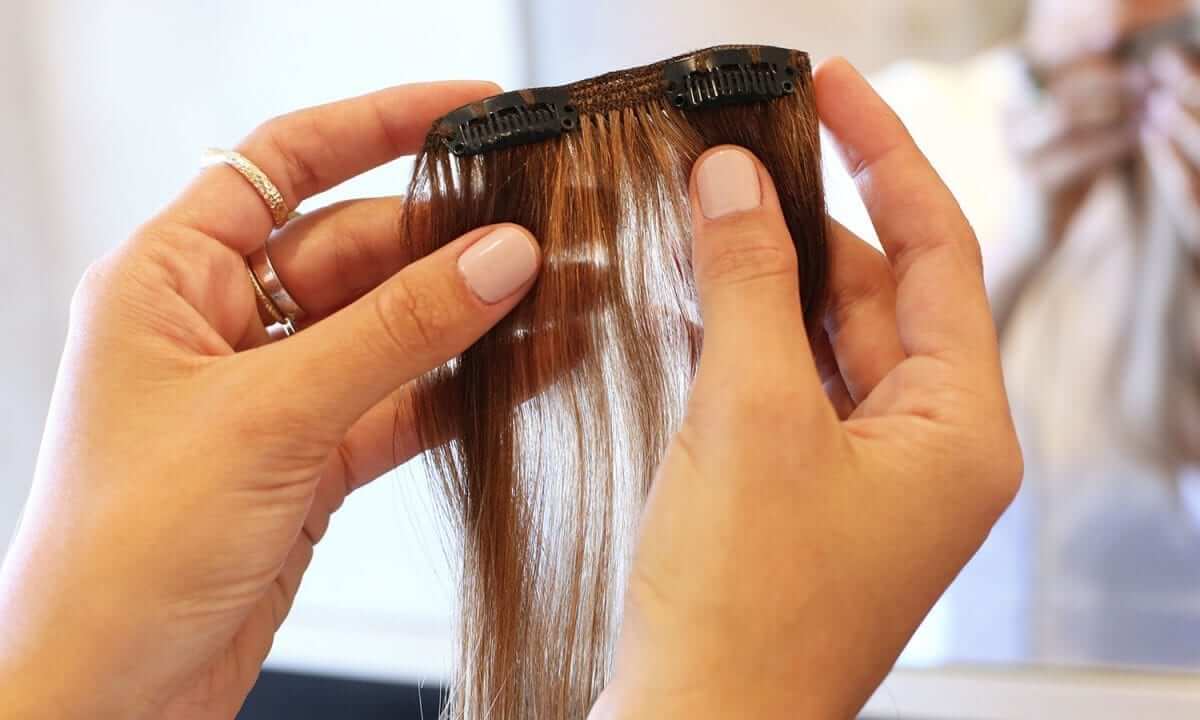
Clip-in hair extensions are designed to enhance your hairstyle with ease. These extensions are made up of wefts, which are strips of hair attached to small, snap-in clips. This design allows for simple application and removal, as the clips can be easily fastened to or taken out of your natural hair. This convenience makes them a practical choice for quick style changes.
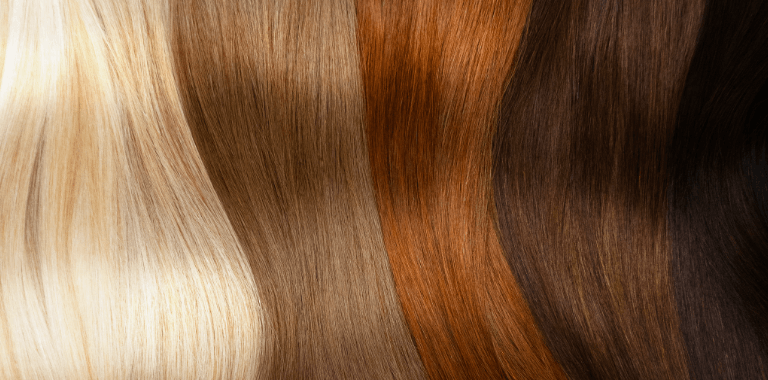
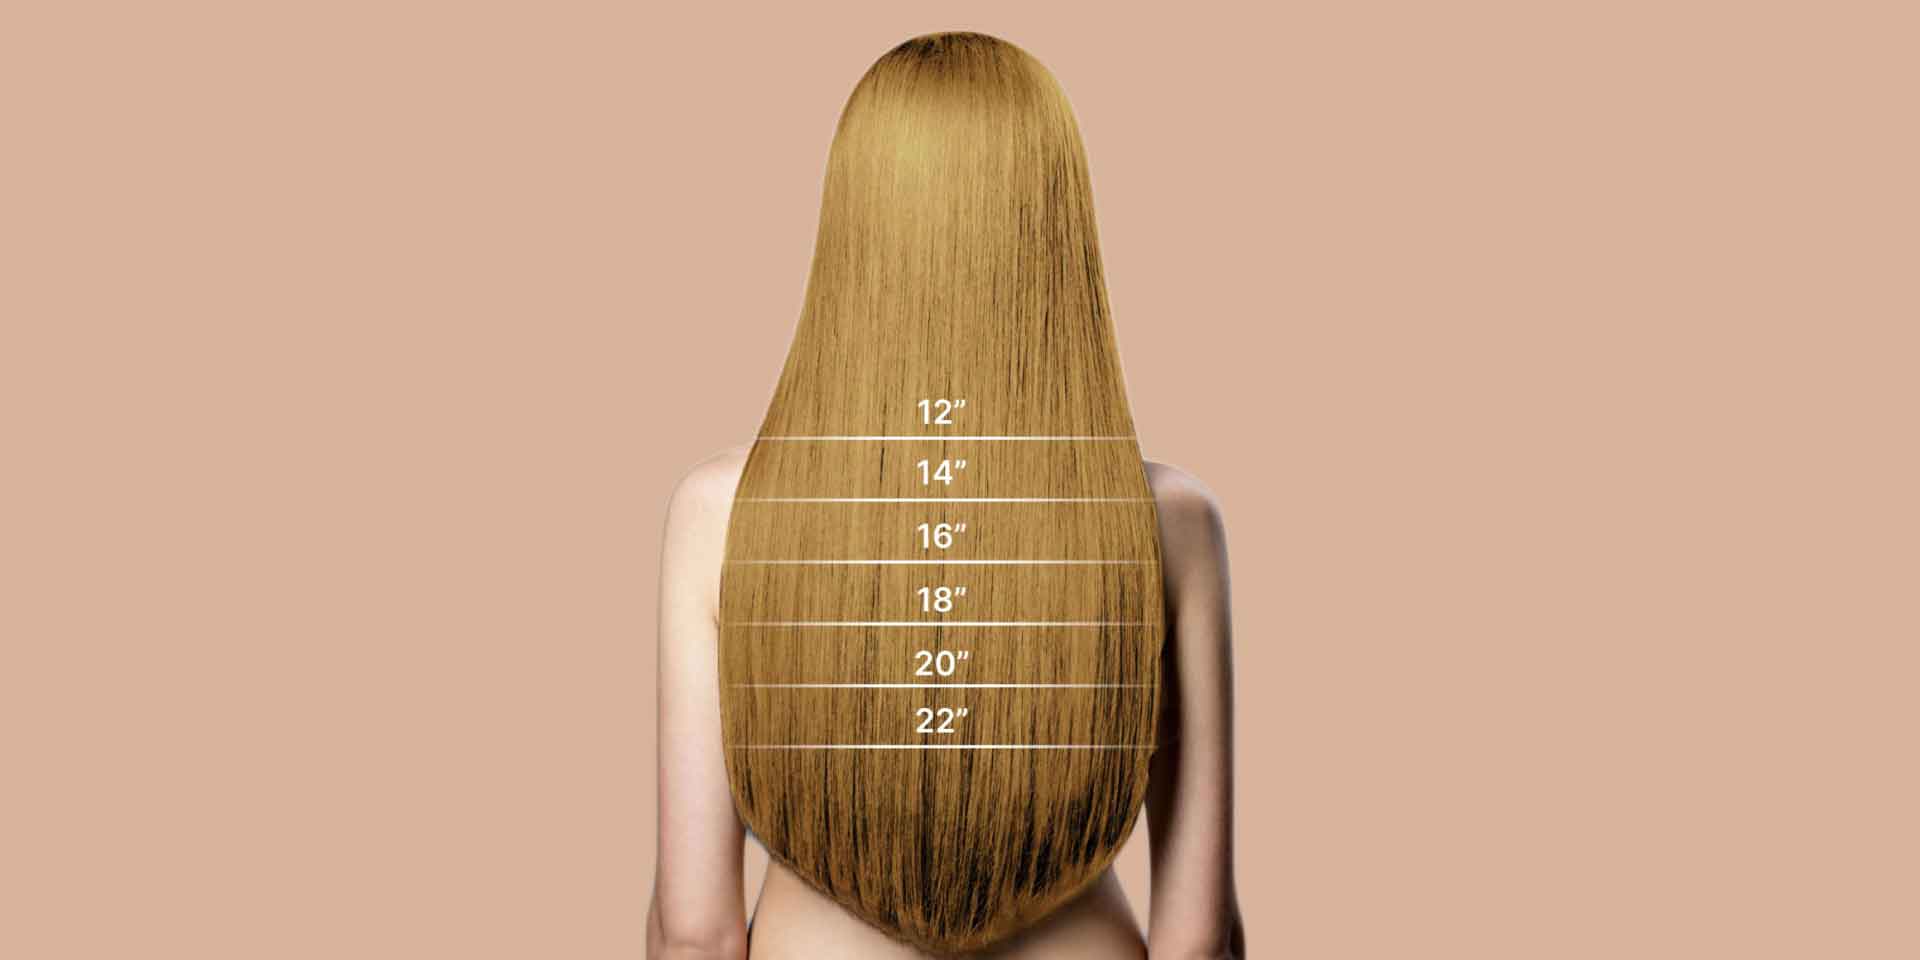
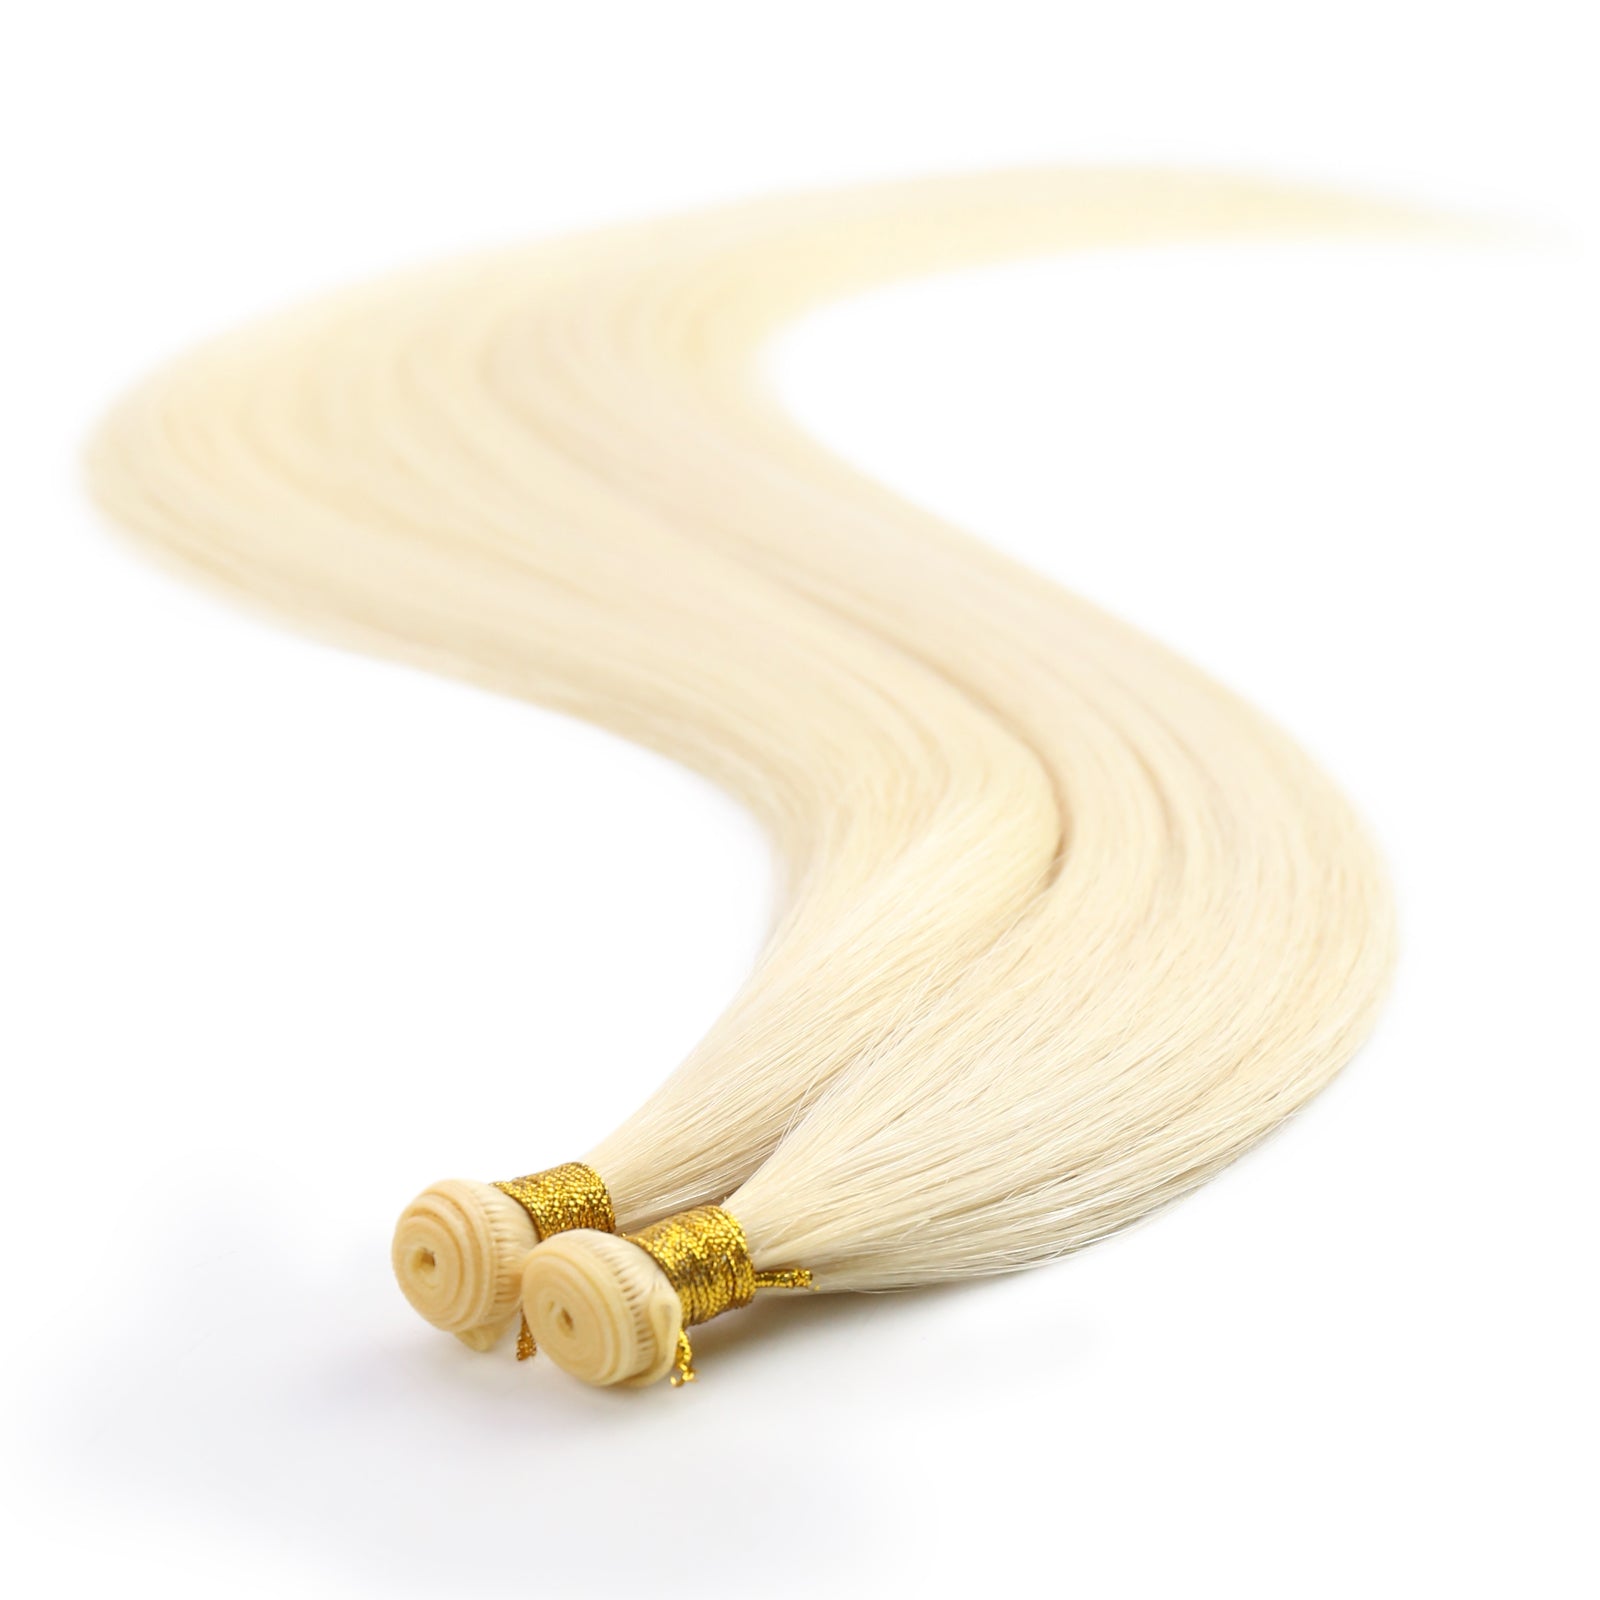
Clip-in extensions come in various materials, including synthetic fibers and real human hair. Human hair extensions generally offer a more natural look and feel, while synthetic options are more budget-friendly but may not blend as seamlessly with your natural hair. Available in a range of lengths, colors, and textures, clip-ins provide the flexibility to match your current hair or experiment with a completely new look.
Benefits of Clip-In Extensions
Clip-in hair extensions offer a range of benefits that make them a popular choice for anyone looking to enhance their hairstyle. Whether you're aiming for added volume, length, or a splash of color, clip-ins provide a convenient and versatile solution. Here are some key advantages:
Non-Permanent
Clip-in extensions are a flexible option because they can be put in and taken out easily, allowing for temporary changes to your hairstyle. This means you can switch up your look for a special event or daily wear without making a long-term commitment. The ease of removing them at the end of the day ensures that you can return to your natural hair without any lasting alterations.
Ease of Use
One of the major advantages of clip-in extensions is their simplicity in application. They are designed to be user-friendly, making them accessible even for beginners. You don’t need to visit a salon or seek professional help to apply them, which saves both time and money. The straightforward process of clipping them into your hair allows for quick transformations and minimal hassle.
Versatility
Clip-in extensions offer a high degree of versatility, enabling you to experiment with various styles without a permanent change. You can easily add volume and length to your hair or try out different colors, all while keeping your natural hair intact. This flexibility allows you to create diverse looks for different occasions or moods, giving you the freedom to adapt your hairstyle to your preferences.
Damage-Free
Unlike some other hair extension methods that use glue, heat, or chemicals, clip-in extensions are designed to be gentle on your natural hair. The application process does not involve any harsh substances or heat treatments, reducing the risk of damage or breakage. This makes clip-ins a safer choice for those looking to enhance their hair without compromising its health.
How to Install Clip in Hair Extensions
What You'll Need
-
Clip-in hair extensions (make sure they match your hair color)
-
A fine-toothed comb or hairbrush
-
Hair clips or hair ties
-
Optional: heat styling tools (if you need to blend the extensions with your natural hair)
Step-by-Step Installation
Prepare Your Hair
-
Start with clean, dry hair. If your hair is freshly washed, make sure it's completely dry before you begin.
-
Brush your hair thoroughly to remove any tangles.
Section Your Hair
-
Divide your hair into sections. Use clips or hair ties to keep the sections separated. Generally, you’ll start with the bottom section and work your way up.
-
For thicker extensions, you might need to create more sections.
Attach the Extensions
-
Bottom Layer: Start with the bottom section. Clip up the top layers to keep them out of the way.
-
Clip-in Extensions: Each extension piece has clips that open and close. Open the clips by pressing the small lever.
-
Placement: Place the extension at the root of the section, ensuring it's close to the scalp but not too tight.
-
Secure: Press down on the clips to snap them into place. Make sure they are secure but not pulling on your hair.
-
Next Layer: Release the next section of hair and repeat the process, layering the extensions as you go. Each section should be slightly higher than the last.
Blend and Style
-
Once all the extensions are in place, blend them with your natural hair. You can use a brush or your fingers to blend them.
-
If needed, use heat styling tools to curl or straighten the extensions so they match your natural hair style.
Final Adjustments
-
Check the extensions from all angles to make sure they blend well and there are no visible clips.
-
If any clips feel loose, adjust them for a secure fit.
Additional Tips
-
Practice: It might take a few tries to get it perfect. Practice makes perfect!
-
Color Matching: If you’re unsure about color, try extensions in a shade that’s slightly lighter or darker than your hair. Many extensions come in a range of shades for a natural blend.
-
Avoid Overuse: Don’t wear extensions too frequently to prevent damage to your natural hair.
Tips for Maintaining the Clip in Hair Extensions
Maintaining clip-in hair extensions is essential to keep them looking their best and extending their lifespan. Proper care ensures that they remain vibrant, tangle-free, and blend seamlessly with your natural hair. Here’s a comprehensive guide to help you maintain your clip-in extensions:
Regular Cleaning
-
Wash Frequency: Clean your extensions every 8-12 uses to remove buildup and keep them fresh.
-
Shampoo and Conditioner: Use a mild, sulfate-free shampoo and conditioner to avoid stripping the hair of moisture.
-
Washing Technique: Gently wash the extensions in lukewarm water, avoiding vigorous scrubbing or twisting.
Proper Drying
-
Towel Drying: Pat the extensions gently with a towel to remove excess water. Avoid rubbing to prevent tangling.
-
Air Drying: Lay them flat on a towel or a drying rack to air dry. Avoid using a blow dryer to prevent heat damage.
Storage
Storage Solutions: Store your extensions in a cool, dry place. Use a dedicated storage bag or hang them to keep them tangle-free.
Avoid Sunlight: Keep them away from direct sunlight and damp areas to prevent damage and discoloration.
Avoid Heat and Chemicals
-
Heat Styling: Limit the use of curling irons, straighteners, and other heat tools. If necessary, use heat protectants.
-
Chemical Treatments: Avoid exposing the extensions to harsh chemicals, dyes, or relaxers.
Detangling
-
Comb Gently: Use a wide-tooth comb or your fingers to detangle the extensions. Start from the ends and work upwards to prevent breakage.
-
Pre-Wash Detangling: Detangle before washing to avoid knots and tangles during the cleaning process.
Avoid Excessive Products
-
Product Use: Apply minimal hair products to avoid buildup. Opt for light styling products and leave-in conditioners.
-
Avoid Heavy Products: Steer clear of heavy serums or sprays that can weigh down the extensions and cause buildup.
Regular Checks
-
Inspect for Damage: Periodically check for loose clips, frayed ends, or other signs of wear.
-
Repair or Replace: Address any issues promptly to maintain the quality and functionality of your extensions.
By following these maintenance tips, you can ensure that your clip-in hair extensions remain in excellent condition and continue to enhance your look with ease.
Conclusion
In conclusion, clip in hair extensions offer a convenient and versatile solution for instantly enhancing your hairstyle. They provide numerous benefits, including a boost in volume and length without the commitment of permanent extensions. With easy installation and straightforward maintenance, they stand as an ultimate choice for achieving a glamorous look. By equiping with basic knowledge of how to install clip in hair extensions, and following proper care tips, you can ensure your extensions remain in excellent condition and continue to elevate your style.
