Have you ever imaged making your own hair extensions? Creating DIY clip-in hair extensions offers a versatile and reversible solution to transform your hairstyle. Whether you're looking for added length, volume, or a splash of color, DIY extensions allow for personalization and creativity. This step-by-step guide will walk you through the process of making your own clip-in extensions, ensuring a perfect match and a natural look.
In this blog, we’ll delve into the process of making DIY clip-in hair extensions with a step-by-step guide. Let’s see how to make clip-in hair extensions!
What materials do you need to make clip-in hair extensions?
Before learning how to make clip-in hair extensions, we should prepare tools and materials needed in the whole DIY process. Here are what we need:
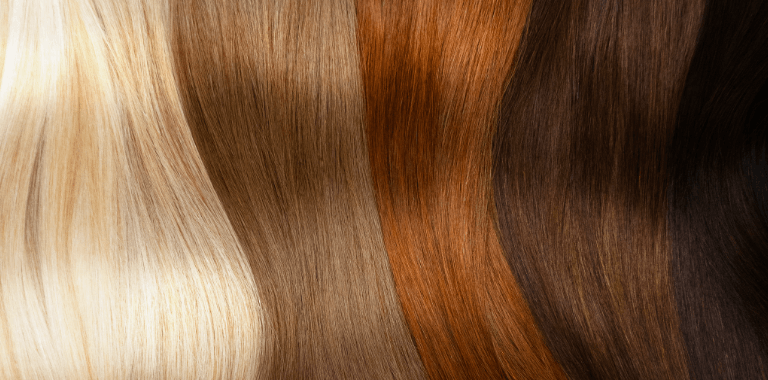
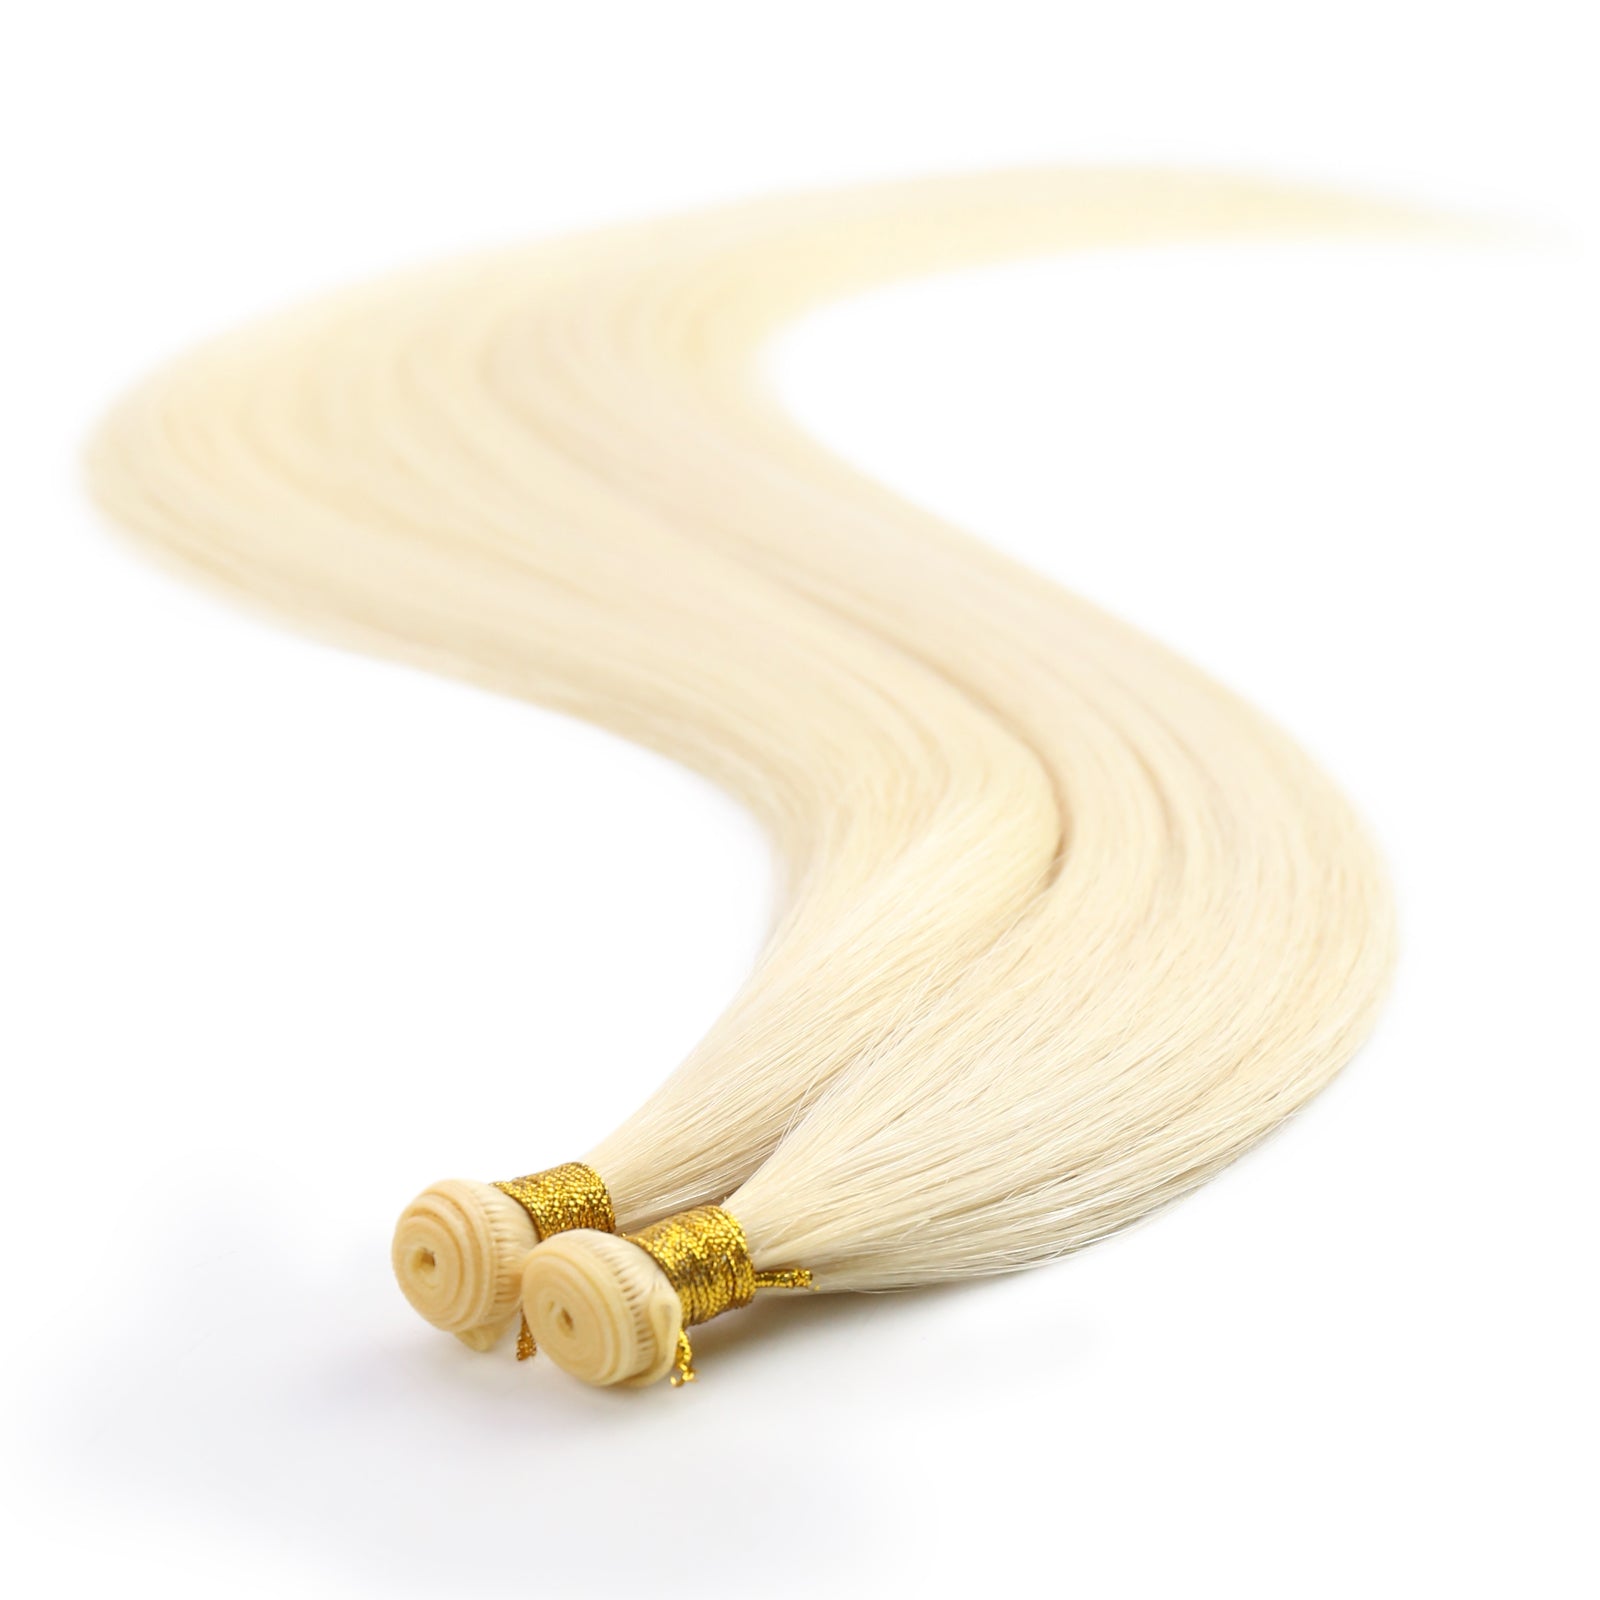
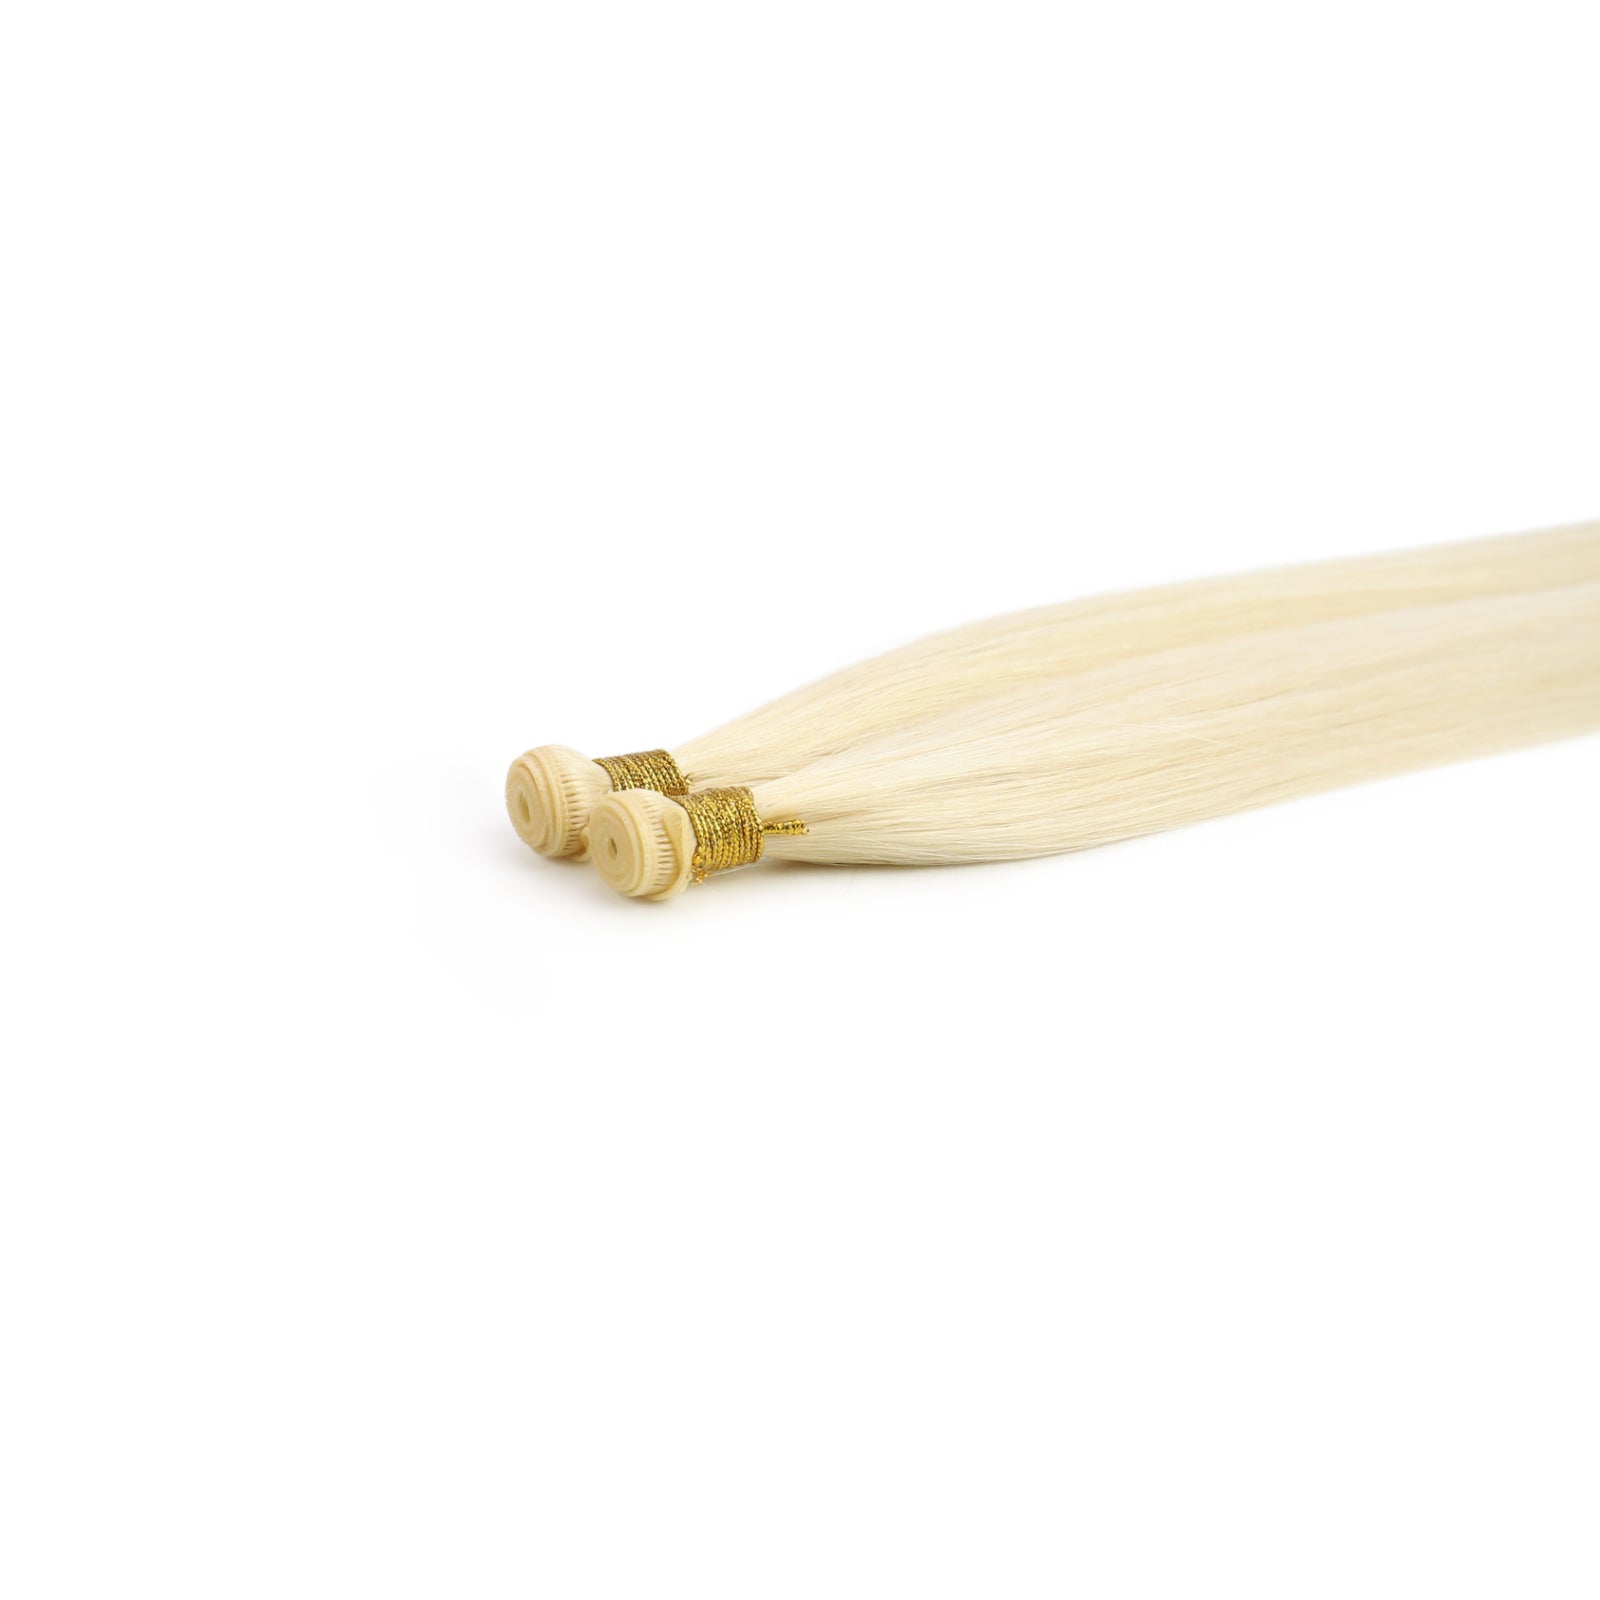
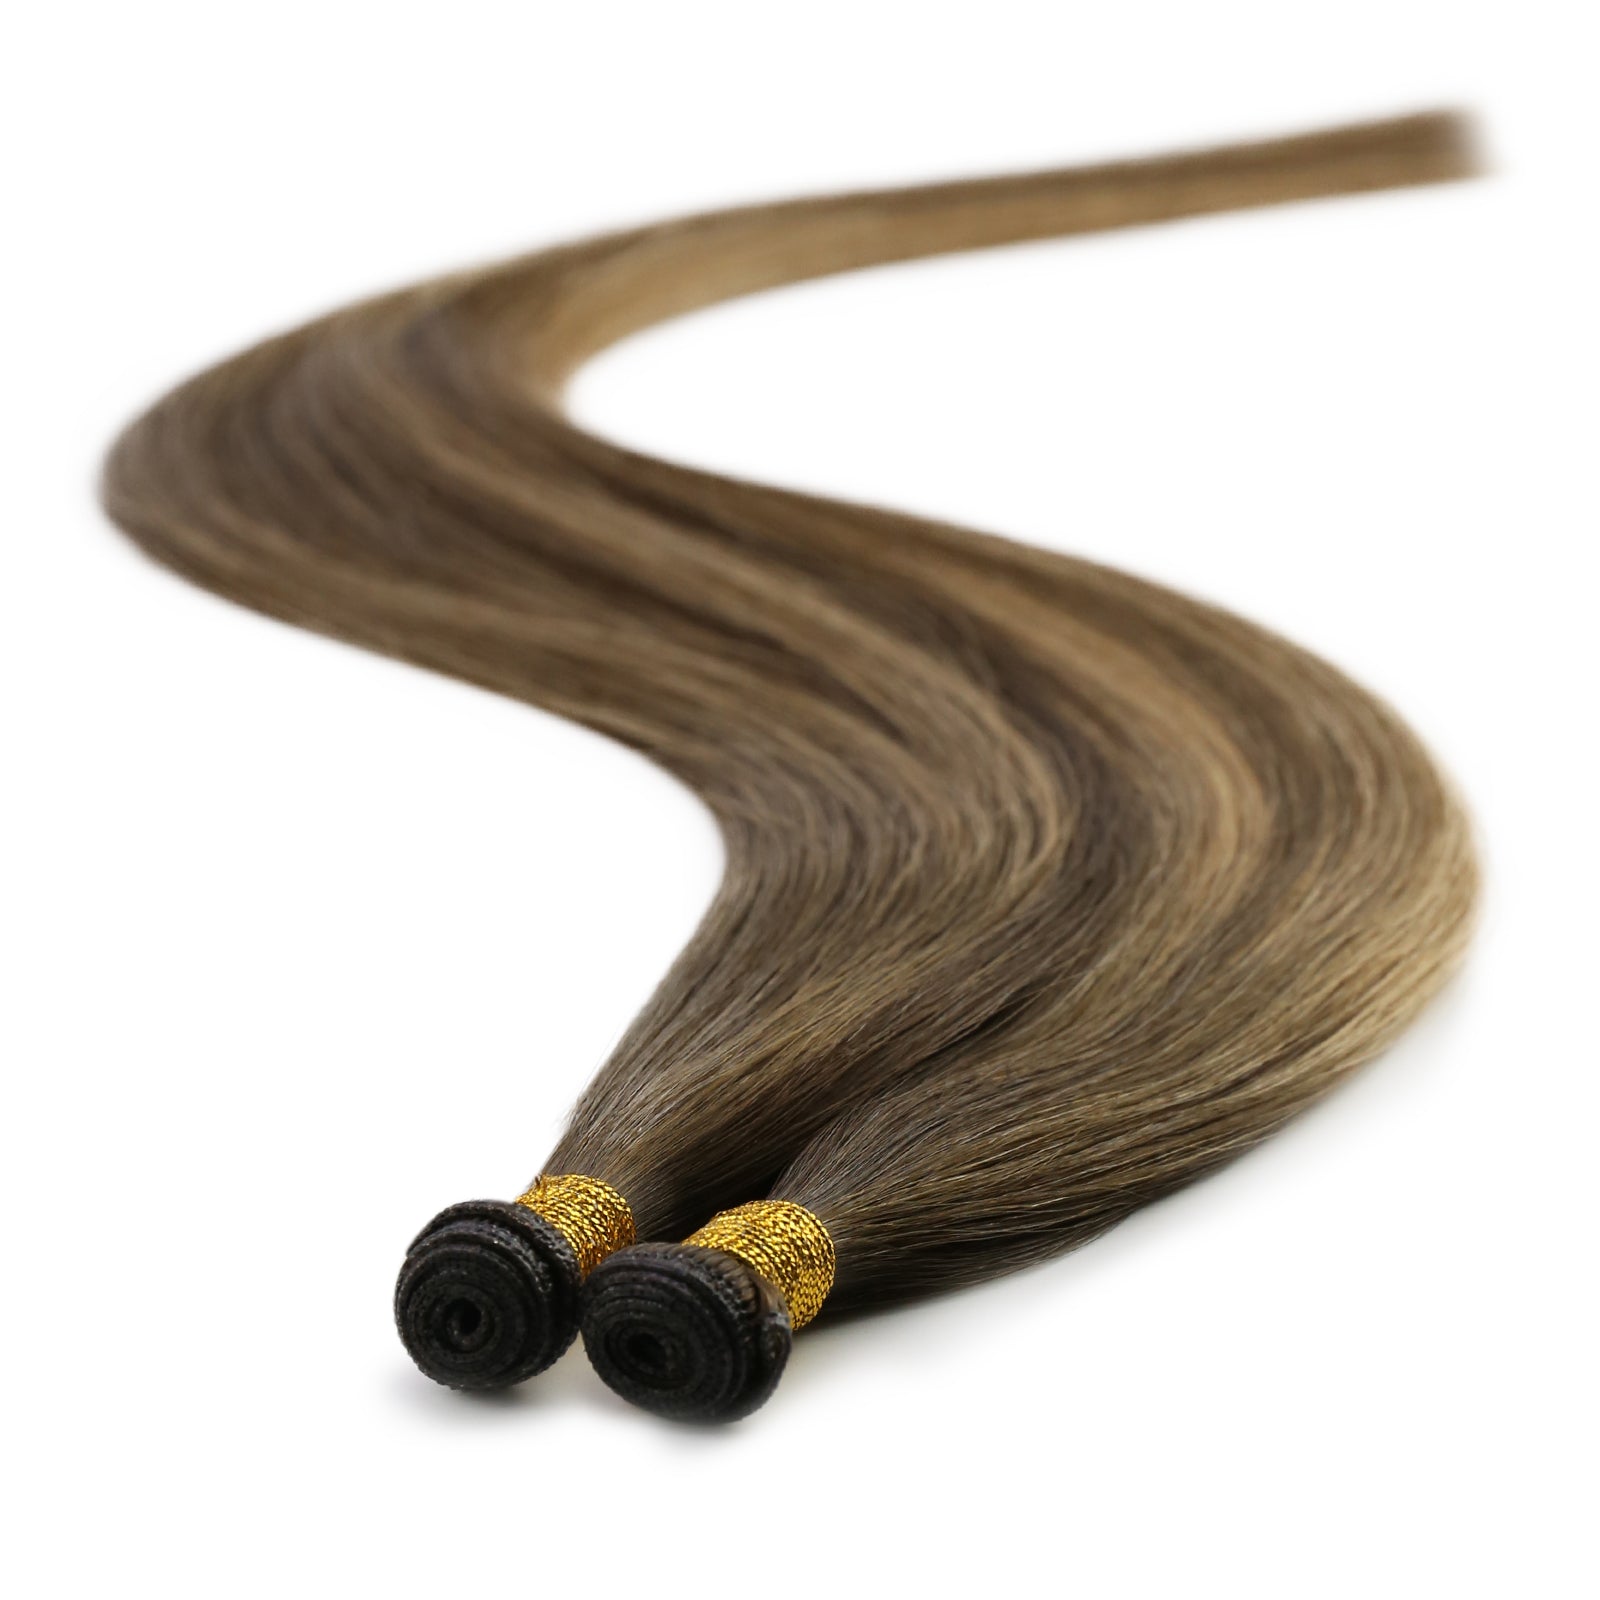
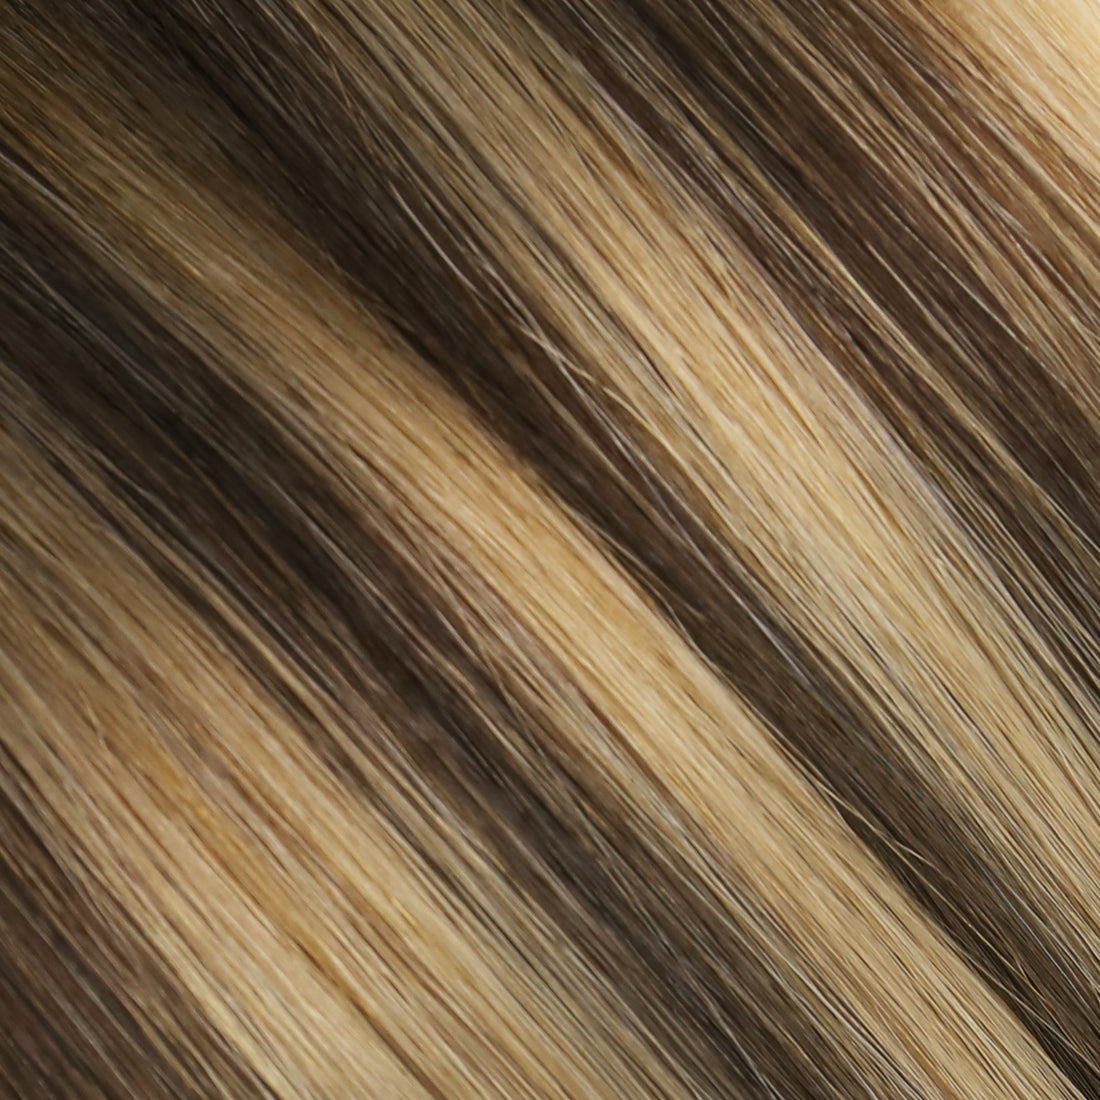
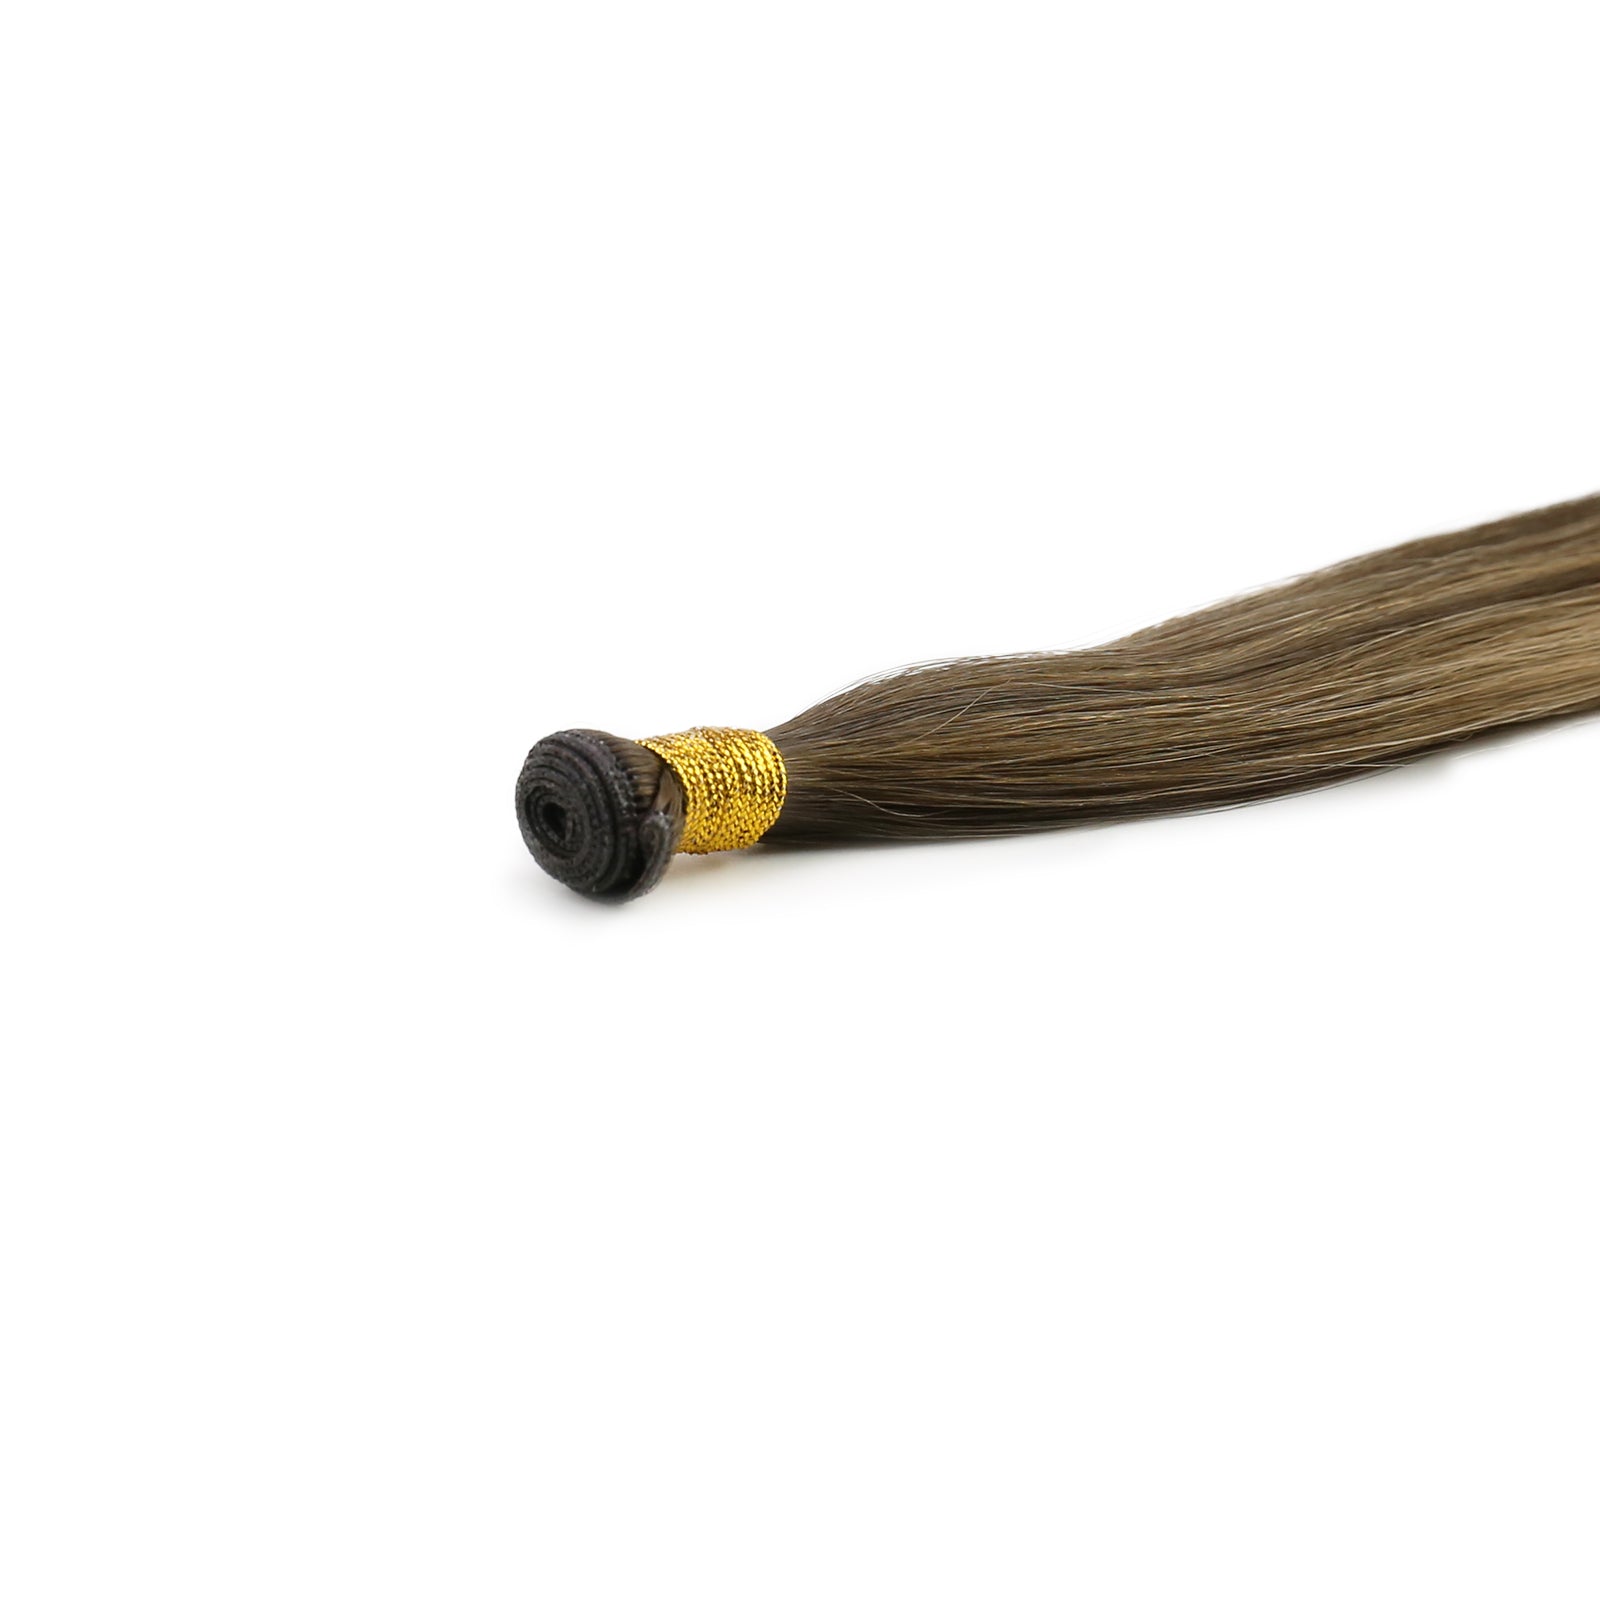
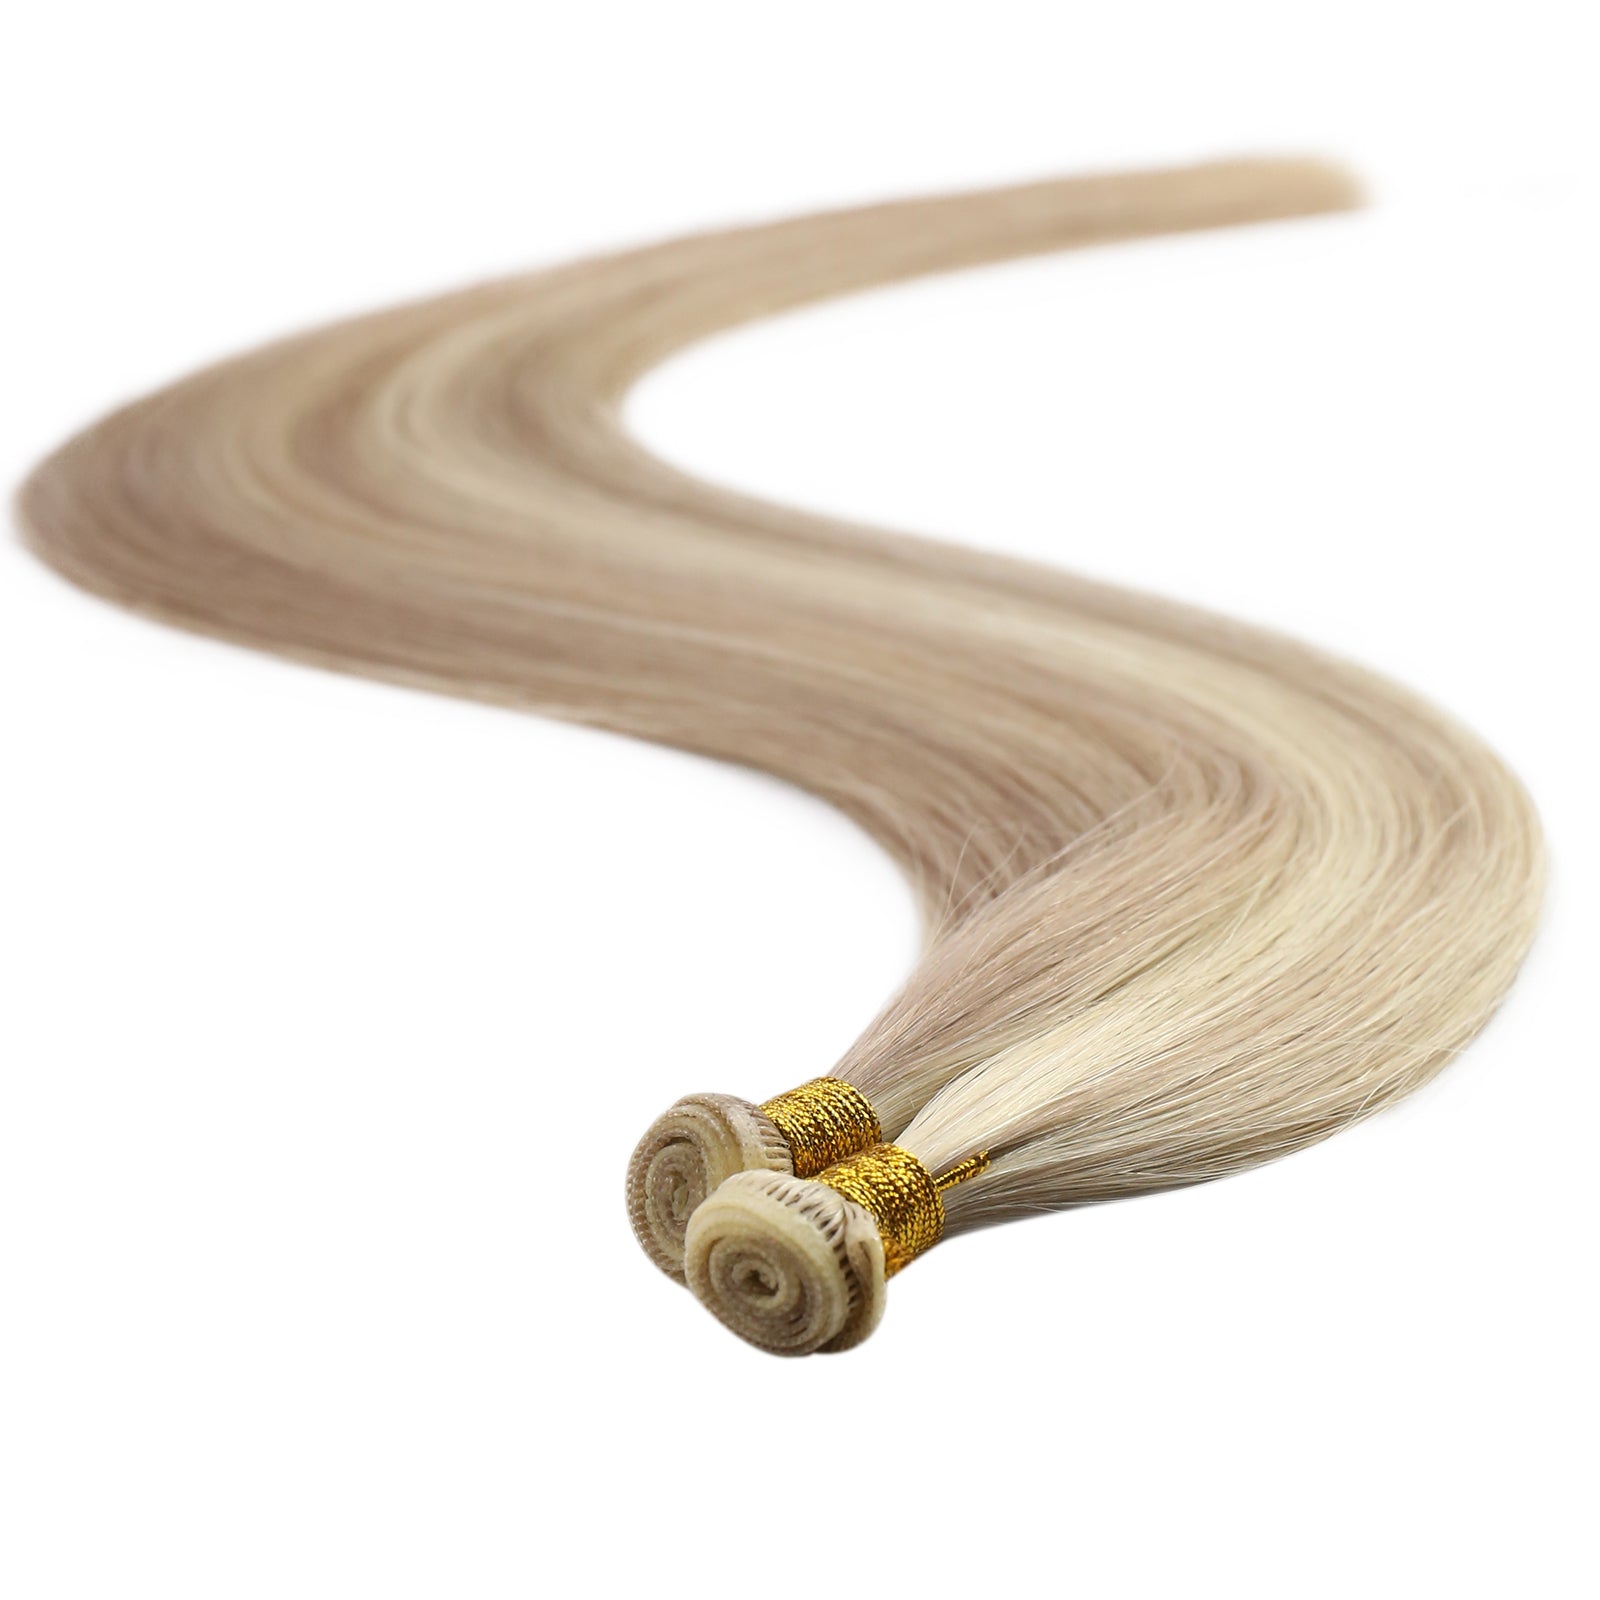
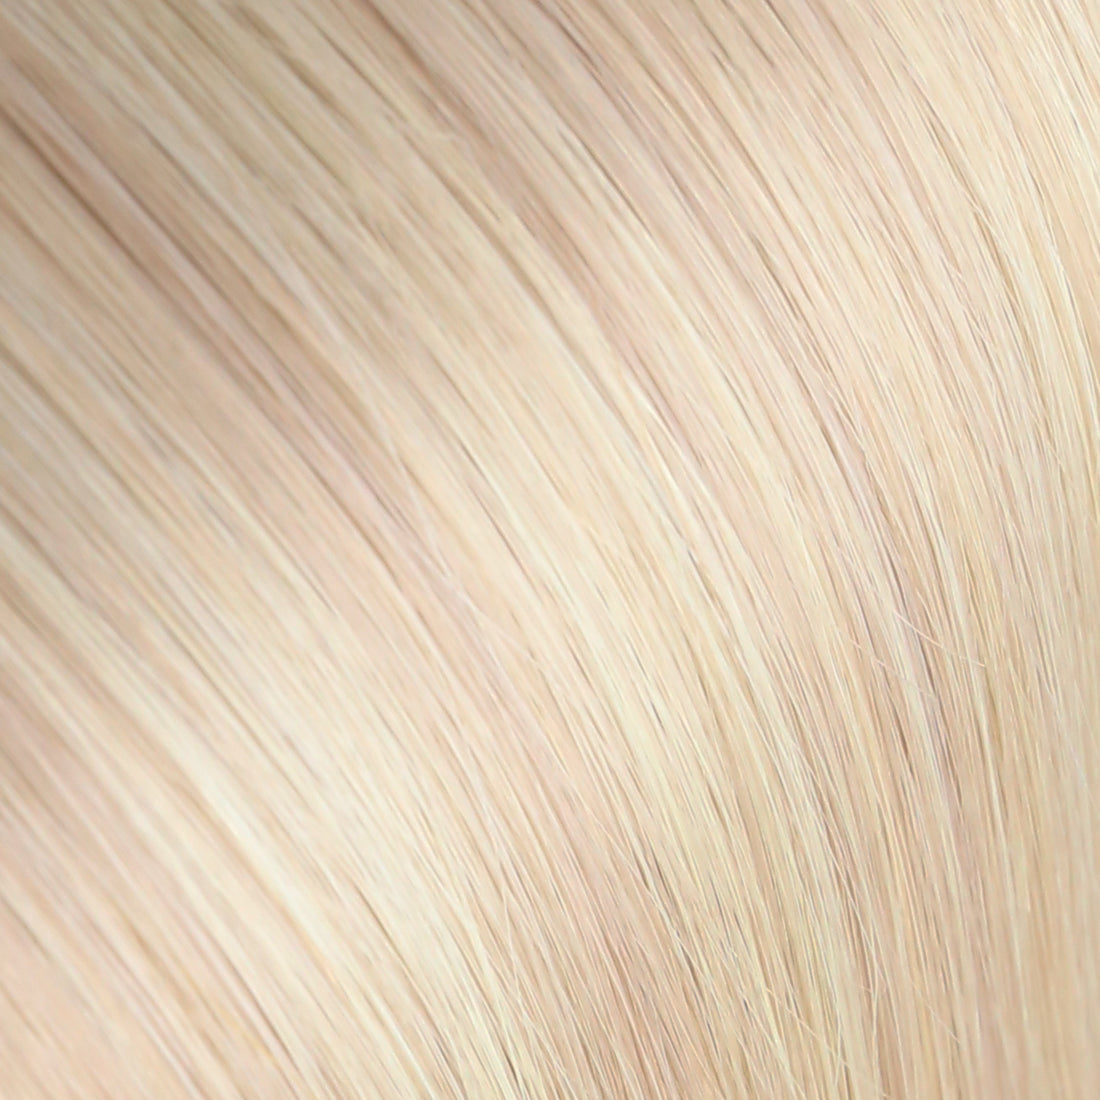
- Human Hair Weave: Select a high-quality human hair weave that matches your natural hair in color and texture. This allows for styling flexibility, including heat styling and dyeing, to achieve a seamless blend with your own hair.
- Extension Clips: Opt for clips that have a silicone strip for a secure grip that minimizes damage to your natural hair. These clips ensure the extensions remain firmly in place.
- Thread and Needle: A durable thread that matches the hair weave color, paired with a sewing needle, is crucial for attaching the extension clips to the hair wefts. The combination of a strong thread and a suitable needle ensures that the clips are securely sewn onto the wefts, making the extensions durable and reliable.
- Scissors: Sharp scissors are necessary for precisely cutting the hair wefts to the desired lengths, ensuring a clean and professional finish.
- Measuring Tape: Use this tool to accurately measure the lengths of hair weft needed, ensuring your extensions fit perfectly and look natural.
- Hair Glue (Optional): Hair glue can be used for additional reinforcement when doubling wefts or to prevent shedding. Choose a hair-safe glue designed specifically for extensions.

How to make clip-in hair extensions at home step by step
Creating clip-in hair extensions at home is a rewarding DIY project that allows for customization and creativity. As you have already gathered all the necessary materials, let’s move to the HOW part.
Here's a step-by-step guide to help you make your own clip-in hair extensions, ensuring a perfect match and a seamless blend with your natural hair.
Step1: Gather your materials
Start by collecting all the necessary materials mentioned in the previous section.
Step2: Measure and cut the weave
Using the measuring tape, determine the width of the sections where you will attach the extensions on your head. Add an extra inch to each measurement for adjustments. With your scissors, cut the hair weave according to these measurements, ensuring each piece is neatly trimmed for a tidy finish.
If you desire thicker extensions, consider doubling the weft by attaching another piece of weave on top of the first one. You can do this by sewing them together or using hair glue for a strong bond. This step adds volume and ensures a fuller appearance.
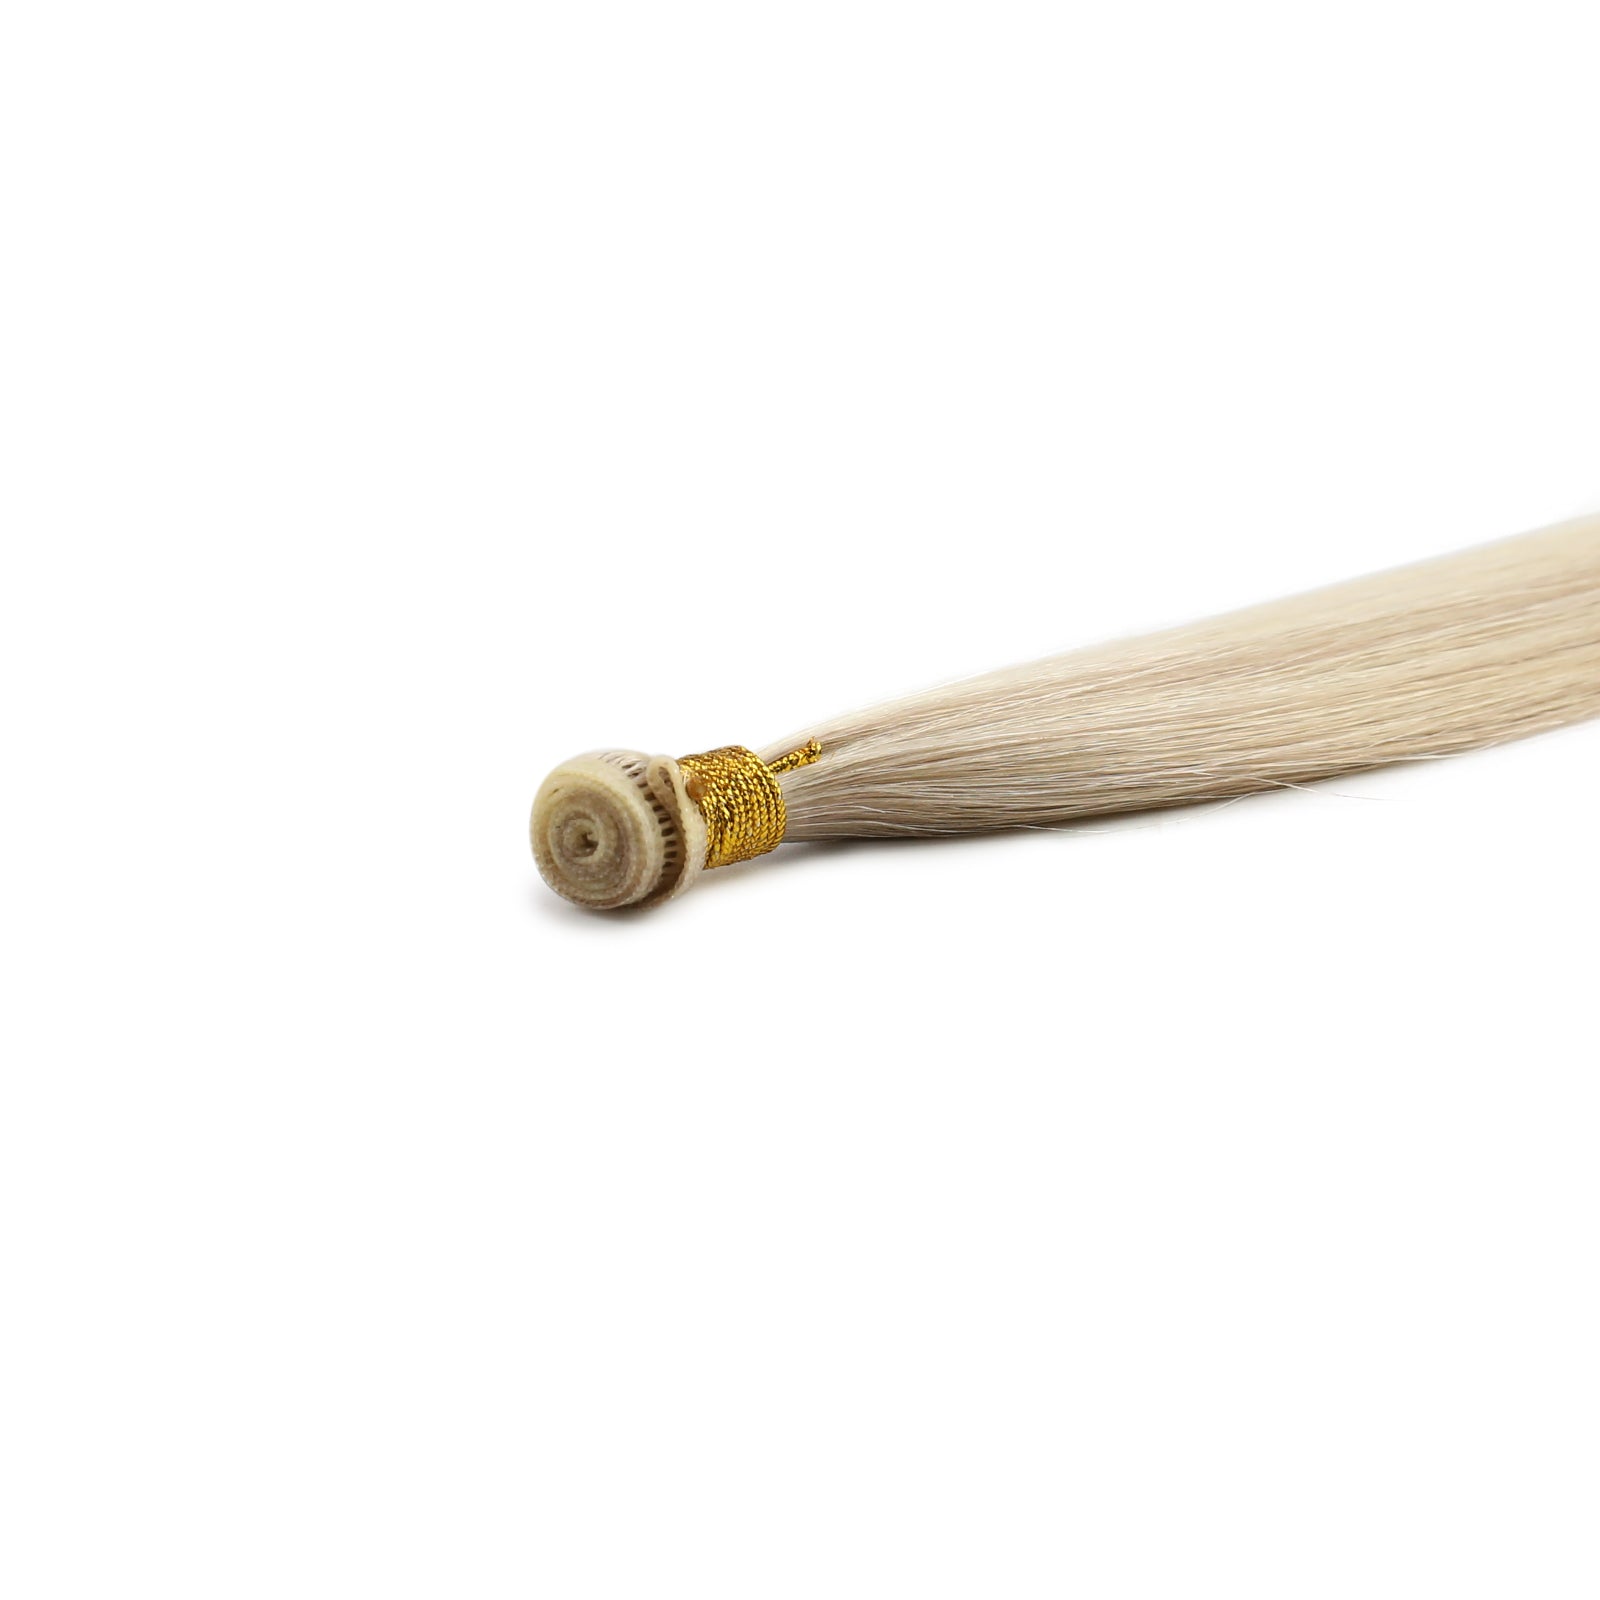
Step3: Sew the clips
Thread your needle, making a knot at the end of the thread. Position the extension clip at the end of the weft, making sure the part that snaps open faces outward. Securely sew through the holes in the clips and around the weft multiple times. Typically, one clip at each end and one in the middle are sufficient to provide adequate support for the extension.

Depending on the desired thickness and coverage, you may need several wefts. Repeat the measuring, cutting, preparing, and sewing steps for each additional weft until you have enough extensions to achieve your desired look.
Step4: Now you can apply your DIY clip-ins
To apply, start by sectioning your hair horizontally at the area where you wish to add the extension. Lightly tease the hair at the roots where the clips will be placed to provide a secure base. Carefully snap the clips closed onto your natural hair, ensuring they feel comfortable and securely in place.
Step5: Style your hair as you want!
Once all the extensions are clipped in, style your hair as desired. Human hair extensions can be styled with heat tools, allowing you to curl, straighten, or wave them alongside your natural hair for a cohesive look.
Creating clip-in hair extensions at home allows for a high level of customization, making it an ideal option for those looking to experiment with their appearance without permanent changes. With patience and practice, you can achieve professional-looking results, enjoying the versatility and beauty of your handmade clip-in extensions.

Maintenance tips for your clip-in extensions
After mastering how to make clip-in hair extensions, you should also learn to maintain your clip-in hair extensions to prolonging their lifespan, ensuring they continue to look as good as new. Here's a comprehensive guide on how to care for your clip-ins:
- Brush Gently Before and After Use
Always brush your clip-in extensions before and after use to remove any tangles. Use a soft-bristle brush or a wide-tooth comb and start from the bottom, gently working your way up to prevent unnecessary pulling that can lead to shedding.
- Wash Sparingly
Unlike natural hair, clip-in extensions do not receive oils from the scalp, so they don't need to be washed as frequently. Wash them after every 15-20 wear or when there is a significant buildup of products. Use sulfate-free shampoo and lukewarm water, gently applying the shampoo and washing the hair in a downward motion.
- Condition Regularly
After washing, apply a lightweight, nourishing conditioner from mid-length to the ends. Avoid the clips to prevent rusting. Leave the conditioner in for a few minutes before rinsing thoroughly with cold water to seal in moisture and enhance shine.
- Dry Naturally
Gently squeeze out excess water with a towel and lay the extensions flat to air dry. Avoid wringing them out, as this can cause damage. If you must use a hair dryer, set it on the lowest heat setting and hold it at a distance.
- Store Properly
Once your clip-in extensions are completely dry, store them in a cool, dry place away from direct sunlight. Use a storage bag or box specifically designed for hair extensions to keep them safe and prevent tangling. If possible, hang them or lay them flat to maintain their shape.
- Avoid Tangles
When not in use, gently brush your extensions and either braid them or tie them in a loose ponytail to prevent tangling. This is especially important if you're storing them in a bag or box.
- Use Heat Protectant
Before using any heat styling tools on your extensions, apply a heat protectant spray to minimize damage. Although human hair extensions can be styled with heat, it's important to use the lowest temperature setting to keep them looking their best.
- Limit Chemical Treatments
Try to minimize dyeing, bleaching, or using other harsh chemical treatments on your extensions. If you must alter their color or style, consider consulting a professional to reduce the risk of damage.
- Handle with Care
When clipping in and removing your extensions, be gentle to avoid pulling on your natural hair. This not only protects your extensions but also helps maintain the health of your own hair.

By following these care tips, you can ensure your DIY clip-in hair extensions remain beautiful, healthy, and ready to enhance your hairstyle for as long as possible. Proper maintenance is the key to maximizing the longevity and appearance of your clip-ins.
Remember, there are several things you should not do to your hair extensions:
- Don’t sleep in clip-in extensions
Sleeping with clip-in extensions can cause both the extensions and your natural hair to tangle and mat. This not only leads to damage but can also be uncomfortable. Always remove your clip-ins before going to bed.
- Don’t wash them too often
Over-washing your clip-in extensions can strip them of moisture, leading to dryness and frizz. Since they don’t receive natural oils from your scalp, they don’t need to be washed as frequently as your natural hair.
- Don’t brush them when wet
Hair is most vulnerable when it's wet, and this applies to extensions too. Avoid brushing your clip-ins while they're wet to prevent unnecessary shedding and breakage. Instead, gently detangle them with your fingers or a wide-tooth comb.
- Don’t use products with sulfates or alcohol
Haircare products containing sulfates or alcohol can be harsh on your extensions, causing them to become dry and brittle. Opt for sulfate-free shampoos and conditioners, and use styling products that are alcohol-free.
With care, you’ll be able to reuse your DIY clip-in extensions and have them last for several month. If you find that DIY clip-ins are difficult for you to make, you can purchase our Virgin Remy Hair clip-ins in multiple colors and lengths.
Summing up
And that’s how to make clip-in hair extensions by yourself! This DIY journey not only allows you to customize your hair extensions to perfectly match your hair and meet your styling needs but also gives you the satisfaction of creating something beautiful with your own hands. Embrace the process and enjoy the endless possibilities that DIY clip-in hair extensions offer!
You may be interested in: