Whether it's about saving a few bucks or simply indulging in a little DIY beauty project, removing hair extensions at home can be a breeze—if you know how to do it right.
Hair extensions offer a quick beauty boost by adding length, volume, and color without permanently altering your natural hair. Yet, removing them improperly can harm your hair and scalp. This post guides you on how to remove hair extensions safely—covering clip-ins, tape-ins, K-tips, sew-ins, and i-tips—ensuring your hair stays healthy and vibrant.

How to remove hair extensions step by step
In this section, we'll guide you through the steps on how to remove hair extensions safely, ensuring the protection of your natural hair and scalp. Whether you're dealing with clip-ins, tape-ins, k-tips, sew-ins, or i-tips, follow these step-by-step instructions to gently remove your extensions without causing damage. Let's dive into each type for detailed processes.
1. Clip-in extensions
Removing clip-in extensions is straightforward and damage-free when done correctly. Here's a concise guide:
- Identify Clips:Locate the clips by feeling through your hair, starting from the bottom and moving upwards.
- Unclip Extensions:Gently press the sides of each clip to open it. If the clip is tangled in your hair, use a mirror to help locate and carefully unclip without pulling.
- Slide Out Gently: Once unclipped, smoothly slide the extension out of your hair. Proceed one clip at a time to avoid tangling.
- Detangle and Inspect:After removal, detangle your natural hair with a wide-tooth comb. Also, inspect the extensions and clips for any damage.
- Proper Storage: Store the extensions in a dry place, laying them flat or hanging to maintain their shape.
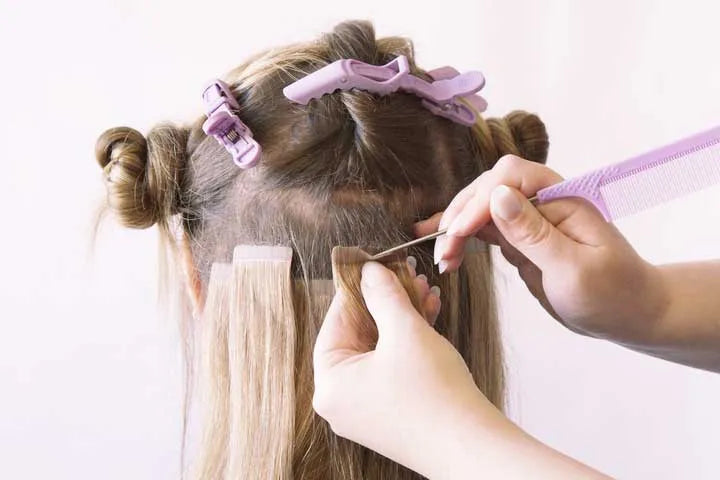
2. Tape-in extensions
To remove tape-in extensions without harming your natural hair, patience and care are essential. Follow these steps for a safe removal process:
- Use Adhesive Remover: Choose a high-quality adhesive remover specifically made for tape-in extensions. Cover the adhesive tape fully with the remover and allow several minutes for the solution to soften and dissolve the adhesive.
- Peeling the Tape Gently:Begin peeling the tape from one corner, doing so softly to avoid pulling your hair. Should the tape resist, reapply the adhesive remover and give it a bit more time to work before trying again.
- Slide the Extension Off: Once the adhesive is loose, carefully slide the extension down and away from your natural hair. Avoid pulling or tugging to prevent damage.
- Remove Residue:After all extensions are removed, there might be some adhesive residue left on your hair. Apply more adhesive remover to your hair, gently massage it in, and then comb through your hair with a fine-tooth comb to remove the residue.
- Wash Your Hair: Use a clarifying shampoo to wash your hair thoroughly, removing any remaining adhesive remover and residue. Follow up with a hydrating conditioner.

3. K-tip extensions
K-tip extensions require careful removal to avoid pulling out natural hair:- Apply Bond Remover: Choose a bond remover specifically designed for the type of glue used in your extensions. Apply it to the bonded areas, ensuring complete coverage.
- Allow It to Sit:Let the bond remover sit for the recommended time to effectively break down the glue.
- Gently Separate Extensions from Hair: Use your fingers or a wide-tooth comb to gently tease the extension away from your natural hair. If the bond doesn’t break easily, reapply the bond remover and wait a bit longer.
- Wash and Condition: Once all extensions are out, wash your hair with a clarifying shampoo to remove any leftover bond remover or glue residue. Follow with a deep conditioner to nourish your scalp and hair.
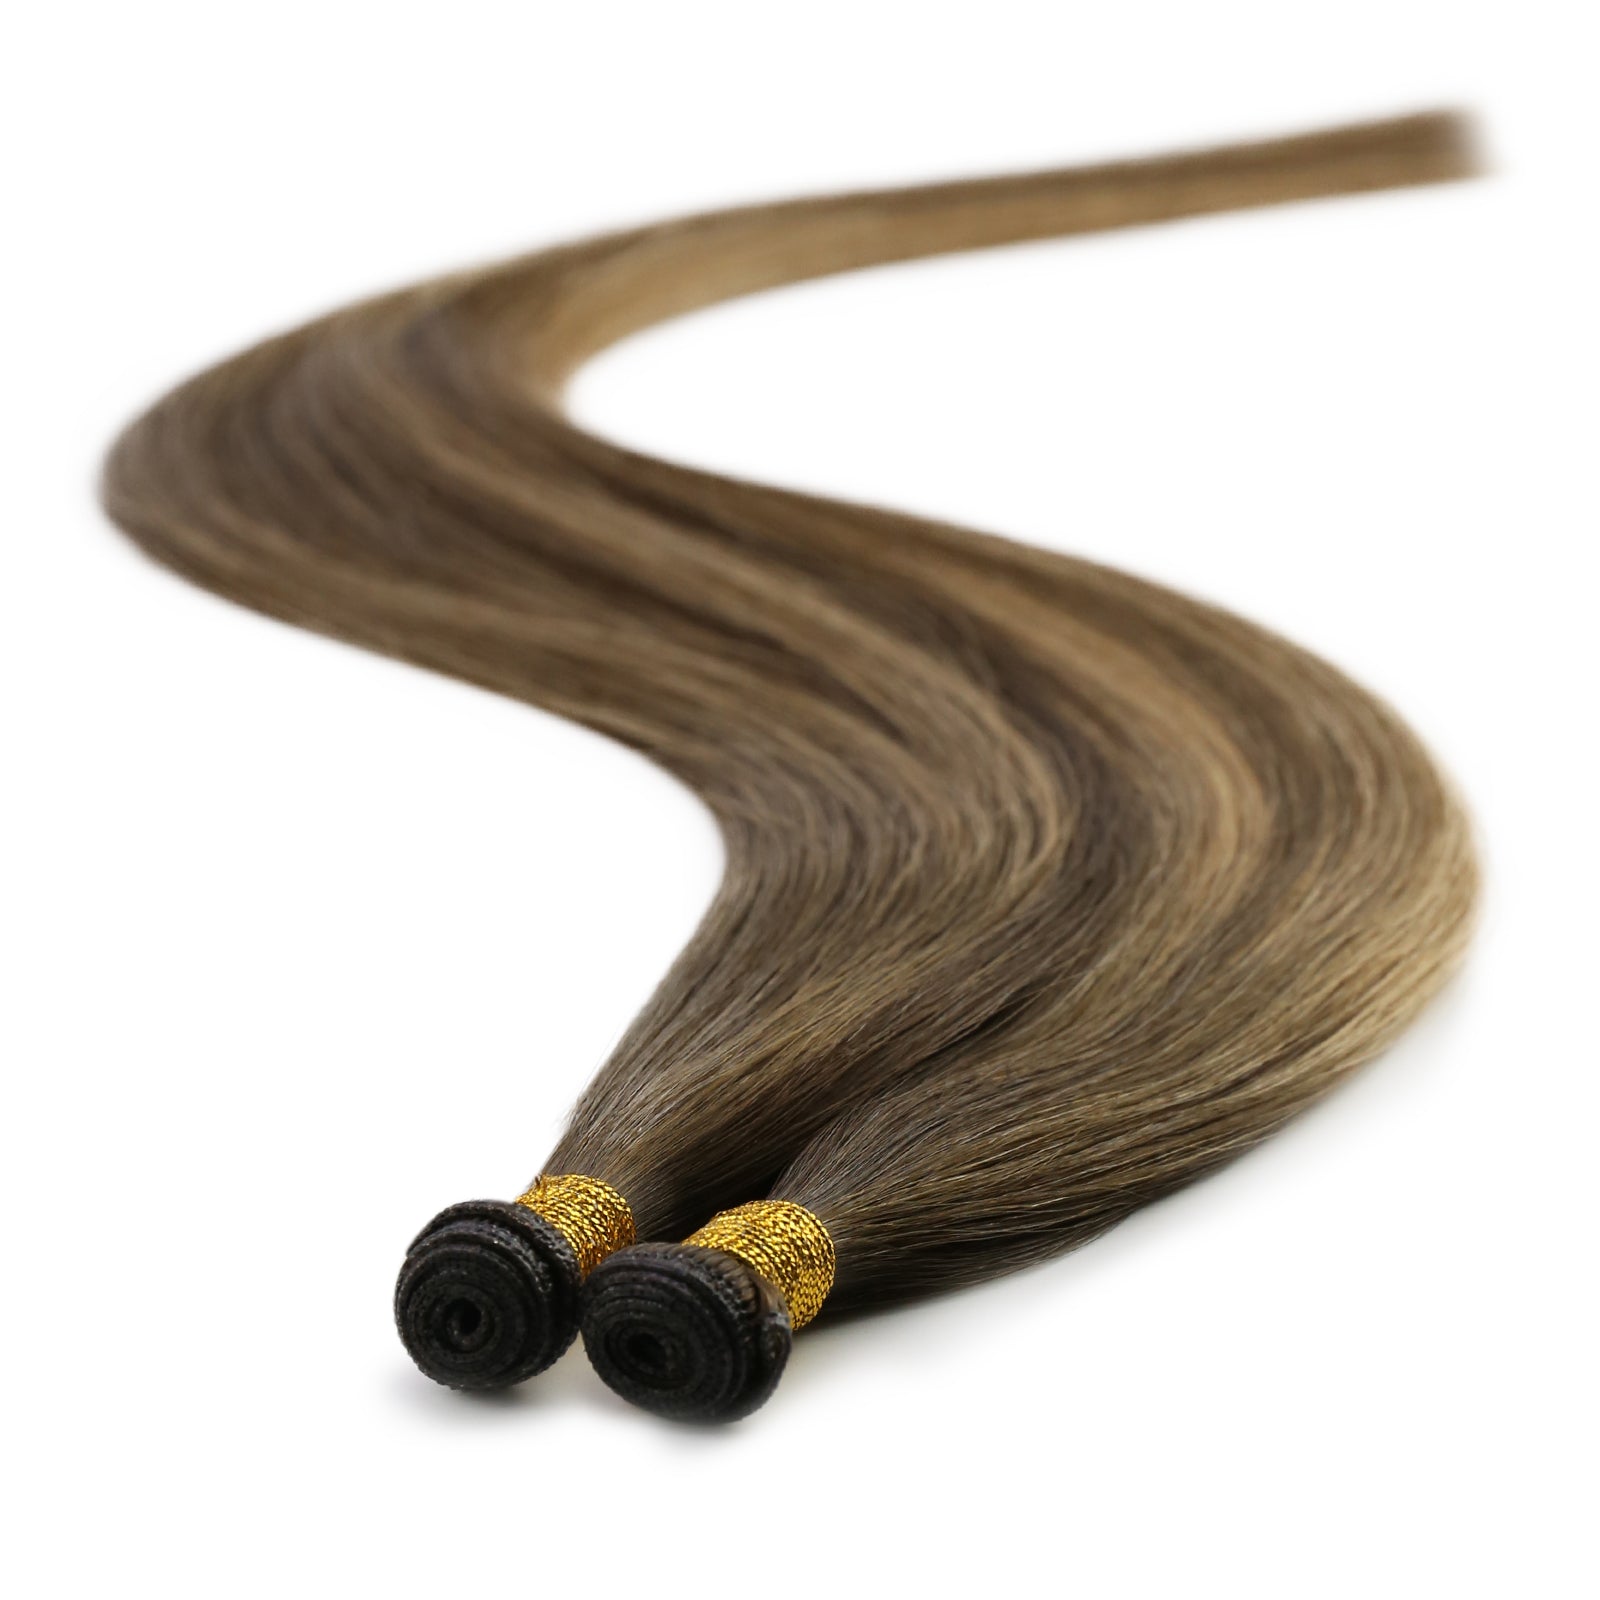
4. Sew-in/weave extensions
Removing sew-in extensions involves cutting threads without damaging the hair:
- Locate the Threads: Carefully identify the threads holding the weave in place. It might help to use a mirror or have someone assist you.
- Cut the Threads Carefully: Using small, sharp scissors, carefully snip the thread while ensuring not to cut your natural hair. A good practice is to cut one thread and gently pull to see if it loosens the weave.
- Remove the Weave:Once all threads are cut, gently remove the weave from your hair. If you encounter resistance, check for any missed threads.
- Detangle and Wash: After removal, detangle your hair gently and follow with a thorough wash and deep conditioning treatment.

5. I-tip extensions
I-tip extensions require precision for removal without hair damage:
- Locate the Beads:Identify the micro-links or beads attaching the extensions to your hair.
- Use Pliers:With special pliers for i-tip extensions, carefully clamp down on the beads in the opposite direction they were clamped in. This will loosen the bead.
- Slide Out the Extension:Once the bead is loosened, gently slide the extension out of your hair. If the bead is stubborn, adjust the pliers and try again.
- Condition Your Hair: After all extensions are removed, give your hair a gentle wash and deep conditioning treatment to help it recover from the stress of the extensions.
Each of these methods requires specific tools and products to ensure a safe and efficient removal process. Always prioritize your hair's health, and when in doubt, seek professional help to avoid unnecessary damage.
How to care your hair after removing extensions
Navigating how to remove hair extensions is just the first step; the real journey to hair health begins afterward. This section will take you through essential post-removal care steps, ensuring your hair not only recovers from the extension wear but also thrives, retaining its strength, shine, and vitality.

Washing and conditioning
- Gentle Washing: Use a sulfate-free shampoo to gently cleanse your scalp and hair, removing any residue left from the extension adhesive or bond remover. This step helps to prevent irritation and keeps your hair clean without stripping it of natural oils.
- Deep Conditioning: Apply a deep conditioner or hair mask from roots to tips, focusing on areas that were under stress from the extensions. Leave it on for the recommended time to deeply nourish and hydrate your hair. Rinse thoroughly.
Recommended treatments
- Scalp Treatments: Incorporate a soothing scalp treatment or oil to calm any irritation and promote a healthy scalp environment. Look for products with ingredients like tea tree oil, peppermint, or aloe vera.
- Protein Treatments: If your hair feels weak or damaged, a protein treatment can help rebuild and strengthen hair strands. Use as directed, since too much protein can make hair brittle.
- Moisturizing Treatments: Regular use of leave-in conditioners or hair oils can help restore moisture and elasticity to your hair, especially if it feels dry or brittle after extension removal.
When to seek professional help
- Persistent Discomfort or Hair Loss: If you experience ongoing scalp irritation, excessive hair shedding, or other concerning symptoms after removing your extensions, it’s important to consult with a professional hairstylist or dermatologist. They can assess your hair and scalp’s condition and recommend specialized treatments or care to address any issues.
- Damaged Hair Repair: For severe breakage or damage, a professional can offer salon treatments such as bond-building therapies, trims to remove split ends, or even suggest a hair care regimen tailored to your hair’s needs.
Post-removal care is crucial, equally as significant as the removal process. Devoting time to correctly wash, condition, and treat your hair after removing extensions is essential for maintaining its health and appearance over the long term.
Troubleshooting common problems
Encountering snags is a common challenge when removing hair extensions. To navigate these issues smoothly and keep your hair as healthy and intact as possible, here are effective strategies to implement.

Dealing with stubborn extensions
Not all extensions glide out easily, especially if they've been in for a while or weren't maintained properly. For tape-ins or glue-in extensions, patience is key. If they resist, reapply a specialized adhesive remover, wait a bit longer, and try again. A slight, gentle wiggle can help loosen them, but avoid yanking. For sew-ins, ensure all threads are fully cut and gently lift the weave away from your scalp. If beads or links from micro-link extensions refuse to budge, revisit them with pliers, adjusting the angle slightly for a better grip.
Addressing potential damage or hair loss after removal
It's common to see more hair than usual in your comb after removing extensions. Remember, we naturally lose hair every day, and when you're wearing extensions, those shed hairs have nowhere to go. However, if you're noticing unusually thin patches or significant breakage, it's time to take action. Begin with a trim to remove split ends and consider professional treatments such as deep conditioning or keratin treatments to restore strength and moisture balance.
When to consult a professional hairstylist
While DIY is great, certain situations call for a professional's touch:
- Persistent Issues: If extensions seem impossible to remove at home or cause discomfort, a stylist can help.
- Visible Damage: Excessive shedding, breakage, or any signs of scalp damage post-removal should be assessed by a professional.
- Guidance and Recovery Plans: A professional can offer personalized advice on recovery periods between extensions, recommend products to help your hair heal, and suggest styles that minimize damage.
Removing your extensions properly
Understanding how to remove hair extensions safely is essential for maintaining the health and vibrancy of your natural hair. It's important to prioritize your hair's well-being over the prolonged wear of extensions. Remember, applying safe removal practices can make all the difference in preserving the health and beauty of your hair.